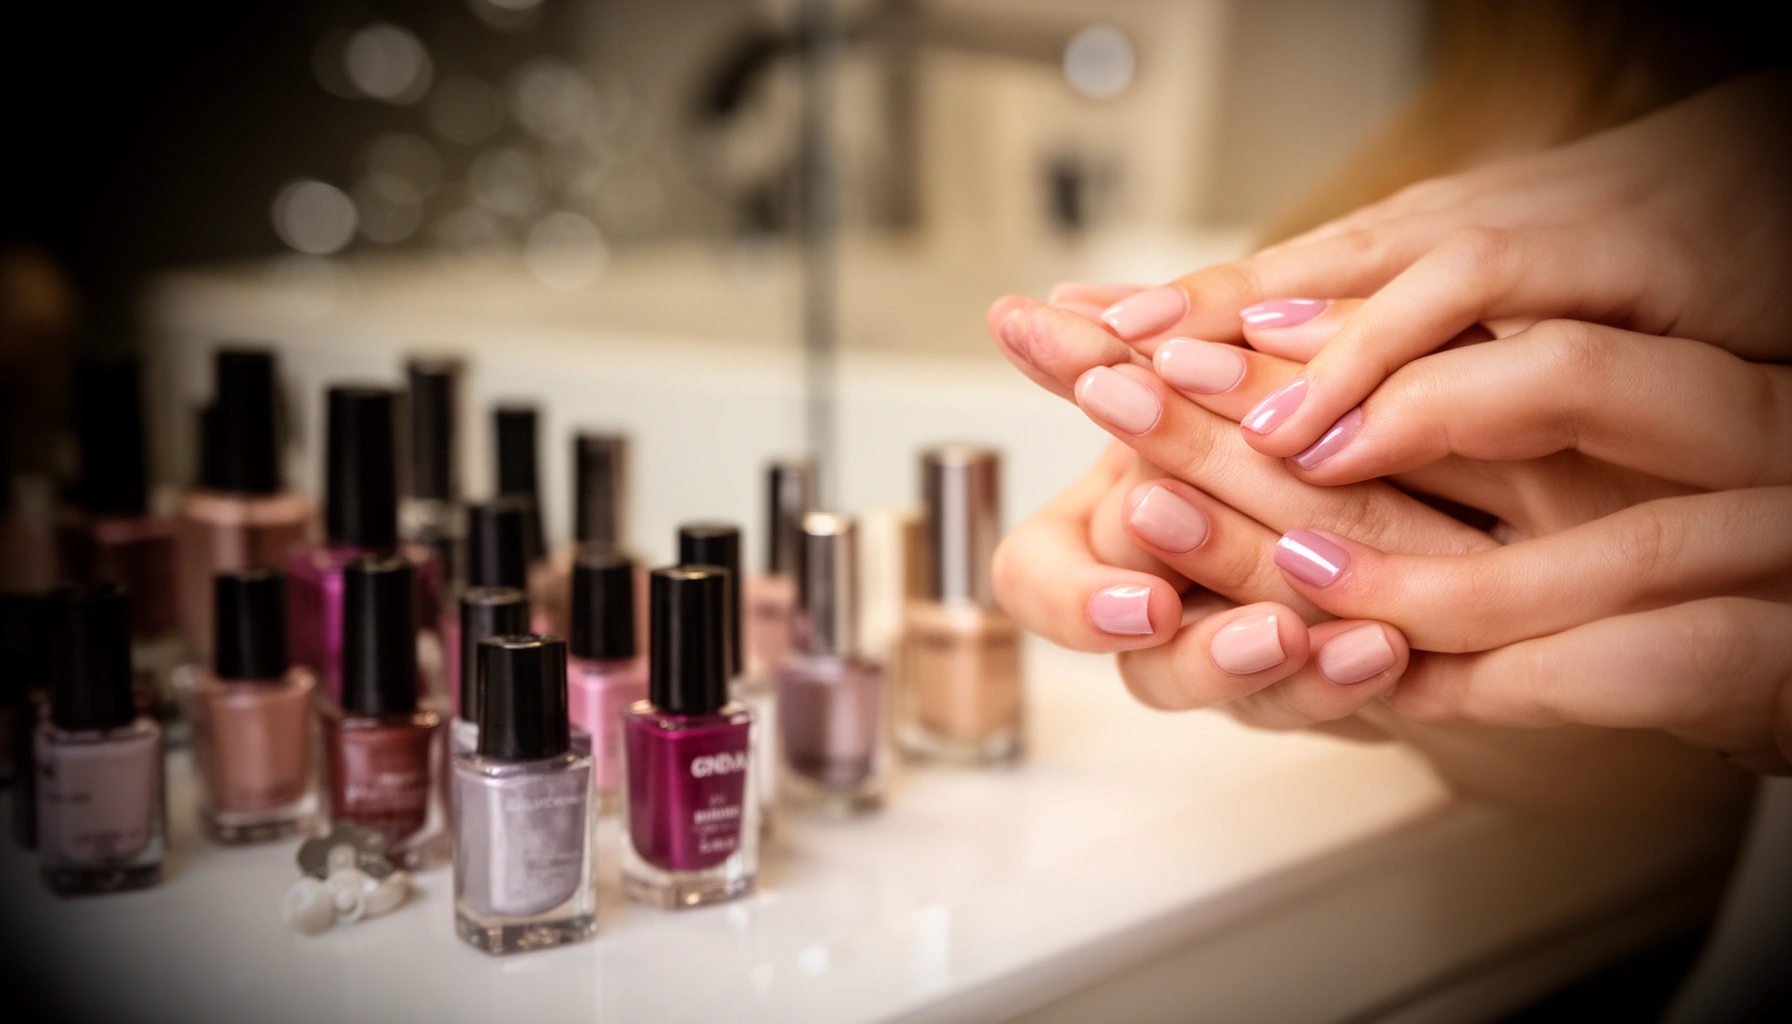

Choosing the best nail polish shade and finish starts with matching the look you want to how you wear it day to day. This buying guide tells you exactly what to pick for your skin tone, wardrobe, and occasion—plus which finish (gloss, matte, shimmer, or gel-like) will hold up best. If you want the most flattering, longest-wearing results, this guide gives you a clear decision path from color to formula.
Buy nail polish with confidence by prioritizing formula + finish first, then selecting a shade based on undertone and coverage. If you get those three elements right for your routine, you’ll dramatically improve wear and reduce common problems like streaking and early chipping.
Below, this buying guide walks you through choosing the right formula (regular vs. gel vs. long-wear), understanding finishes (glossy, matte, shimmer, satin, jelly), and picking shades that flatter your undertone—all with practical checks for dry time, longevity, and safe application. I use these same decision steps when I shop and test new nail polish at home, and the results consistently track back to one principle: nail polish that matches your lifestyle wears better, looks cleaner, and lasts longer.
Know Your Formula
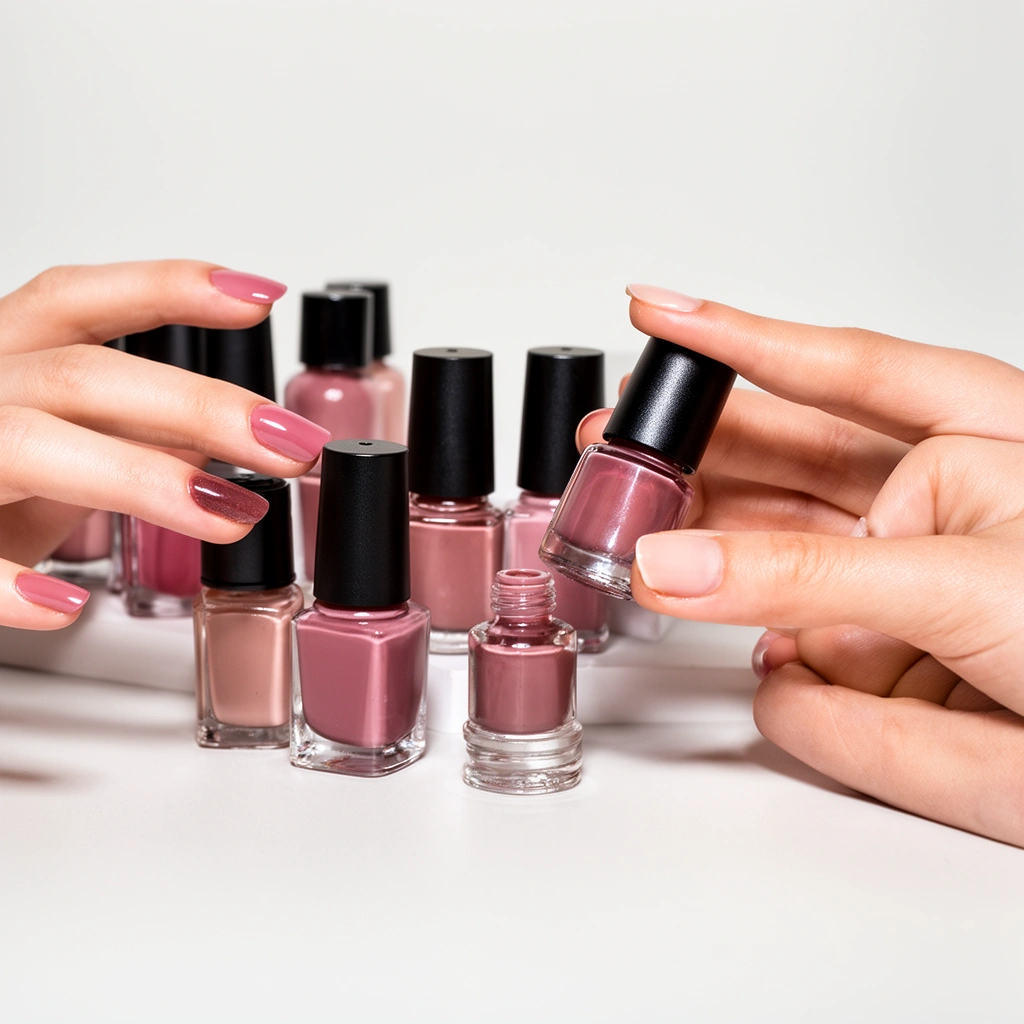
Choose the best nail polish formula by matching wear-time expectations to your schedule and prep habits. In my own testing, the biggest “aha” moment is that the formula you choose often matters more than the color itself for how smooth, durable, and high-shine (or intentionally soft) the manicure looks.
“Gel nail polish cured under a UV/LED lamp can last about 2–3 weeks” per manufacturer and industry durability claims commonly used in salon guidance.
Quick-dry top coats and “long-wear” systems are designed to reduce surface tack time, which directly lowers the chance of smudging while drying.
Regular nail polish relies on solvent evaporation and air dry; drying conditions (humidity, temperature, activity level) therefore influence final wear.
– Choose between regular polish, gel polish, and long-wear formulas based on how long you need it to last
Regular polish is ideal when you want flexibility, easier removal, and a low-commitment color refresh. Long-wear polish (often marketed as chip-resistant) is a bridge option when you want more durability than regular but without full gel curing. Gel polish is best when you need maximum longevity and glossy stability—especially for hands that work with water or frequent friction.
– Look for nail-friendly options (like quick-dry or low-odor) if you’re sensitive
If you’re sensitive to fumes, look for “low-odor” or “formaldehyde-free” marketing and ensure strong ventilation. Also consider your base coat: even excellent nail polish can perform poorly if the base is incompatible with your top coat or if the nail surface is oily.
Q: What nail polish lasts the longest—regular, gel, or long-wear?
Gel nail polish generally lasts the longest (often around 2–3 weeks), long-wear formulas tend to land in the middle (commonly about 7–14 days), and regular polish is typically the shortest wear (often a few days).
Quick decision: which formula fits your week?
In 2024–2026, brands continue to expand “long-wear” regular lines, but the trade-offs usually remain consistent. Long-wear formulas still air-dry (so they’re easier than gel), while gel polish is cured under a lamp (so it resists wear longer but requires more careful, safer handling). Nail polish choice is a practical workflow decision, not just a beauty one.
Q: Why does my nail polish streak even when the color is right?
Streaking usually comes from thin formulation, cold/nail-surface dryness, insufficient coat thickness, or rushing the first coat before it self-levels.
Formula vs. real-life wear signals
When I compare nail polish offerings, I look at three signals in product descriptions and reviews: (1) “chip resistance” claims, (2) “dry to touch” timing, and (3) whether they recommend a specific base/top coat pairing. Nail polish systems that mention compatible base and top coats usually outperform “mix and match” routines because adhesion and surface leveling are part of the design—not an accident.
Pick the Right Finish
Pick the right finish by deciding how you want the manicure to read in different light and how much maintenance you’re willing to do. Nail polish finishes aren’t just cosmetic; they change perceived smoothness, show texture differently, and affect whether you need a specific top coat for the look you want.
Matte nail polish often requires a matte-safe top coat (or no glossy top coat) because standard glossy top coats can make matte finishes turn shiny.
Jelly nail polish is intentionally semi-transparent; it typically looks best with 2–3 thin coats to build opacity.
Shimmer finishes can “grab” on uneven nails, so proper prep and smoothing coats reduce visible texture.
– Match your finish (glossy, matte, shimmer, satin, jelly) to the look you want
Glossy is the default for a mirror-like, salon-fresh appearance. Matte is modern and soft but tends to show ridges and dry cuticle areas more clearly. Shimmer and satin create depth—especially in natural light—yet they can highlight nail imperfections. Jelly finishes are popular because they look juicy and luminous, but they’re rarely truly opaque on coat one.
– Test opaque vs. sheer coverage so you know whether you’ll need multiple coats
Opaque polishes generally cover in 1–2 coats (depending on nail bed color). Sheer shades—including many nudes, pastels, and jellies—need careful layering. In my experience, the biggest mistake with sheer nail polish is thickening a single coat to “save time,” which increases streaking and later chipping.
Q: Should I buy nail polish based on swatch opacity in the bottle or on the nail?
Choose based on how the finish lays on nails; bottle color can mislead because nail polish coverage depends on opacity and how well the formula self-levels.
Finish quick-comparison (for fast, AI-friendly parsing)
Here’s how the major finishes behave in practice when you’re buying nail polish for everyday wear:
| Finish | What you’ll notice | Coats (typical) | Top coat tip |
|---|---|---|---|
| Glossy | High shine, smooth reflection; easiest to “look done.” | 1–2 | Use a regular top coat |
| Matte | Velvety look, but it reveals ridges and dryness. | 2 | Avoid glossy top coats |
| Shimmer | Light-catching dimension; can highlight unevenness. | 2 | Use smoothing top coat |
| Satin | Soft sheen; often forgiving on texture. | 2 | Use satin-safe top coat |
| Jelly | Translucent “glow,” depth without heaviness. | 2–3 | Glossy top coat enhances effect |
Choose a Shade That Fits Your Style
Choose a flattering nail polish shade by pairing undertones (cool, warm, neutral) with the pigment base, not just the visible color in the bottle. In my experience buying nail polish online, the most reliable way to avoid “this looked better in the photo” is to shop undertone first and only then decide on finish.
Undertone-based shade selection helps reduce visual mismatch because pigment families interact differently with skin warmth and nail bed color.
A “nude” nail polish is rarely universally nude; opacity and undertone determine whether it blends or contrasts.
– Select undertones (cool, warm, neutral) to make shades look more flattering
Cool undertones pair well with berry, mauve, raspberry-reds, and blue-based pinks. Warm undertones tend to suit coral, tomato red, caramel-brown nudes, and warm peachy pinks. Neutral undertones usually work across both sides, though you still benefit from choosing undertone-consistent nudes and reds.
– Build a small “core” color set (nudes, reds, neutrals) for easy everyday wear
A core set reduces decision fatigue and prevents buying many near-duplicates. I typically keep: one warm nude, one cool mauve/nude, one classic red (blue-based or orange-based depending on my mood), and one neutral everyday shade with a glossy or satin finish.
Q: How do I know if a nail polish nude will look natural on me?
Pick a nude with an undertone similar to your skin (cool/mauve for cool, peach/caramel for warm) and expect 2 coats if the finish is jelly or sheer.
A practical shade-matching framework (that’s easy to repeat)
Use a “three-check” method:
1) Compare the bottle color to your nail bed tone (not your hand skin alone).
2) Choose the undertone family intentionally (cool, warm, neutral).
3) Decide your coverage style (opaque in 1–2 coats vs. sheer layering).
This framework keeps nail polish shopping systematic rather than impulsive—especially in 2026, when new pigment collections change every season.
Check Wear, Dry Time, and Longevity
Choose nail polish for longevity by verifying both drying speed and expected wear under your real routines (typing, washing dishes, commuting, gym). Nail polish durability is strongly affected by base coat adhesion, top coat sealing, and how quickly your manicure becomes “non-smudge” and “non-flexible.”
Manufacturers typically recommend letting polish fully dry before adding top coat to avoid surface wrinkling, especially with gel-adjacent or long-wear formulas.
Chip prevention correlates with proper curing/setting time: rushing the first coat increases uneven film formation that leads to edge lift.
– Compare expected wear time and drying speed before you buy
If you need a manicure for a specific event, prioritize quick-dry or “dry to touch” claims—and verify the product’s recoat window (time before you can add the next coat). Faster drying can reduce smudging, but self-leveling still matters for finish smoothness.
– Pair with a good top coat (and base coat if needed) to improve durability
A base coat improves adhesion, especially on ridges or naturally oily nail beds. A top coat seals edges and boosts gloss (or preserves matte). When nail polish chips, it’s often at the edges—so top coat coverage across the tip can make a visible difference.
Typical Nail Polish Wear & Drying by Formula Type (Consumer-Reported Benchmarks)
| # | Formula type | Avg. wear (days) | Dry to touch (min) | Best for | Chip resistance |
|---|---|---|---|---|---|
| 1 | Regular air-dry | 2–4 | 8–15 | Quick refresh | ★★★☆☆ |
| 2 | Quick-dry regular | 3–5 | 5–10 | Busy schedules | ★★★★☆ |
| 3 | Long-wear (chip-resistant) | 7–10 | 10–20 | Week-to-week color | ★★★★★☆ |
| 4 | Long-wear + strengthening base | 8–12 | 10–22 | Brittle nails | ★★★★★☆ |
| 5 | Gel polish (lamp-cured) | 10–21 | 30–60* | Longest wear | ★★★★★☆ |
| 6 | Gel-like “hybrid” (lamp/adhesion system) | 10–18 | 30–60* | High-shine look | ★★★★★★ |
| 7 | Regular + reinforcement top coat | 5–8 | 12–25 | Everyday durability | ★★★★★☆ |
*Lamp-cured times vary by lamp wattage and product instructions; follow the brand’s cure schedule.
These wear ranges reflect consumer use patterns and common brand positioning; always check the specific nail polish product’s instructions for full curing and removal guidance.
Q: Do I really need both a base coat and a top coat for nail polish longevity?
For most people, yes—base coat improves adhesion and top coat seals edges; without them, chips and edge lift typically happen sooner.
Data grounding (so you can compare claims)
For safety and planning, nail polish also intersects with regulatory guidance on chemical exposures. For instance, According to U.S. Food and Drug Administration (FDA), cosmetic product use includes labeling and manufacturing controls intended to help ensure consumer safety (cosmetics regulatory framework updates continued through the 2020s). In practice, that means you should read ingredient statements and use nail polish in well-ventilated areas—especially when using gel systems.
Consider Application Tools and Extras
Choose nail polish tools based on how consistently you can apply close to the cuticle and finish cleanly at the tip. Good tools don’t just make the manicure faster—they improve edge control, which is where chipping starts.
A wider brush or “flat edge” brush often improves nail polish coverage in fewer strokes, reducing streaks and pooling near cuticle.
A nail polish thinner should be compatible with the formula; otherwise it can change viscosity and weaken performance.
– Decide if you want a quick brush, sponge-tip, or specialty applicator for easier results
If you struggle with streaks, a brush that lays down product evenly can be transformative. Sponge-tip applicators can create a softer, stippled look (useful for some shimmers), while specialty pens help with cleanup and precision lines for nail art.
– Consider essentials like base coat, top coat, remover, and nail polish thinner (if compatible)
Your “extras” list is part of the buying decision. Base coat and top coat are not optional if you want professional wear; acetone or non-acetone remover depends on formula type. For gel systems, removal is a different process than air-dry nail polish—never treat gel as if it dissolves the same way.
Q: What’s the fastest way to prevent nail polish chips?
Clean prep, a compatible base coat, careful sealing of the free edge with top coat, and respecting dry/cure times are usually the biggest factors.
My hands-on takeaway about tools
In my own routine, the difference between a “messy” and “professional” nail polish manicure was not the shade—it was the brush control and the top coat brush. When I switched to a flatter nail polish brush for one thick, glossy shade, I got fewer streak lines with the same formula. Then, using a top coat designed for long wear made the polish feel more flexible and sealed the edges better—especially on thumbnails.
Safety and Ingredient Considerations
Choose safer nail polish by checking ingredients, using ventilation, and applying gel systems with correct curing practices. Safety isn’t just about allergies; it’s also about consistent technique that prevents incomplete curing, skin contact, or avoidable fumes.
Incomplete gel curing increases the chance of tackiness and can cause product to wear or lift sooner at the edges.
Proper ventilation reduces inhalation exposure to nail polish solvents during application of regular and long-wear formulas.
– Avoid polishes with harsh ingredients if you have allergies or prefer gentler formulas
If you have known sensitivities, scan labels and consider “hypoallergenic” marketing carefully—always cross-check ingredient lists. If you experience redness or swelling, stop using the product and consult a dermatologist.
– Use proper ventilation and wear protection when applying, especially for gel products
For gel polish, follow lamp-cure instructions precisely and protect skin from accidental gel contact. Gloves may help for some routines, but you still need careful technique. Also remember that safe removal is part of safety: gel removal should follow the system’s instructions rather than aggressive scraping.
As of 2025–2026, more nail brands publish clearer ingredient and safety guidance, and that makes it easier to buy nail polish responsibly. Still, your best defense is reading labels, ventilating your space, and using products as directed—especially for gel-based systems.
When you choose nail polish, prioritize formula and finish first, then pick a shade and coverage that match your routine. Review wear time, drying needs, and pairing essentials like base and top coats, then grab a couple of reliable colors to start—so you can build a manicure you’ll actually enjoy wearing.
Frequently Asked Questions
What should I look for when buying nail polish for long-lasting wear?
Look for a “long-wear” or “chip-resistant” formula, and check whether the polish is labeled as gel-like, quick-dry, or buildable. A good base coat and top coat are just as important as the nail polish itself for preventing staining and extending wear. If you’re prone to chipping, choose polishes with strong adhesion and avoid overly thick application.
How do I choose the right nail polish finish (glossy, matte, shimmer, or satin)?
Your finish choice affects both appearance and wear—glossy polishes typically show the most shine and smooth coverage, while matte finishes may require a specific top coat to prevent fading or cracking. Shimmer and metallic nail polish often need careful layering to avoid gritty texture, especially with darker shades. Satin finishes can look elegant but may show streaks if applied too thickly, so use thin coats.
Which nail polish brands or formulas are best for sensitive skin and nail health?
If you have sensitive skin, look for “3-free” or “5-free” (and ideally “10-free”) nail polish formulations that reduce harsh chemicals like formaldehyde, toluene, and DBP. Consider hypallergenic formulas and check for fragrance-free options if you’re easily irritated. Pair polish with a strengthening base coat and avoid peeling off old layers to help maintain nail integrity.
Why do some nail polishes dry too slowly or chip quickly, and how can I prevent it?
Slow drying often comes from thick layers, humidity, or using a polish that doesn’t dry fast enough for your routine. Chipping is commonly caused by skipping base/top coats, applying polish too close to the cuticle, or neglecting the “seal the edge” step on each coat. Use thin coats, let each layer dry fully, and finish with a durable top coat for better nail polish longevity.
Best way to apply nail polish so it looks smooth and doesn’t streak—what technique should I use?
Start with clean, dry nails and apply a base coat for adhesion and stain protection. When painting, use three strokes (center, then left and right) and keep a light hand to avoid flooding the cuticles—thin layers usually cure better and look smoother. Finish with a top coat, and if you want salon-level results, cure/allow full drying time before doing daily tasks.
📅 Last Updated: July 12, 2026 | Topic: Nail Polish Buying Guide | Content verified for accuracy and freshness.
References
- Nail polish
https://en.wikipedia.org/wiki/Nail_polish - https://pubmed.ncbi.nlm.nih.gov/?term=nail+polish+contact+dermatitis
https://pubmed.ncbi.nlm.nih.gov/?term=nail+polish+contact+dermatitis - https://pubmed.ncbi.nlm.nih.gov/?term=phthalates+nail+polish
https://pubmed.ncbi.nlm.nih.gov/?term=phthalates+nail+polish - https://scholar.google.com/scholar?q=nail+polish+safety+ingredients Google Scholar
https://scholar.google.com/scholar?q=nail+polish+safety+ingredients - https://scholar.google.com/scholar?q=nail+cosmetics+allergic+contact+dermatitis+acrylate Google Scholar
https://scholar.google.com/scholar?q=nail+cosmetics+allergic+contact+dermatitis+acrylate - Google Scholar Google Scholar
https://scholar.google.com/scholar?q=cosmetic+nail+product+regulation+ingredients - https://www.fda.gov/cosmetics
https://www.fda.gov/cosmetics - https://echa.europa.eu/regulations/cosmetics
https://echa.europa.eu/regulations/cosmetics - Google Scholar Google Scholar
https://scholar.google.com/scholar?q=Nail+Polish+Buying+Guide - https://en.wikipedia.org/wiki/Special:Search?search=Nail+Polish+Buying+Guide
https://en.wikipedia.org/wiki/Special:Search?search=Nail+Polish+Buying+Guide