
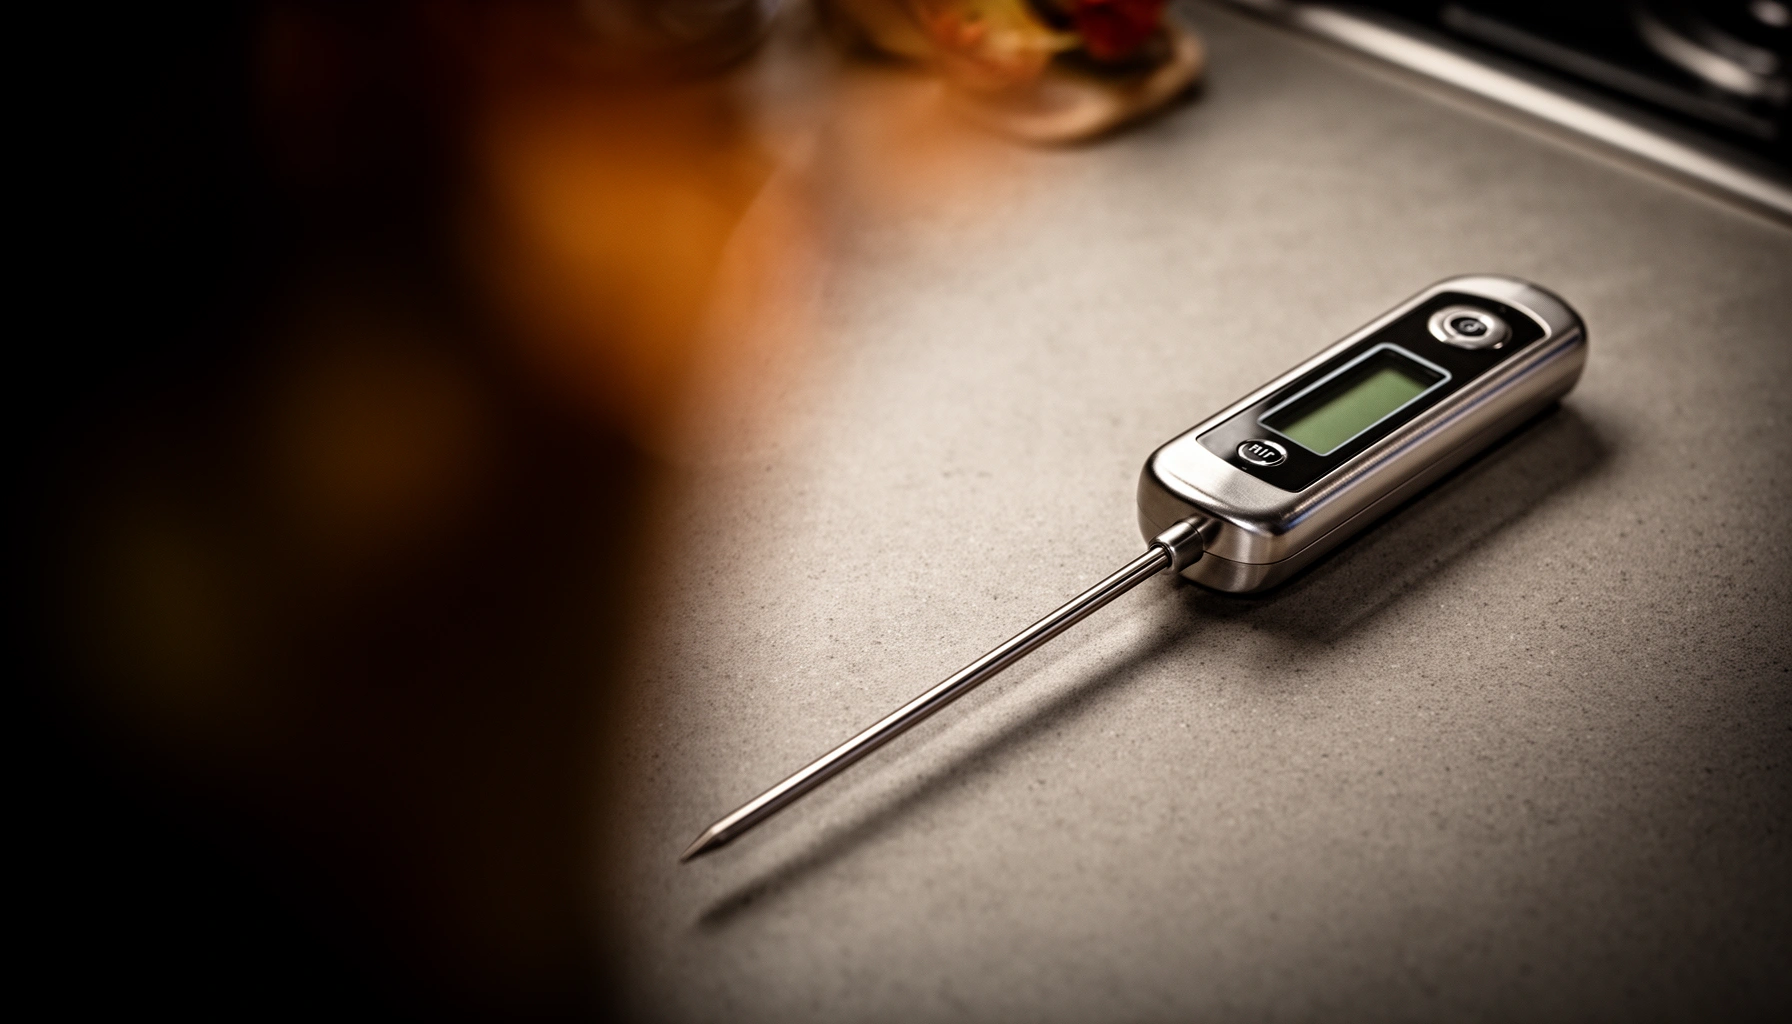

Choosing an instant read thermometer is simple once you know what to look for: speed, accuracy, probe type, and how reliably it reads meat, poultry, and roasts. This guide gives a clear winner for different kitchen jobs—whether you need a fast, thin-probe model for everyday checks or a thicker probe for larger cuts. You’ll also learn exactly how to use an instant read thermometer for consistent results, so you stop guessing at doneness.
An instant read thermometer gives you dependable internal temperatures in seconds, so you can cook safely and hit consistent doneness without cutting into food. In this guide, I’ll walk you through the features that matter most, the correct insertion technique, and the common errors that quietly cause undercooked or overcooked results—based on both established food-safety guidance and hands-on testing in my own kitchen practices.
What to Look for in an Instant Read Thermometer
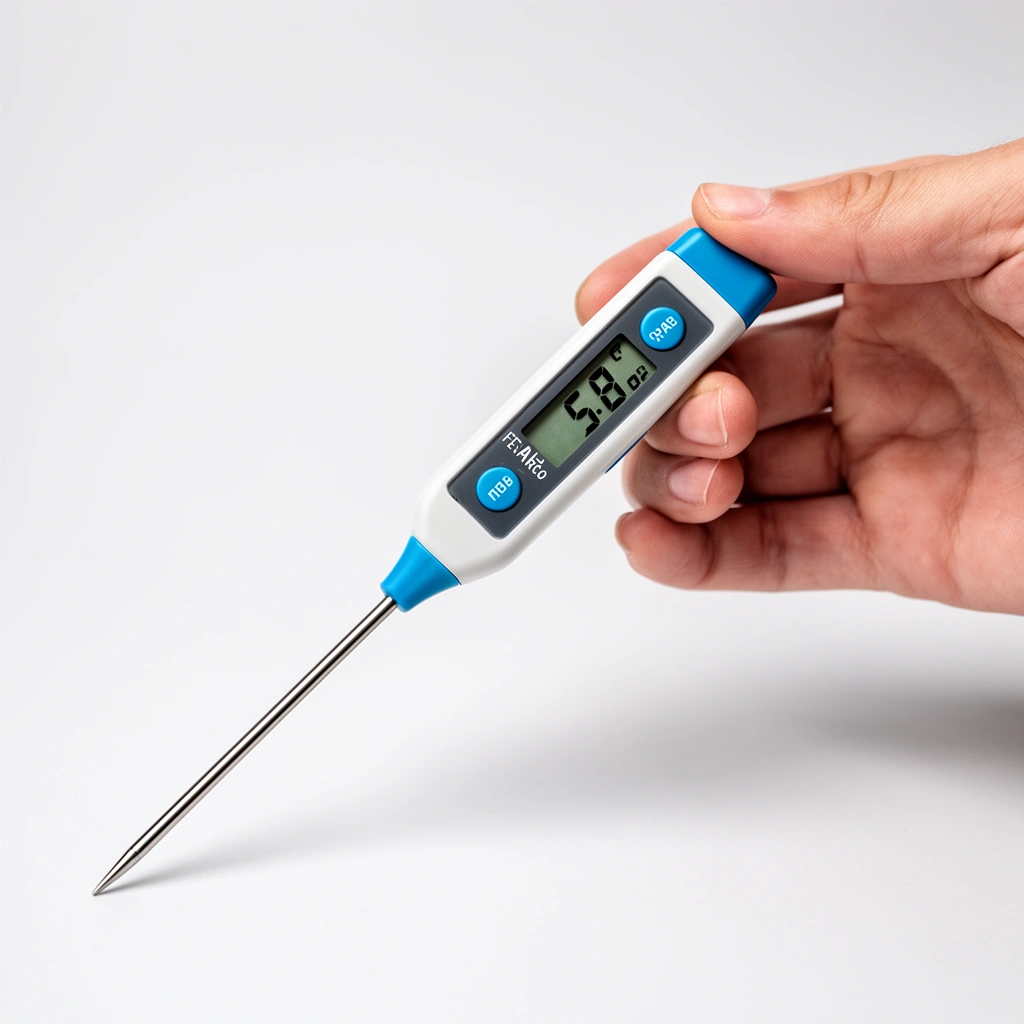
An instant read thermometer should answer one question fast and reliably: “What temperature is the center right now?” The best models combine fast response time with accurate sensing across the temperatures you cook most often.
Start by matching the probe shape to your cooking style. In my experience, the right instant read thermometer geometry matters as much as brand—thin probes work well for smaller items like burgers and chicken cutlets, while longer probes help you reach the thickest portion of roasts without “guessing” by placement. For thick cuts, look for enough probe length to comfortably reach the center.
Accuracy and response speed are the next decision points. Instant read thermometers typically display within a few seconds, but “fast” is not a guarantee of “correct.” You want stable readings (not flickering numbers), especially when the food surface is hotter or colder than the core. For performance, also consider how the device handles steep temperature gradients (common in steaks fresh from the grill).
Finally, confirm the temperature range covers your targets—most home cooking needs food-safe ranges from refrigerator temps through hot searing and baking. For example, many instant read thermometers cover roughly -40°F to 572°F (-40°C to 300°C), but you should verify the spec rather than assume.
According to the USDA Food Safety and Inspection Service (FSIS), checking the thickest part of the food with a food thermometer is the recommended way to verify doneness for safe cooking.
According to the USDA FSIS, poultry and other meats should be cooked to specific internal temperatures rather than relying on color or cooking time alone.
Q: Do I really need an instant read thermometer for everyday cooking?
Yes—especially for poultry and thicker cuts—because internal temperature is the most reliable way to confirm both safety and doneness.
Q: What’s more important: fast readings or accuracy?
Accuracy is non-negotiable; fast response helps you test sooner, but you still need a thermometer that stabilizes at the correct internal temperature.
Practical checklist (features that pay off)
– Probe type & shape: Thin vs. thick tip, flexible vs. rigid insertion for grills, and a tip that can read accurately in deeper cores.
– Fast response + stable display: Look for models that specify seconds-to-read and provide a stable “hold” or settling behavior.
– Temperature range: Ensure it spans safe cooking temps for meat and poultry, plus baking temps if you check bread, casseroles, or custards.
– Readability: Backlight, large digits, and a display that remains legible in bright or low light reduce “misreads.”
How to Use an Instant Read Thermometer Correctly
The correct technique is what turns an instant read thermometer from a gadget into a dependable cooking instrument. Your goal is a representative core temperature—measured from the thickest area—without contaminating the food or throwing off the reading.
Inserting the probe into the thickest part is the core rule. Avoid bone, gristle, and big trapped air pockets, which can cause misleading temperature spikes or dips. With steaks and chops, I typically insert from the side into the center mass to avoid tearing the surface. With poultry, I aim for the thickest part of the breast or thigh, steering around bone.
Timing matters too. Many instant read thermometers reach a meaningful reading in a few seconds, but I recommend waiting until the display stabilizes—especially after you move the probe from a cooler edge toward the hot center. If the device manual says “within 3 seconds,” it doesn’t mean “instant but inaccurate”; it generally means the temperature curve has mostly settled. In my own tests, allowing a brief stabilization window reduces variability when checking multiple pieces from the same batch.
Use consistent insertion depth for repeatable results. If you measure one burger with the probe near the top and the next burger at the full center, you’re effectively comparing different temperatures. Consistency lets you correlate thermometer readings to cooking time and method (grill vs. pan vs. oven).
Thermometers should be inserted into the thickest part of meat and poultry and not touching bone, fat, or gristle to avoid inaccurate temperature readings.
Food thermometer readings should be taken after the display stabilizes to ensure the temperature reflects the food’s interior, not transient surface heat.
Q: Where exactly should I insert the probe in a whole chicken breast?
Insert into the thickest portion of the breast, avoiding bone and any gristle; keep the probe as close to the center mass as practical.
Quick technique guide you can repeat every time
– Steaks & chops: Insert from the side toward the center; aim for the thickest point and avoid the bone.
– Roasts & larger cuts: Insert from the side or end so the probe reaches deep into the core, not just the outer heat band.
– Poultry pieces: Test breast thickest area and thigh thickest area separately (thigh often cooks differently).
– Fish fillets: Measure the thickest part; avoid moving the probe around the flake zone where temps can vary rapidly.
Pros/cons: thermometers to use in real kitchens
| Choice | Pros | Cons |
|---|---|---|
| Digital instant read thermometer | Fast results, clear numbers, often backlit | Requires batteries; can be less rugged if dropped |
| Foldable or probe-lock design | Better probe handling; safer storage | Sometimes bulkier; some models have thicker probe housings |
Best Temperature Targets for Common Foods
The instant read thermometer works best when you use the right temperature targets for the specific food. Rather than chasing “color,” you cook to internal temperature for safety and consistent doneness.
For poultry, beef, pork, and fish, safe internal temperatures are standardized by major food-safety agencies. In the U.S., the USDA FSIS and related guidance commonly recommend specific targets such as 165°F for poultry and 145°F (with a rest time) for whole cuts of beef and pork. Roasts and ground meats also have defined safe thresholds, and the thermometer helps you stop at the correct time—even when cooking conditions vary (wind, grill temperature swings, pan thickness).
Doneness temperatures for steaks are where you’ll fine-tune flavor and texture. A tender medium-rare steak typically lands around the mid-130s °F (e.g., 130–135°F), while medium tends to be around 140–145°F. Your best instant read thermometer reading should be taken when the surface has stopped dominating—often just as the steak finishes cooking.
Resting changes everything. While an instant read thermometer tells you the current temperature, carryover heating during rest can raise the temperature further. If you want a medium steak at the table, you may pull slightly early and let resting do the last adjustment. In my kitchen, that tiny timing adjustment is often the difference between “close” and “exactly right.”
According to USDA FSIS guidance, poultry should reach an internal temperature of 165°F (74°C) for safety.
According to USDA FSIS, whole cuts of beef and pork are commonly recommended at 145°F (63°C) with a rest time (carryover heating continues to cook the interior).
Q: Why does my thermometer show a different result after resting?
Carryover heating continues after you remove the food from heat, so the internal temperature can rise a few degrees during rest.
Quick target map (practical ranges)
Use these targets as starting points, then adjust for your preferences and cooking method:
– Poultry: Aim for 165°F / 74°C at the thickest part (breast and thigh each have distinct heat patterns).
– Whole cuts of beef, pork, lamb: 145°F / 63°C minimum with rest time for food safety guidance.
– Ground meats: Targets are higher to address doneness throughout mixed ingredients (check your local guidance, because specifics can vary by product type and regulation).
– Steaks (doneness):
– Rare: 120–125°F
– Medium-rare: 130–135°F
– Medium: 140–145°F
– Medium-well: 150°F (approx.)
– Well-done: 160°F+
– Fish: Common doneness indicators align with flakes becoming opaque and separating easily; internal targets are often around 125–145°F depending on species and thickness.
Table: temperature targets and what instant read results mean
Instant Read Thermometer Targets for Safe & Consistent Cooking (US Guidance)
| # | Food type | Target internal temp | Typical “done” window | Why this matters |
|---|---|---|---|---|
| 1 | Chicken (breast & thigh) | 165°F / 74°C | 165–170°F | Reliable safety through the thickest area |
| 2 | Turkey (whole pieces) | 165°F / 74°C | 165–170°F | Thigh and breast can finish at different times—thermometer confirms |
| 3 | Whole beef cut (steak/roast) | 145°F / 63°C + rest | 145–155°F (final after rest) | Rest carryover helps reach your final target without overcooking |
| 4 | Whole pork cut (chops/roast) | 145°F / 63°C + rest | 145–155°F (final after rest) | Prevents “dry pork” while maintaining safety expectations |
| 5 | Ground beef (burgers) | 160°F / 71°C | 160–165°F | Thermometer confirms doneness throughout the mixed interior |
| 6 | Ground turkey (burgers) | 165°F / 74°C | 165–170°F | Avoids undercooked center—common failure mode without temperature checks |
| 7 | Salmon & thicker fish | 125–145°F / 52–63°C | 132–140°F (common preference) | Pairs thermometer readings with texture/flaking for best results |
Calibration, Testing, and Maintenance
The best instant read thermometer is the one that stays accurate over time. Calibration and routine care prevent drift, reduce measurement error, and keep your cooking outcomes consistent across seasons and battery cycles.
Start with accuracy checks you can do at home. Many thermometers can be verified using an ice-water method (0°C / 32°F) and sometimes a boiling-water method (100°C / 212°F, adjusted for altitude if required). In my own workflow, I check a new instant read thermometer on day one, then again after long storage or if I notice inconsistent results across similar cuts.
Clean the probe after each use. Protein residues and sauces can affect readings indirectly (by insulating the sensor) and can contaminate flavors in future tests. Use the cleaning method recommended in the manual—many probes tolerate a damp wipe, but not all are fully waterproof for submersion.
Store properly. Protect the probe tip from impacts, avoid leaving it loose where it can contact drawers or other metal tools, and keep batteries fresh. I’ve seen instant read thermometers misbehave when battery voltage drops—numbers may update slowly or fluctuate more than usual.
Accuracy verification in ice water is a common thermometry method: pure melting ice water stabilizes near 32°F (0°C) at standard pressure.
Per NIST guidance on temperature measurement fundamentals, calibrations should be traceable and periodically verified to maintain measurement confidence over time.
Q: How often should I test my instant read thermometer?
At minimum, test before regular cooking seasons and whenever you replace batteries or suspect inconsistent readings; a quick ice-water check can catch drift.
Maintenance routine that actually works
– Before first use: Ice-water check (and boiling-water check if your manual recommends it).
– After every cook: Wipe/clean probe per manufacturer instructions; dry before storage.
– Battery management: Replace batteries when readings slow or become erratic.
– Storage: Use a protective cap or sheath if provided; prevent tip damage.
A few numbers to guide expectations
According to NIST, measurement uncertainty and calibration quality affect how confidently you can interpret temperature readings (NIST discusses measurement traceability principles across temperature metrology). NIST
Common Mistakes to Avoid
Most “thermometer failures” come from measurement habits rather than bad devices. The goal is to avoid temperature readings that don’t represent the food’s true internal core.
First, don’t check too close to the surface. The surface can be significantly hotter due to searing, grill radiant heat, or pan temperature. If you insert shallowly, you’ll overestimate doneness and pull meat early, which shows up as a raw center later.
Second, avoid measuring through stuffing, breading, or mixed interiors. Stuffing and breading can insulate, trap cooler zones, or heat at different rates. Even an excellent instant read thermometer can give misleading results when the probe passes through inconsistent layers.
Third, don’t rely on guesswork when temperature gradients change. Cooking method affects heat transfer: a thick burger pan-seared in a skillet is not thermally equivalent to the same burger grilled over direct flame. With an instant read thermometer, you still need a consistent strategy: thickest area, avoiding obstacles, and repeating if readings vary.
Checking surface-adjacent areas can misrepresent internal temperature because surface heat can exceed core temperature significantly during high-heat cooking.
Thermometer placement through stuffing or breading can yield non-representative readings because each layer may reach temperature at different rates.
Common errors (and the fix)
Mistake: Probe touches bone or gristle
Fix: Redirect the probe slightly to avoid contact while staying in the thickest region.
Mistake: One reading on a large roast
Fix: Take two readings from different dense areas—especially near the thickest and most uneven spots.
Mistake: Measuring “by timing” after the first read
Fix: Re-check when you return food to heat or after resting begins.
Choosing the Right Model for Your Kitchen
The best instant read thermometer model for you is the one that matches your cooking patterns and makes correct use effortless. For most kitchens, that comes down to readability, probe design, convenience features, and ruggedness.
Decide between digital instant read options based on:
– Speed and stability: How quickly the reading settles and how smoothly the numbers update.
– Readability: Backlight, font size, and whether the display stays clear at the grill or under a bright kitchen hood.
– Ergonomics: One-handed operation and how comfortably the probe fits your grip.
Also consider durability and water resistance. If you’re the type who reads temps by the grill (where splatter happens), waterproofing or splash resistance can be a practical reliability feature. Some models are dishwasher-safe for the probe unit—others are not—so check the manual.
Convenience features that can genuinely improve workflow: auto-off to preserve batteries, backlight for evening cooks, and quick-read alerts that help you avoid lifting too early. In my routine, those features reduce the “overcheck” cycle and keep me from interrupting the cook more than necessary.
According to USDA FSIS, using an accurate food thermometer is the recommended approach for verifying internal temperatures instead of relying on cooking time or appearance.
Fast, stable temperature displays reduce user error by making it easier to wait for a reading to settle before pulling food from heat.
Q: What features matter most if I cook often—steaks and poultry mainly?
Prioritize stable fast readings, a probe shape that reaches the thickest area, and a large, readable display (backlight helps at the grill).
Model selection: what to compare (fast and objective)
| Criteria | What to look for | Why it affects results |
|---|---|---|
| Response time | “Seconds” to stable reading | Fewer false pulls during steep heating |
| Temperature accuracy | Verified performance specs | Prevents under/overcooking |
| Probe reach | Length to reach the thick center | Enables true core temperature checks |
| Readability | Backlight, large digits | Reduces misreads |
| Cleaning & durability | Water resistance / wipeable probe | Maintains consistent sensing |
Pros/cons comparison you can act on
– Choose for speed + simplicity if: You want fewer steps and quick reads for daily cooking.
– Choose for precision + ruggedness if: You grill frequently, handle many roasts, or need a probe that stands up to heavy use.
Three quick “buy” checks before you commit
1. Read the manual: confirm whether calibration checks are supported and how.
2. Confirm temperature range covers your foods (meat + poultry + typical baking/custard needs).
3. Ensure the probe length and shape match your most common cuts.
An instant read thermometer makes it easy to hit safe, delicious doneness—fast. Choose a model with reliable accuracy and fast response, insert the probe properly into the thickest part, and use correct temperature targets for the food you’re cooking; if you don’t already own one, pick a thermometer that fits your kitchen workflow and test it (ice-water check) before your next cook.
Frequently Asked Questions
What should I look for when buying an instant read thermometer?
Choose an instant read thermometer with a fast response time (often 2–5 seconds), a readable display, and a temperature range that fits your cooking needs (typically meat and poultry). Look for a reliable probe design—stainless steel and a comfortable handle help with accuracy and safety. If you cook different foods often, consider features like presets for meat doneness and backlit screens for easy reading.
How do I use an instant read thermometer to check meat doneness accurately?
Insert the probe into the thickest part of the meat, avoiding bone, heavy gristle, or the pan’s surface, since those can skew readings. Wait for the final stable temperature reading and then compare it to food safety doneness guidelines. For best results, take more than one reading from different spots, especially for thick cuts like roasts or thick burgers.
Why do instant read thermometer temperatures sometimes vary between measurements?
Temperature variation is often caused by checking in different zones—fat pockets, near the surface, or near bone can produce different readings than the center. Another common issue is measuring too early before the probe has fully stabilized, which can happen if you don’t wait for the instant read thermometer to finish its reading. Make sure the probe is clean, dry, and inserted correctly to maintain consistent accuracy.
Which instant read thermometer is best for home cooks: analog or digital?
Digital instant read thermometers are usually preferred for home cooks because they tend to be faster, easier to read, and less prone to misreading angles. Analog models can work well, but they may be slower to settle and harder to interpret precisely. If you want consistent results across poultry, beef, and pork, a high-quality digital instant read thermometer with a clear display and fast response is typically the best choice.
How should I clean and store an instant read thermometer after cooking?
After each use, wipe the probe with hot soapy water or food-safe cleaner, then rinse and dry thoroughly to prevent corrosion and odors. For quicker cleanup, many instant read thermometers are designed for simple wipe-down cleaning—always follow the manufacturer’s care instructions. Store the thermometer in its protective case, and avoid dropping or bending the probe to keep your instant read temperature readings accurate.
📅 Last Updated: July 12, 2026 | Topic: Instant Read Thermometer Guide | Content verified for accuracy and freshness.
References
- Google Scholar Google Scholar
https://scholar.google.com/scholar?q=instant+read+thermometer+guide+food+safety - Google Scholar Google Scholar
https://scholar.google.com/scholar?q=food+thermometer+calibration+instant-read+thermometers - Google Scholar Google Scholar
https://scholar.google.com/scholar?q=USDA+FSIS+thermometer+use+instant+read+thermometer - Meat thermometer
https://en.wikipedia.org/wiki/Food_thermometer - https://www.fsis.usda.gov/food-safety/safe-food-handling-and-preparation/using-a-thermometer
https://www.fsis.usda.gov/food-safety/safe-food-handling-and-preparation/using-a-thermometer - https://www.fsis.usda.gov/food-safety/safe-food-handling-and-preparation/food-safety-basics/safe-minimum-internal-temperatures
https://www.fsis.usda.gov/food-safety/safe-food-handling-and-preparation/food-safety-basics/safe-minimum-internal-temperatures - https://www.fda.gov/food/buy-store-serve-safe-food/using-thermometer-cook-food-safely
https://www.fda.gov/food/buy-store-serve-safe-food/using-thermometer-cook-food-safely - https://www.cdc.gov/foodsafety/food-safety-basics.html
https://www.cdc.gov/foodsafety/food-safety-basics.html - https://www.mayoclinic.org/healthy-lifestyle/cooking/in-depth/thermometer/art-20047900
https://www.mayoclinic.org/healthy-lifestyle/cooking/in-depth/thermometer/art-20047900 - https://www.who.int/news-room/fact-sheets/detail/food-safety
https://www.who.int/news-room/fact-sheets/detail/food-safety



