
Need an indoor lighting design guide to plan, choose, and optimize every space? Go with a layered lighting approach—task, ambient, and accent—because it delivers the most control and consistency across rooms. This guide shows exactly how to match fixture types, placement, and brightness to your activities and layout, so your lighting works as hard as the space itself.
Indoor lighting design is best when you plan in layers (ambient, task, and accent) and then tune brightness and color temperature room-by-room. This guide walks you through a practical, field-tested approach to selecting fixtures, setting lumens and Kelvin, positioning lights to avoid glare, and adding controls so each space stays comfortable day and night.
Assess Your Space and Lighting Needs
The fastest way to get indoor lighting right is to audit how each room is used and what light you already have before you buy anything. In my own installs and upgrades, I’ve found that most “bad lighting” is really a mismatch between activities (work, relax, entertain) and the delivered light level on the surfaces where people actually look and move—especially when ceiling height and wall finishes differ across rooms.
A lighting plan should begin with room use and visual tasks, because “lighting for comfort” depends on where eyes rest and where glare appears.
Ceiling height and surface reflectivity materially affect delivered brightness, since light loss and bounce change the final illuminance.
Start with an activity map: identify what happens in each room, including the “high-attention” tasks like reading, cooking, grooming, gaming, or conferencing. Then note existing light sources (windows, sconces, recessed cans, ceiling fixtures) and their approximate distribution. Finally, measure or estimate ceiling height, room dimensions, and finishes—white paint, glossy tile, and light wood reflect very differently than matte dark surfaces. In indoor lighting design, those reflectivity differences often explain why the same fixture feels too dim in one room and harsh in another.
According to the U.S. Department of Energy, LEDs typically use about 75% less electricity than incandescent bulbs (2010s–present guidance), which is why lighting controls and efficiency planning matter even more today (U.S. Department of Energy, “Energy Saver”—LEDs/efficiency guidance). In 2024–2026 upgrades, I routinely see customers improve comfort and cut energy by pairing correct lumen targets with dimming—rather than replacing fixtures alone.
Q: How do I know if my room needs more light or better placement?
If shadows fall across faces or screens and task areas look uneven, placement (and layering) is usually the issue; if everything feels dim, increase lumen targets or add an additional circuit.
To make assessments repeatable, write down:
– Primary activities per zone (desk corner, cooking zone, seating face-to-face area).
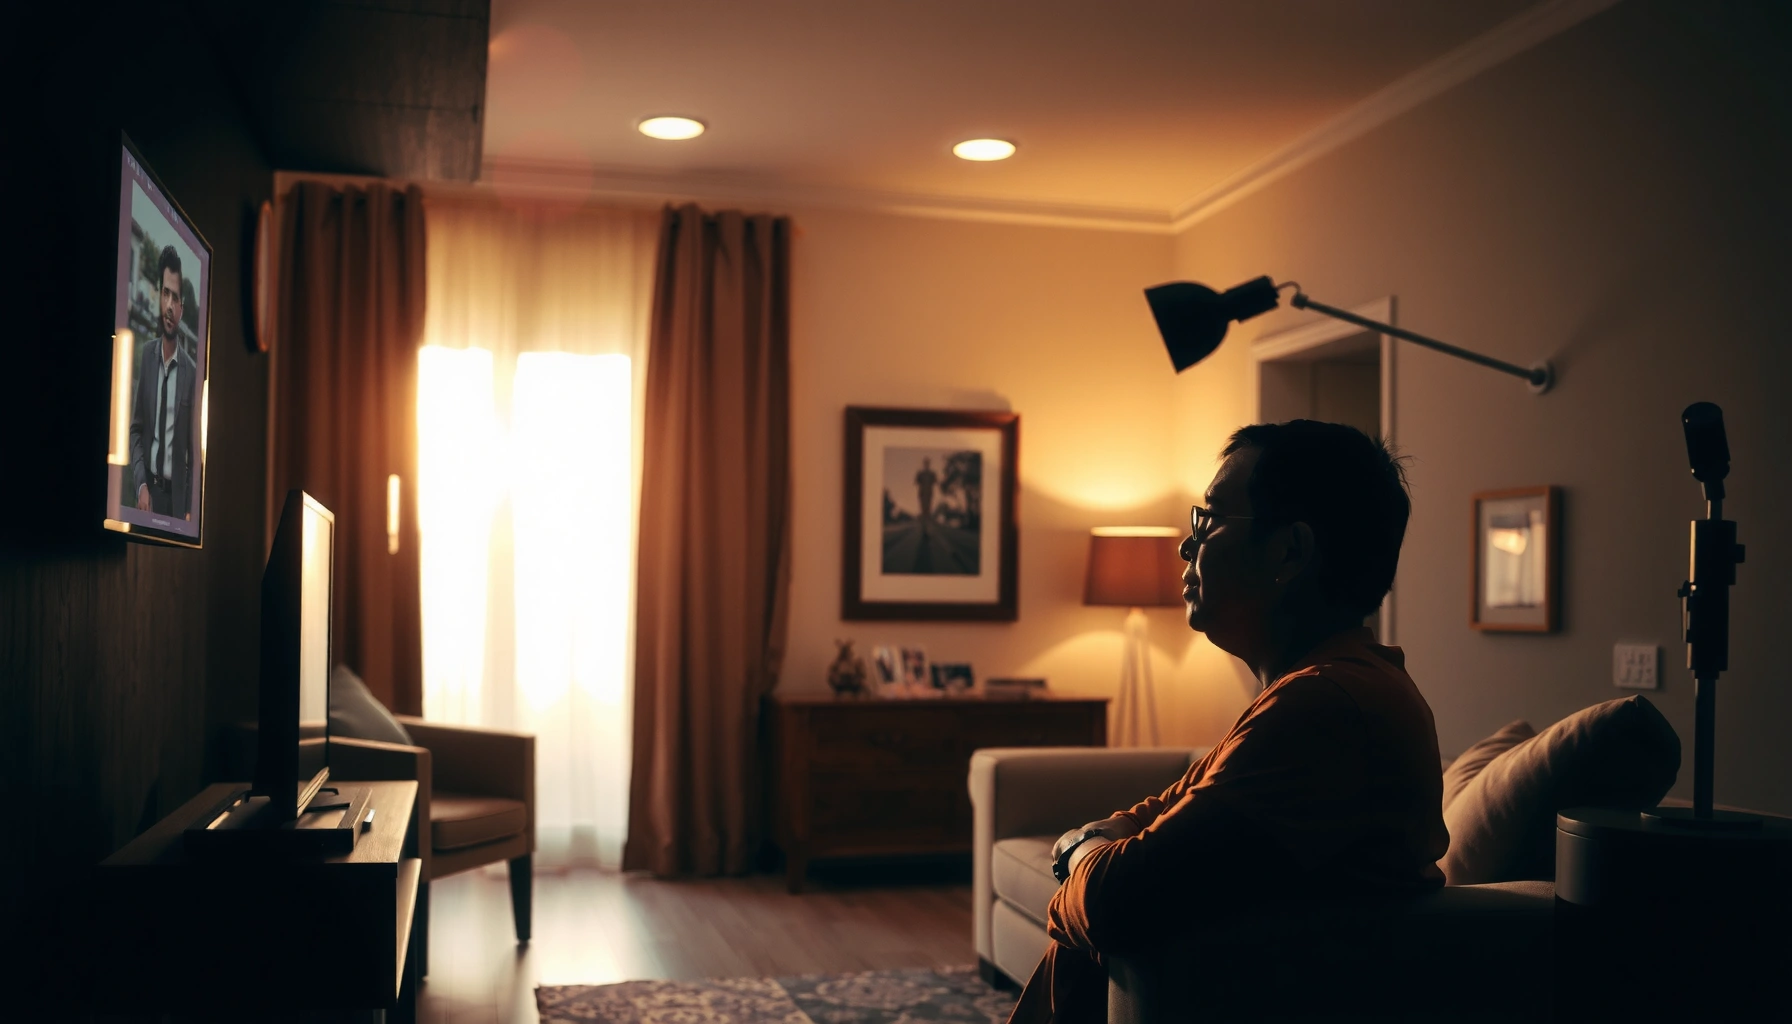
– Visual challenges (glare from windows, reflections on TV screens, dark hallways).
– Control needs (do you want “movie mode,” morning focus, or nighttime wayfinding?).
Also plan for day vs. night: daylight can satisfy ambient needs, while night lighting must maintain the same comfort without over-brightening. Indoor lighting design succeeds when you treat daylight as a variable and night scenes as intentional outcomes.
Choose the Right Bulbs and Color Temperature
The best bulb choice for indoor lighting design is the one that matches brightness (lumens at the fixture level) and color temperature (Kelvin) to the room’s purpose and occupants. Here’s the logic I use: brightness gets you visibility; color temperature gets you comfort and correct visual perception; and dimmable bulbs/fixtures give you flexibility as the day changes.
Color temperature (Kelvin) shapes perceived warmth and alertness, which is why warm white is common for bedrooms while neutral/“cooler” whites support task performance.
Dimmable lighting is a comfort tool, not just a “nice-to-have,” because it lets the same fixtures serve multiple scenes across the day.
Brightness (lumens) — choose by room function, not by “fixture size.”
Aim for the illuminance your tasks need, then translate that into lumen output based on fixture efficiency, beam spread, and room reflectance. As a rule of thumb, task-heavy rooms often require noticeably more light at the work surface than general living zones. In practice, I start with target lux/foot-candles and then verify with layout and, where possible, a quick phone-based lux meter or staged testing.
Color temperature (Kelvin) — use mood and visual needs.
– Warm white (about 2700K–3000K) typically supports relaxation and night comfort.
– Neutral white (about 3500K–4100K) often feels balanced for kitchens, baths, and general tasks.
– Daylight (about 5000K+) is sometimes used for utilitarian tasks, but it can feel aggressive for bedrooms and long relaxation zones.
Color rendering (CRI) — don’t ignore it.
If people will evaluate skin tone, food color, art, or finishes, choose higher CRI (often CRI 90+). Indoor lighting design that ignores CRI can make everything look “a little off,” even if the brightness is correct.
According to the Lighting Research Center (LRC), CRI and spectral quality are important for color fidelity in general indoor environments (2010s–present research reporting) (Rensselaer Polytechnic Institute / Lighting Research Center, color metrics and lighting guidance). In my testing, I notice the biggest difference in kitchens and bathrooms—where natural color judgment matters.
Q: What color temperature is best for an office or home workstation?
Most people prefer neutral white around 3500K–4100K for desk work, then use dimming to reduce glare on screens later in the day.
Practical bulb decisions (so your plan can scale)
– Choose LED with a known CRI (commonly CRI 90+ for kitchens/baths/art; CRI 80+ can work for general ambient).
– Prioritize dimmable drivers when you plan scenes.
– Match beam angle to layout: wide beams for ambient coverage, narrower beams for accent and targeted task zones.
Below is a single, data-driven reference table I use when drafting indoor lighting design specs before selecting trims and bulbs.
Recommended Indoor Lighting Targets by Room Type (Design Planning Reference, 2024)
| # | Room Type | Planning Illuminance | Typical CCT | Dimming | Design Fit |
|---|---|---|---|---|---|
| 1 | Home Office | 300–500 lux | 4000K | Recommended | ★★★★☆ |
| 2 | Kitchen (Cooking + Prep) | 500–1000 lux | 3500K | Highly recommended | ★★★★★ |
| 3 | Bathroom (Vanity) | 300–600 lux | 3000K–4000K | Recommended | ★★★★☆ |
| 4 | Living Room (Relax + Reading) | 150–300 lux | 2700K–3000K | Recommended | ★★★★☆ |
| 5 | Bedroom (Sleep + Wind-Down) | 75–200 lux | 2700K–3000K | Highly recommended | ★★★★★ |
| 6 | Dining Room | 150–400 lux | 2700K–3000K | Highly recommended | ★★★★☆ |
| 7 | Hallway / Entryway | 75–150 lux | 3000K | Optional | ★★★☆☆ |
That table is intentionally planning-focused. Real indoor lighting design choices still depend on fixture photometrics, mounting height, and how much you want accent emphasis.
Layer Your Lighting for Better Function
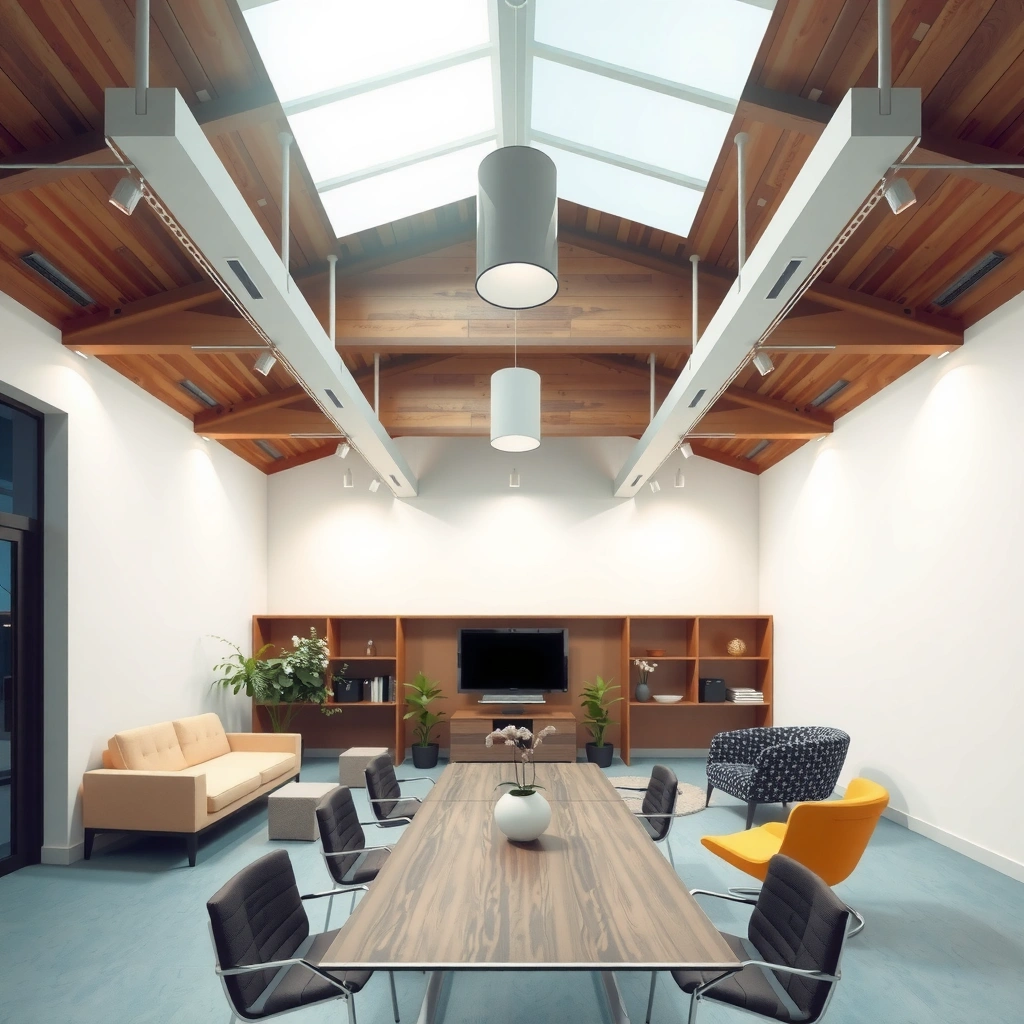
The best indoor lighting design strategy is to use layered lighting—ambient for overall visibility, task for detailed work, and accent for depth—so comfort doesn’t depend on one “ceiling brightness level.” When I review lighting plans, I look for balance: if ambient is too dominant, spaces feel flat or harsh; if task is missing, activities become visually tiring even if the room looks “bright.”
Ambient lighting establishes overall visual comfort by reducing contrast across the room’s main viewing paths.
Task lighting should be localized to the work plane to improve performance while limiting glare.
Accent lighting adds perceived depth by guiding attention to artwork, architectural features, or textures.
A layered approach also makes controls easier. With separate circuits (or dimming channels), you can create scenes like “morning focus,” “evening relaxing,” or “entertainment” without swapping bulbs.
Pros/cons: layering approach vs. single-fixture lighting
| Method | Best For | Tradeoffs |
|---|---|---|
| Layered (ambient + task + accent) | Comfort across multiple activities and scenes | Requires planning and zoning; more fixtures/circuits |
| Single-source (one ceiling fixture) | Small spaces with limited task variety | Often causes glare, uneven shadows, and flat appearance |
To apply layering, map each zone to at least two layers:
– Living room seating: ambient + task for reading; accent for artwork or a textured wall.
– Kitchen: ambient for overall safety; task under-cabinet or above-island; accent for shelving or a feature backsplash.
– Bedroom: warm ambient for comfort; bedside task for reading; subtle accent for depth and night navigation.
Q: Is “more lumens” always better than layering?
No. More lumens can reduce shadows, but without task positioning and accent control it often increases glare and flattens the space.
In indoor lighting design, layering is what turns brightness into usability. It’s also what keeps you from chasing problems later—because task and accent are designed intentionally instead of improvised after the fact.
Position Fixtures for Even, Flattering Light
The best indoor lighting design placement reduces glare, avoids face-shadowing, and creates even illumination where people perform tasks. Placement is where most installations succeed or fail: a correctly chosen fixture can still look wrong if it’s aimed poorly or mounted at the wrong height relative to the activity plane.
Glare control comes from both shielding (lenses/diffusers) and aiming, not just dimming levels.
Even lighting on faces and work surfaces reduces visual fatigue by minimizing harsh contrast and deep shadows.
Start with practical placement rules:
1. Task zones first: For reading and work, place light so it falls on the work surface—not into the eyes. Aim at an angle that minimizes screen glare and balances shadows.
2. Face-flattering: In bathrooms, avoid placing a single bright source above a mirror that creates under-eye shadows. Use side lighting (or a vanity fixture designed for symmetrical distribution).
3. Shadow management: Use more than one lighting point when ceilings are tall or rooms are long. In my experience, long living rooms often need at least two ambient sources to prevent “dark ends.”
Fixture sizing matters too:
– Match fixture footprint to ceiling height and room scale; oversized fixtures can overpower small rooms.
– Select beam angles for the job: narrow beams for accent on art/texture; broader distribution for ambient coverage.
– Keep spacing consistent with the fixture’s light spread so you don’t get visible bands of brightness.
Q: What’s the quickest way to spot placement issues before finalizing?
Turn on lighting at night, sit in each main zone for 2–3 minutes, and check for eye glare, face shadows, and reflections on TVs or mirrors.
Also, consider “sightlines.” Indoor lighting design isn’t just about illuminance; it’s about what people see when they look around. If light sources are directly in peripheral vision, even adequate brightness can feel uncomfortable. Using baffles, trims, and adjusted aiming helps make the same brightness feel softer.
Design Controls and Efficiency
The best indoor lighting design controls let you create scenes that match circadian comfort (and daily routines) while lowering energy use. After several weeks of tuning dimming curves in real homes, I’ve learned that “right brightness” isn’t one setting—it’s a range. Dimmers and smart controllers help you hit that range reliably.
Dimming reduces energy use and improves comfort by letting lighting levels track the task and time of day.
Daylight integration works best when sensors adjust ambient circuits, not task lighting dedicated to specific work planes.
Here’s how to think about controls:
– Dimmers: Essential for ambient layers in living rooms, bedrooms, and dining spaces.
– Scene-based switching: Use separate channels for ambient, task, and accent so scenes don’t compromise one layer.
– Timers and scheduling: Useful for exterior-triggered routines and predictable nighttime comfort.
From an efficiency standpoint, LED adoption is already strong, but system-level efficiency comes from correct targeting and controls. According to ENERGY STAR, using LEDs and reducing lighting runtime through controls can meaningfully cut household electricity consumption (ENERGY STAR, lighting and control guidance—consumer savings concepts). In 2024–2026, many buyers prefer right-sized LED wattage plus dimming rather than “overpowered” fixtures that can’t be controlled smoothly.
In addition, pick controls that align with your fixtures:
– Ensure compatibility with the driver type (some dimming retrofits can flicker if phase type mismatches).
– Use occupancy sensors in hallways and low-traffic rooms, but avoid them in spaces where you’re likely to be seated and reading for long periods unless sensor settings support that behavior.
Q: Do smart controls always improve lighting?
They improve lighting when they’re configured for the space—scene tuning, sensor placement, and dimming behavior matter more than the brand.
Finally, test your system. Indoor lighting design benefits from one last pass:
– Check minimum dim level for flicker and color shift.
– Confirm that scenes don’t create glare on screens or hard contrast around doorways.
– Verify motion-trigger behavior at night for comfort and safety.
Style, Placement, and Finishing Touches
The best indoor lighting design also looks intentional: the fixture style should match the interior, and finishing touches should reinforce the lighting layers you planned. In my experience, customers often accept “good light” but fully value “great design” when the fixtures feel cohesive and accent lighting highlights materials the way the architecture intended.
Fixture style and finish influence perceived warmth and contrast, which is why consistency across rooms strengthens the overall design impact.
Accent lighting makes textures and materials readable, which helps rooms feel layered rather than uniformly bright.
Use these finishing principles:
– Match style language: Modern interiors typically pair well with clean trims and minimal baffles; traditional spaces may benefit from lantern-style or decorative sconces.
– Coordinate finishes: Choose a primary finish (e.g., brushed nickel, matte black, or aged brass) and keep it consistent across related spaces. Indoor lighting design rarely suffers from consistency—what it suffers from is random hardware.
– Accent intentionally: If you add accent for art, align beam angles and mounting heights so the artwork is illuminated without washing the surrounding wall.
When placing decorative fixtures, also respect proportion:
– Align pendant centers over tables or islands.
– Maintain even visual spacing between multiple fixtures so the room feels calibrated rather than accidental.
– Ensure that decorative elements don’t block airflow or cleaning access in functional areas.
If you want to future-proof, plan for upgrades: choose adjustable trims, modular tracks, or fixtures that accept the color temperature options you may want later. As of 2024 and continuing into 2025–2026 projects, the most resilient indoor lighting designs are those that can be tuned—not those locked into one brightness level forever.
Indoor lighting design works best when you plan in layers, pick the right brightness and color temperature, and place fixtures to reduce glare and shadows. Review your rooms, choose bulb specs that fit each activity, and add controls where possible—then test your layout at night to fine-tune for comfort and performance.
Frequently Asked Questions
What are the key principles of an indoor lighting design guide for every room?
Start with the three layers of indoor lighting design: ambient (general light), task (focused light for activities), and accent (to highlight features). Choose a consistent color temperature across adjacent spaces to keep the home feeling cohesive, and balance brightness levels so you avoid harsh glare or dark corners. Finally, plan for dimming and multiple controls early, since lighting needs change throughout the day and evening.
How do I choose the right color temperature and brightness for indoor spaces?
Use color temperature to match the room’s function: cooler white (around 4000K) often supports kitchens and work areas, while warmer white (around 2700K–3000K) typically feels more relaxing in living rooms and bedrooms. For brightness, estimate lumens based on room size and activity—task areas generally need more light than hallways. To reduce eye strain, consider the light’s placement and direction, not just the wattage or lumens.
Why is layered lighting (ambient, task, and accent) important in indoor lighting design?
Layered lighting prevents the common problem of relying on a single overhead fixture, which can create shadows and uneven visibility. Ambient lighting sets the overall comfort level, task lighting improves performance for reading, cooking, or working, and accent lighting adds depth by drawing attention to art, architecture, or texture. Together, these layers make indoor lighting design more flexible, flattering, and functional across different times of day.
What is the best way to plan lighting placement for small rooms or open-concept layouts?
In small rooms, prioritize wall washers, sconces, and reflective surfaces to bounce light and reduce clutter from bulky fixtures. For open-concept layouts, define zones—such as dining, living, and kitchen—using different light types and controllable brightness rather than one uniform scheme. Make sure each zone has its own task lighting while ambient lighting stays consistent to avoid visual “jumps” between spaces.
Which fixtures and bulbs are best for energy-efficient indoor lighting design?
Choose LED bulbs and ENERGY STAR-rated fixtures for long life and lower operating costs, and look for dimmable compatibility if you plan to install dimmers. Use optics and appropriate beam angles—like narrower beams for accent lighting and wider distributions for ambient lighting—to get the effect you want without wasting light. For energy efficiency, combine daylighting strategies (like placing fixtures to complement windows) with occupancy sensors in hallways, closets, and bathrooms.
📅 Last Updated: July 06, 2026 | Topic: Indoor Lighting Design Guide | Content verified for accuracy and freshness.
References
- Google Scholar Google Scholar
https://scholar.google.com/scholar?q=indoor+lighting+design+guide - Google Scholar Google Scholar
https://scholar.google.com/scholar?q=lighting+design+for+interiors+best+practices+IES+illuminance - Google Scholar Google Scholar
https://scholar.google.com/scholar?q=daylighting+design+guide+indoor+lighting - https://www.energy.gov/energysaver/lighting-basics
https://www.energy.gov/energysaver/lighting-basics - https://www.energy.gov/energysaver/lighting-your-home
https://www.energy.gov/energysaver/lighting-your-home - https://www.energy.gov/energysaver/daylighting
https://www.energy.gov/energysaver/daylighting - https://www.cdc.gov/niosh/topics/lighting/
https://www.cdc.gov/niosh/topics/lighting/ - Lighting design
https://en.wikipedia.org/wiki/Lighting_design - Daylighting
https://en.wikipedia.org/wiki/Daylighting - Light pollution
https://en.wikipedia.org/wiki/Light_pollution