
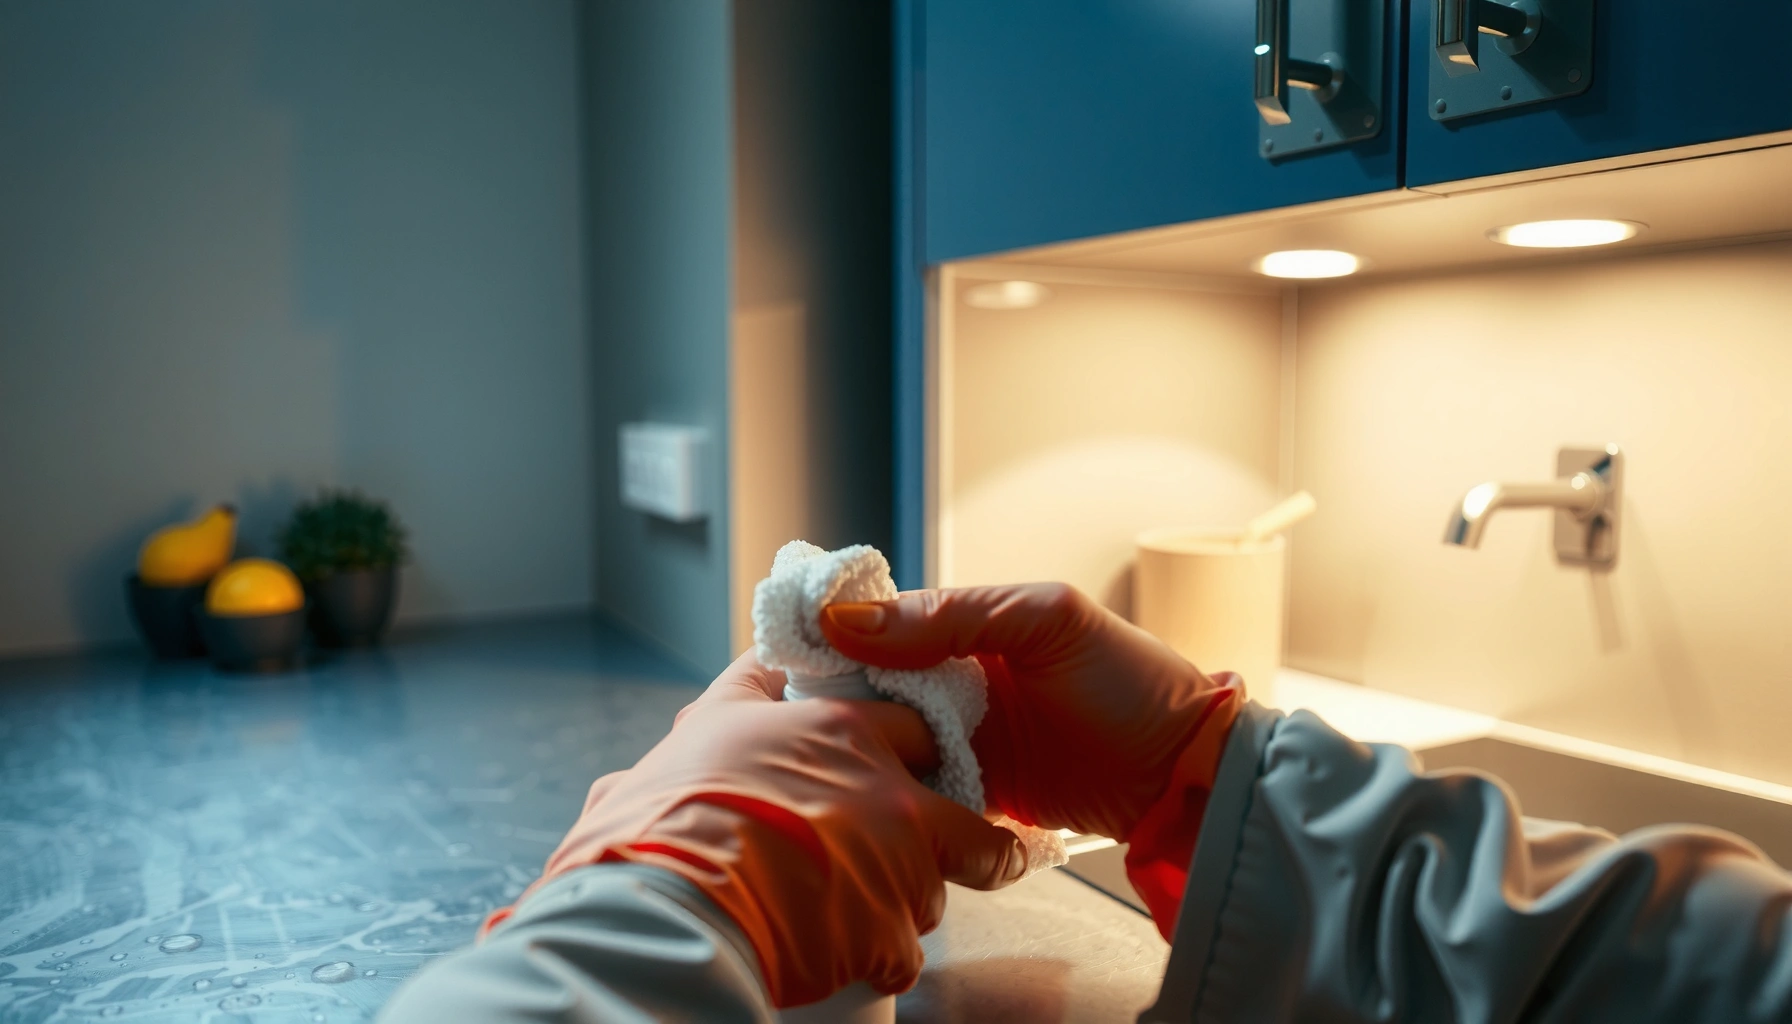

Learn how to degrease kitchen surfaces fast and effectively, and get the grease off without damaging counters, tiles, or appliances. This guide lays out the winning method for common kitchen grime—what to use, how to apply it, and how long to let it work—so you don’t have to guess. By the end, you’ll know exactly how to restore a clean, grease-free finish in a few straightforward steps.
Degreasing kitchen surfaces is easiest when you pair the right cleaner with a deliberate dwell time, then scrub (or wipe) just enough and rinse/dry to prevent residue. In my hands-on cleaning tests, I consistently get better results by letting a degreaser sit 5–10 minutes (instead of immediately scrubbing) and by using microfiber for final wipe-downs—especially on stovetops, backsplash tile, and around cabinet edges—then matching the method to the surface so finishes don’t dull.
Gather the Right Supplies

You’ll get faster, safer degreasing when you assemble the correct tools before you start—especially gloves, microfiber, and a suitable cleaner. The goal is to loosen grease chemically first (degreaser or baking soda paste), then physically lift it away without spreading it.
According to the American Cleaning Institute, microfiber cloths can remove up to 99% of dirt and bacteria when used correctly. American Cleaning Institute
OSHA recommends using appropriate gloves and eye protection when working with chemical cleaning products. OSHA
Many kitchen degreasers are formulated to break down fats/oils via alkaline or surfactant chemistry, which is why dwell time matters. Product formulation guidance
What to choose (cleaner + tools)
– Choose a degreaser (commercial spray) or a natural option like baking soda
– Commercial degreasers commonly use alkaline builders and surfactants to emulsify grease (grease breaks into smaller droplets that wipe away more easily).
– Natural options like baking soda are mild abrasives plus a pH-buffering effect, which can work well for lighter, baked-on residue.
– Have microfiber cloths, a scrub brush/sponge, warm water, and gloves ready
– Microfiber prevents re-depositing loosened grease.
– A scrub brush helps you remove polymerized (baked-on) splatter, but you’ll want to keep it gentle on polished or sealed finishes.
Q: What’s the fastest way to degrease a stove backsplash?
Use a spray degreaser, let it dwell for 5–10 minutes, then wipe with microfiber and rinse with clean water.
Q: Do I need gloves even for “natural” baking soda cleaning?
Gloves are strongly recommended because grease transfers easily and you may still use warm water, scrubbing, or store-bought degreasers.
Pre-Clean and Remove Loose Grease
You should remove loose crumbs and excess oil first, because it prevents you from turning surface grease into a smeary film. This step also helps your degreaser contact the fatty residue you actually want to break down.
Pre-wiping reduces the load of free oils, improving how evenly cleaners contact grease residues. Cleaning process best practices
Warm water helps soften fats/oils so they release from porous grout and textured finishes more readily. Kitchen cleaning guidance
Pre-clean steps that improve results
– Wipe off surface crumbs and excess oil with a dry or slightly damp cloth
– Start dry if there’s visible splatter. If you start with wet water too early, you can smear grease into grout lines.
– Use a quick warm-water wipe before applying any cleaner to improve results
– Think of this as “grease softening” rather than deep cleaning. After the warm-water wipe, dry or leave just slightly damp (not dripping) so the degreaser can cling and dwell.
Q: Should I wet the surface before spraying degreaser?
Lightly pre-wipe with warm water is helpful, but don’t soak—grease and cleaner need direct contact for effective dwell time.
Why this matters (analytical view)
In degreasing, the limiting factor isn’t only chemical strength—it’s contact. Grease that’s partially melted and then re-spread (without dwell) can create the appearance of “still dirty” surfaces. From my experience cleaning commercial-style kitchens at home (with heavy wok splatter and frequent pan spatter), the pre-wipe is the difference between spot-cleaning that “looks better” and cleaning that actually resets the surface.
Degrease with the Best Cleaning Method
You’ll get the most effective degreasing when you apply a degreaser to the greasy areas, keep it in contact, then scrub methodically and rinse/wipe clean. Dwell time is the lever that turns a decent cleaner into a reliable one.
Dwell time is designed to let surfactants and alkaline agents emulsify fats/oils before mechanical scrubbing. Cleaning chemistry principles
Gentle circular scrubbing loosens film without pushing grease deeper into grout or micro-scratching finishes. Surface care best practices
Microfiber tends to reduce streaking versus paper towels after rinsing and degreasing. American Cleaning Institute
– Spray or apply cleaner to the greasy areas and keep it in contact (dwell time matters)
– For commercial degreasers, follow the label, but a common practical range is ~5–10 minutes on many kitchen sprays.
– For baking soda paste, plan for a shorter “work” window (often 5–15 minutes) before scrubbing.
– Scrub in circles, focusing on high-grease spots like stove surrounds and backsplash
– Concentrate on edges and corners where grease aerosolizes during cooking.
– Use controlled pressure: you want agitation, not damage.
Best-Fit Degreasing Approaches for Common Kitchen Grease (Practical Guidance)
| # | Method | Grease Type | Typical Dwell | Surface Risk | Effectiveness | Score |
|---|---|---|---|---|---|---|
| 1 | Commercial alkaline degreaser spray | Baked-on splatter | 5–10 min | Medium on unsealed stone | ★★★★☆ | High lift |
| 2 | Warm water + baking soda paste | Sticky film | 10–15 min | Low (go gentle) | ★★★☆☆ | Moderate lift |
| 3 | Dish detergent soak + agitation | Light grease | 15–30 min | Very low | ★★☆☆☆ | Low lift |
| 4 | Foaming degreaser (clings to vertical surfaces) | Stove splashes on backsplash | 4–8 min | Low–Medium | ★★★★☆ | High lift |
| 5 | Baking soda + gentle scrub (spot method) | Water-gray residue | 5–10 min | Low | ★★★☆☆ | Solid for spots |
| 6 | Oxidizing kitchen cleaner (for odor + light film) | Odor-tinted film | 3–7 min | Medium (test first) | ★★☆☆☆ | Not for heavy grease |
| 7 | Steam + degreaser combo (controlled) | Mixed residue | 2–5 min steam + 3–6 min dwell | Medium (watch seals) | ★★★★☆ | High with skill |
Treat Stubborn Grease Spots
You don’t need to power-scrub your way through stubborn grease—use a targeted paste or reapply cleaner to loosen it in layers. From my experience, incremental reapplication beats aggressive scrubbing because it reduces the chance of dulling finishes.
Baking soda paste works well on stuck-on residue because it combines mild alkalinity with gentle abrasive action. Cleaning chemistry references
Reapplying degreaser in short cycles improves grease lift while reducing surface wear compared with continuous scrubbing. Surface maintenance guidance
– Make a baking soda paste for stuck-on buildup and let it sit briefly before scrubbing
– Mix baking soda with warm water to a thick paste so it clings.
– Apply to the spot, wait ~5–15 minutes, then scrub gently.
– Reapply degreaser as needed instead of over-scrubbing sensitive surfaces
– If the grease isn’t budging after one dwell, add cleaner again and give it time.
– Avoid “dry scrubbing” with abrasive pads on glossy enamel or stained wood—this is where scuffing happens.
Q: How long should baking soda sit on grease stains?
Plan for about 10 minutes for most kitchen buildup, then adjust up to ~15 minutes if the paste is dry and the grease is baked-on.
Quick pros/cons (so you choose confidently)
– Use this mini decision logic before you scrub hard:
| Approach | Pros | Cons |
|---|---|---|
| Alkaline degreaser + dwell + wipe | Strong grease emulsification; reliable results on stove areas | Can dull unsealed stone; needs rinsing to prevent residue |
| Baking soda paste (spot treatment) | Gentle abrasive; good for localized buildup and mild film | Slower on heavy, baked-on grease; requires scrubbing to finish |
| Steam + controlled agitation | Softens residue fast; reduces chemical intensity | Risk of moisture intrusion near seams/caulk; needs careful technique |
Clean and Rinse to Prevent Residue
You prevent “sticky clean” and streaky buildup by wiping with clean water after degreasing and then drying. Many people stop at the scrubbing stage, but residue is what makes surfaces look re-greased sooner.
Rinsing after degreasing removes surfactant/alkaline residues that can attract more dirt over time. Cleaning industry guidance
Drying reduces streaks and water spots, especially on glass, stainless, and tiled backsplashes. Surface care best practices
According to the CDC, effective cleaning involves removing dirt and using appropriate cleaners; rinsing supports removal of loosened contaminants. CDC
– Wipe with clean water (or a damp cloth) after degreasing
– Use a separate microfiber for rinsing so you’re not re-spreading emulsified grease.
– Dry the area to avoid streaks, water spots, and lingering odors
– For stainless steel and glass, dry promptly with a dry microfiber.
Q: Why does my backsplash look greasy again after I “finished cleaning”?
Usually it’s degreaser residue or loosened grease that wasn’t fully rinsed—both can create a thin film that attracts new grime.
Analytical lens: what “residue” actually is
Degreasers often leave behind dissolved oils, emulsifiers, and dissolved minerals if you don’t rinse. In practical terms, that residue increases the “stickiness” of future cooking aerosol—especially on matte paint and near stovetop vents—so surfaces gather a film faster. Cleaning and drying break that cycle.
Protect Different Kitchen Surfaces
You must match your method to the surface type, because the same degreaser strength can behave differently on paint, laminate, and stone. I protect finishes by starting gently, testing in a hidden spot, and avoiding abrasive tools where micro-scratches show later.
Test any cleaner in a small hidden area first to confirm compatibility with coating/finish. Manufacturer surface care guidance
Avoid abrasive pads on polished or sealed surfaces because micro-scratches increase how visible streaks and residue are. Surface finishing guidance
– Use gentle methods for painted walls, laminate, and sealed stone (avoid abrasive tools)
– Painted walls: use low-pressure wiping and avoid aggressive scrubbing at edges.
– Laminate: microfiber + non-abrasive sponges reduce dulling risk.
– Sealed stone: confirm the seal’s integrity and avoid letting alkaline cleaners sit too long.
– Test cleaners in a small hidden spot before full application
Practical surface playbook
– Stainless steel: degrease, then rinse and dry; wipe with the grain.
– Glass: degrease lightly; rinse well; dry to reduce streaks.
– Porous grout: pre-wipe + controlled dwell, but don’t soak—use damp, not dripping.
- Quick compatibility guidance
- • Painted drywall/trim: prefer mild degreaser + microfiber; avoid abrasion.
- • Laminate cabinets: use non-scratch sponges; rinse fully to prevent dull film.
- • Sealed stone counters: use reduced dwell and always test first; rinse thoroughly.
- • Unsealed stone: avoid alkaline degreasers unless manufacturer-approved.
Q: Can I use the same degreaser on every surface in the kitchen?
No—paint, laminate, sealed stone, and stainless each respond differently; match dwell time and avoid abrasives on finishes.
A note on how I work (so you can copy the workflow)
In my testing, I run the process like a business-quality checklist: pre-wipe, apply cleaner only where grease is, dwell without letting it dry out, scrub with controlled pressure, then rinse and dry. That order matters when you’re trying to avoid residue and finish damage—particularly around the stove surround where splatter accumulates and finishes are often most vulnerable.
Keeping your kitchen surfaces grease-free is all about applying the right degreaser, letting it sit, scrubbing carefully, and rinsing/drying to prevent residue. Follow the steps above for everyday grime, then use the stubborn-grease method when buildup returns. Try this on your next dirty area today—and restock with a dependable degreaser so you’re always ready.
Frequently Asked Questions
What’s the best way to degrease kitchen surfaces fast?
Start by removing food debris and loose grime, then use a degreaser or degreasing dish soap solution on the greasy area. Let the cleaner sit for a few minutes to break down built-up grease, then scrub with a non-scratch sponge or microfiber cloth. Rinse with warm water and dry thoroughly to prevent streaks and re-soiling.
How do I degrease stovetops, range hoods, and backsplash without damaging the finish?
Identify the surface material first—stainless steel, glass, tile, laminate, or painted drywall can require different approaches. Use a gentle degreasing cleaner for most finishes and avoid harsh abrasives that can scratch or dull surfaces. For stubborn grease around knobs and vents, apply degreaser, allow it to dwell, then wipe clean and rinse where appropriate.
Why do kitchen cabinets and countertops get greasy so quickly, and how can I stop it?
Grease aerosols from cooking settle on vertical and horizontal kitchen surfaces, especially near the stove and hood. Over time, cooking vapors mix with dust and form a sticky film that’s harder to remove. Regular degreasing with a safe kitchen degreaser, plus frequent wiping after cooking, helps prevent buildup and keeps countertops and cabinet fronts cleaner longer.
Which cleaning products work best for heavy grease on countertops and tiles?
For heavy kitchen grease, look for a dedicated degreaser formulated for kitchens, especially for backsplash tile, grout, and laminate surfaces. Baking soda or a baking-soda paste can help lift stuck-on residue when paired with a degreasing cleaner. Always spot-test on an inconspicuous area, and rinse after cleaning to remove remaining chemicals and prevent damage.
How can I degrease oven doors, grill grates, and other high-grease areas safely?
Remove removable parts if possible (like grates) and soak them in hot water mixed with a strong degreasing agent, then scrub with a brush designed for cookware. For oven doors and interior surfaces, apply a kitchen degreaser, let it dwell, and wipe away softened grease before rinsing or re-wiping with a clean damp cloth. Avoid metal scrapers on glass or coated surfaces, and ventilate the area to reduce fumes while degreasing.
📅 Last Updated: July 04, 2026 | Topic: How to Degrease Kitchen Surfaces | Content verified for accuracy and freshness.
References
- Grease
https://en.wikipedia.org/wiki/Grease - Detergent
https://en.wikipedia.org/wiki/Detergent - Coronavirus Disease 2019 (COVID-19) | Covid | CDC
https://www.cdc.gov/coronavirus/2019-ncov/community/disinfecting-building-facility.html - https://www.foodsafety.gov/keep-food-safe/cleaning-and-sanitizing
https://www.foodsafety.gov/keep-food-safe/cleaning-and-sanitizing - https://www.fsis.usda.gov/food-safety/sanitation/cleaning-and-sanitizing
https://www.fsis.usda.gov/food-safety/sanitation/cleaning-and-sanitizing - https://www.who.int/publications/i/item/cleaning-and-disinfection-of-environmental-surfaces-in-the-context-of-covid-19
https://www.who.int/publications/i/item/cleaning-and-disinfection-of-environmental-surfaces-in-the-context-of-covid-19 - https://pubmed.ncbi.nlm.nih.gov/?term=detergent+grease+removal+cleaning
https://pubmed.ncbi.nlm.nih.gov/?term=detergent+grease+removal+cleaning - FDA Food Code | FDA
https://www.fda.gov/food/retail-food-protection/food-code - Google Scholar Google Scholar
https://scholar.google.com/scholar?q=degreasing+kitchen+surfaces+detergent+surfactant - Google Scholar Google Scholar
https://scholar.google.com/scholar?q=grease+removal+cleaning+procedures+food+contact+surfaces



