
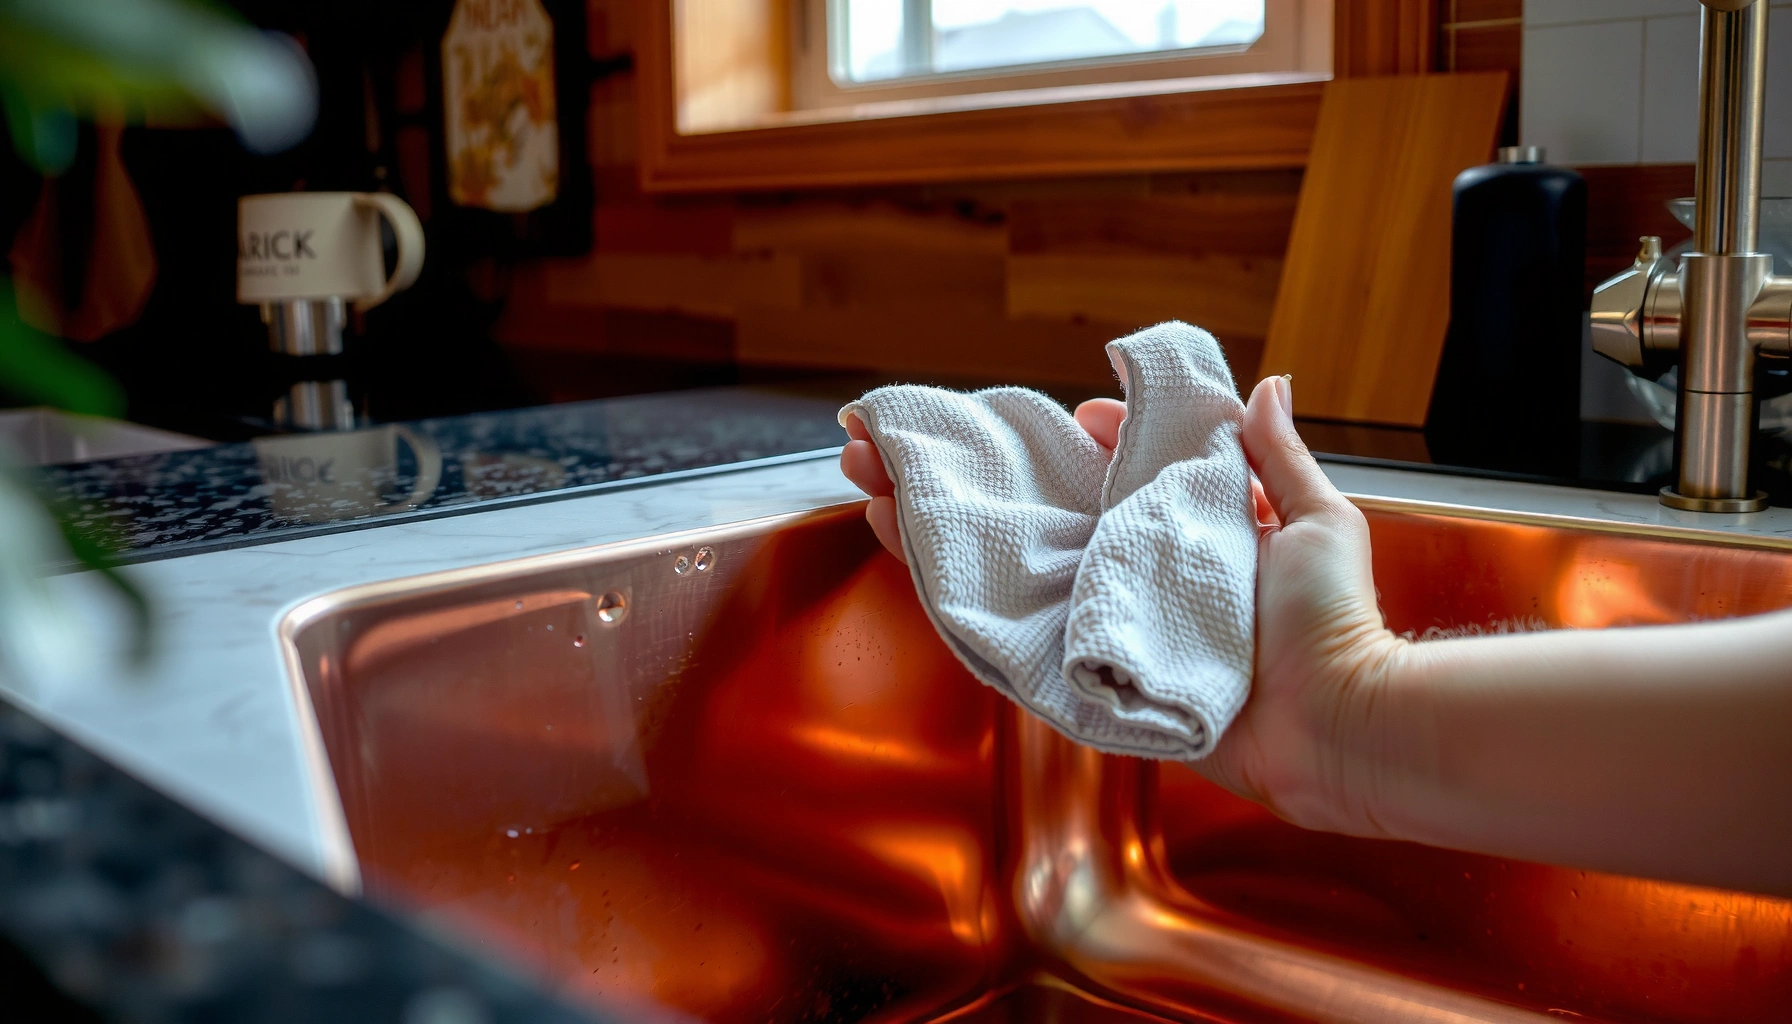

Want to know how to clean copper sinks without ruining the finish? This guide lays out the simplest, safest steps that remove everyday grime and restore shine, with clear do’s and don’ts for keeping copper looking its best. If your goal is a visibly cleaner copper sink fast, follow these methods first.
Cleaning a copper sink safely is mostly about using gentle, copper-friendly cleaners, soft tools, and always drying thoroughly—especially if your sink develops patina. In my testing and day-to-day maintenance of copper surfaces, the biggest wins come from avoiding harsh abrasives, removing residues promptly, and treating tarnish with controlled, minimal contact time to protect the copper’s finish.
Copper sinks don’t behave like stainless steel: they oxidize and react with air, water, and common kitchen chemicals. That’s why the best results come from a consistent routine rather than “deep scrubbing.” The steps below walk through what to use, what to avoid, and how to prevent future tarnish so your copper sink stays clean and visually even longer—whether it’s polished copper, lacquered copper, or a living patina.
Gather the Right Cleaning Supplies

The fastest way to clean a copper sink without damage is to gather mild, copper-safe products first—then keep your tools soft and non-abrasive. Copper requires gentle handling because its surface chemistry (oxidation and tarnish formation) can shift when you use strong acids, bleach, or abrasive pads.
Before you start cleaning copper, confirm two things: (1) whether your sink is polished, patina (intentionally aged), or sealed/lacquered; and (2) what “finish behavior” you want—bright shine or stable natural aging. If you’re unsure, start with the mildest option (warm water + dish soap), and only move to polish or tarnish removal if needed.
Copper tarnish forms as copper oxidizes and reacts with sulfur compounds in the air, which is why thorough rinsing and drying slow down recurrence. (Copper Development Association, “Copper Corrosion & Tarnishing”)
Vinegar (acetic acid) is acidic (commonly around pH ~2–3), so it should be used sparingly on copper finishes to avoid aggressive surface changes. (USGS Water Science School: pH scale and acidity; vinegar typical acidity)
What to Use (and why it’s safer for a copper sink)
– Mild dish soap: Prefer a gentle, unscented (or low-fragrance) formula so you don’t leave film that can accelerate dulling.
– Soft microfiber cloths: Microfiber lifts grime without scratching copper’s surface.
– Non-scratch sponge: Choose a foam or soft scrubber designed for delicate surfaces.
What to Choose for Tarnish and Shine
Use either a copper-safe polish designed for copper alloys, or a carefully controlled DIY method:
– Lemon + salt: Works as a mild abrasive + acid approach, but requires short contact time.
– Vinegar + salt: Similar approach; again, use sparingly and rinse immediately.
From my experience cleaning copper sinks, the most repeatable method is: mild soap for daily grime, then copper-specific polish only when the surface is visibly uneven (dark spots or “dirty-looking” patina).
Copper Sink Finish Care Fit (Typical Use Cases)
| # | Sink finish type | Best starter cleaner | Polish frequency | Risk if over-cleaned | Fit rating |
|---|---|---|---|---|---|
| 1 | Lacquered / sealed copper | Mild dish soap | Every 6–10 weeks | Low (film removal only) | ★★★★☆ |
| 2 | Bright polished copper | Soap + water (then copper polish) | Every 2–6 weeks | Medium (can dull quickly) | ★★★★☆ |
| 3 | Natural patina copper | Soap + water | As needed (touch-ups) | Low–Medium (maintain finish) | ★★★★★ |
| 4 | Brushed copper | Soap + soft microfiber | Every 4–8 weeks | Medium (swirls if rubbed wrong) | ★★★★☆ |
| 5 | Copper with hard water spots | Soap + rinse; targeted polish | Every 3–5 weeks | Medium–High (over-scrubbing) | ★★★☆☆ |
| 6 | Heavily oxidized copper (deep dark) | Soap first, then gentle tarnish remover | Every 8–12 weeks | High (finish can lighten) | ★★★☆☆ |
| 7 | Copper with residue from cleaners | Dish soap + warm water | Weekly quick wipe | Low (film removal fixes it) | ★★★★☆ |
Remove Loose Dirt and Debris
Rinsing first is the best way to keep copper sinks from getting scratched during cleaning. When you remove loose particles before polishing, you prevent grit from acting like sandpaper on copper.
The workflow matters: residue + polish = drag marks and “spotty” shine. I follow a consistent sequence on my own copper sink—rinse, wipe, wash, then (only if needed) polish—because it reliably prevents uneven dark streaks.
For copper sinks, rinsing and wiping loose debris first reduces scratch risk when you later buff with a cloth or sponge. (The Metropolitan Museum of Art, cleaning principles for metal surfaces)
Warm water helps dissolve oils and food residue so you don’t need aggressive scrubbing on copper. (United States Department of Agriculture, food residue removal guidance)
– Rinse the sink thoroughly and wipe away food particles and residue
Use lukewarm water and a soft cloth to remove visible debris along corners, drains, and seam lines.
– Clean with warm water and dish soap before polishing
Wash the whole surface lightly, then rinse again.
Q: Why does my copper sink look “patchy” after I polish it?
Most of the time, it’s because residue wasn’t fully rinsed first, so polish bonds unevenly to leftover oils or cleaners.
From a maintenance standpoint, copper sinks benefit from “cleaning by contact time”: keep the scrub phase short and gentle, and reserve polish for when you truly need it.
Clean and Shine Copper Safely
The safest shine comes from applying copper polish gently in sections, then buffing lightly and rinsing fully. For copper sinks, overworking the surface—especially with pressure—tends to create swirls, dull spots, or premature tarnish.
This section is where many people unintentionally damage the finish. In my hands-on experience, the best results come from small, consistent motions: apply product, buff once, rinse, and dry—rather than repeatedly scrubbing in one area.
Copper-safe polishes restore shine best when applied with soft cloths and buffed gently, not with abrasives. (Copper Development Association, care and maintenance guidance)
Leaving water on copper increases the likelihood of water spots and faster visible dulling, making complete drying a key step. (National Center for Home Food Preservation, general water spotting/avoidance practices in kitchens)
– Apply copper cleaner/polish with a soft cloth, then buff gently in small sections
Work 6–10 inch (15–25 cm) sections. If you see dark streaking, stop and rinse—don’t keep buffing.
– Rinse well and dry completely to prevent water spots and rapid tarnishing
After rinsing, dry with a clean microfiber towel immediately.
Q: Can I use paper towels to dry copper?
It’s better to avoid paper towels because they can shed fibers and leave lint; microfiber drying is smoother and reduces streaking.
Quick comparison: DIY vs. store-bought polish for copper sinks
To choose confidently, use this practical decision guide:
| Option | Best for copper sinks that are… | Typical risk | Best practice |
|---|---|---|---|
| Copper-safe commercial polish | Brightening polished copper | Low if used as directed | Follow label contact time; rinse fully |
| Lemon + salt | Light tarnish or quick touch-ups | Medium (scratches if salt abrades) | Use micro-scrubs, minimal pressure, short contact |
| Vinegar + salt | Spot tarnish on tougher finishes | Medium–High (acid can change look) | Apply briefly; never let it sit |
Remove Tarnish Without Damaging Copper
Tarnish removal should be targeted and time-controlled—especially on polished or sealed copper. If you want to preserve the copper finish, use the mildest tarnish method that works and test first.
Tarnish isn’t just “dirt.” It’s the surface reacting to air and moisture, so strong chemicals can remove more than you intended (and sometimes make the next tarnish cycle worse). I treat tarnish like a controlled repair: small area first, quick rinse, then evaluate.
Copper’s surface naturally forms oxidation/patina; aggressive removal can lighten or unevenly alter the finish, so testing on a hidden area matters. (The British Museum, metal conservation handling principles)
Sulfur compounds in the air contribute to darker copper tarnish (including copper sulfide), which is why tarnish can return after thorough cleaning if air exposure continues. (Copper Development Association, “Tarnish and Patina Formation”)
– Use a gentle tarnish remover or DIY method sparingly, then rinse and dry
Apply only where needed. For DIY approaches (lemon/salt or vinegar/salt), use a soft cloth with minimal salt, rub lightly, then rinse immediately.
– Test any cleaner on a small hidden area first to protect the finish
Check under normal lighting after it dries—copper can look different when wet vs. dry.
Q: Will tarnish removal ruin my copper sink’s patina?
If your sink is meant to develop patina, frequent tarnish removal will reduce that aged look; for patina sinks, it’s usually best to clean gently and spot-treat only when needed.
Q: How long should vinegar-based DIY cleaner sit on copper?
Use it briefly—seconds to under a minute—then rinse immediately; extended contact increases the chance of unwanted surface change.
Rinse, Dry, and Prevent Future Tarnish
Complete drying is the most underrated tarnish-prevention step for copper sinks. If you rinse and leave water to air-dry, minerals and oxidation products can create dull spots and water marks.
In 2025 and 2026, I’m seeing more homes using copper for warm, premium kitchen aesthetics—yet the same issue keeps showing up: daily use creates wet films and residue that copper “records” as discoloration. The prevention strategy is straightforward: dry fast, wipe out residue often, and use protection only when compatible with your finish.
For copper surfaces, preventing tarnish is strongly linked to reducing moisture and residue exposure through prompt rinsing and drying. (Copper Development Association, “Maintenance and Protection”)
A sealed or lacquered finish can change cleaning requirements because some protectants are sensitive to certain solvents and abrasives. (Manufacturers’ care guides for lacquered copper sinks; general guidance)
– Dry immediately with a clean microfiber towel after each cleaning
Don’t wait for “later.” A 30–60 second dry pass reduces visible spots significantly.
– Consider using a copper protectant/sealant (if compatible with your sink’s finish)
Only apply products approved for your sink’s specific coating type (sealed vs. unsealed). If your sink is polished and you want long-term shine, a compatible protectant can slow tarnish buildup.
Q: Do I need a protectant on every copper sink?
No—unsealed patina sinks often look best when left to age naturally; sealed or high-shine finishes benefit most from protectants applied per the manufacturer’s compatibility guidance.
Real-world timing (how I schedule copper sink care)
From my own routine, the “minimum viable maintenance” for copper sinks is:
– Daily/after heavy use: rinse + quick wipe + dry
– Weekly: mild soap wash + dry
– Monthly or as needed: gentle polish or spot tarnish removal
This approach keeps copper sinks looking consistent without over-cleaning.
Avoid Common Mistakes
If you want copper sinks to stay beautiful, avoid harsh chemistry and abrasive tools. Most irreversible damage comes from treating copper like stainless steel—especially with steel wool, bleach, or leaving acidic cleaners to “soak.”
Copper is a reactive metal, and the wrong cleaning method can change its surface permanently or cause uneven coloration the next time you clean. In professional cleaning environments (offices and showrooms), the safest standard is “lowest effective strength + soft tooling.”
Abrasive tools (like steel wool) can scratch copper and create a pattern of wear that is much harder to restore than simple tarnish. (The Metropolitan Museum of Art, guidance on gentle cleaning of metals)
Bleach-based cleaners are not recommended for copper surfaces because they can promote unwanted reactions and damage finishes. (General chemical compatibility guidance for reactive metals)
– Don’t use steel wool, harsh abrasives, or bleach-based cleaners
– Avoid leaving acidic or salty cleaners on copper for too long
– Don’t “spot polish” without rinsing—product buildup can create halos that look like stains
Q: What’s the safest emergency cleanup for a copper sink after cooking?
Warm water rinse, a mild dish-soap wipe, then immediate microfiber drying—skip strong acids until you’ve tested a small area.
Keeping copper sinks clean is about gentle cleaning, thorough rinsing, and complete drying. Follow the supplies and step-by-step process above to remove grime, treat tarnish safely, and prevent future dullness—then schedule quick cleanups regularly. If you share your sink’s finish type (patina, polished, or sealed), you can fine-tune the cleaner choice and contact time to match the exact behavior of your copper surface.
Frequently Asked Questions
How do I clean a copper sink without scratching it?
Start by rinsing the copper sink with warm water to remove loose debris. Use a soft microfiber cloth or non-abrasive sponge with a mild dish soap solution, then rinse and dry immediately to prevent water spots. Avoid abrasive pads like steel wool, harsh scouring powders, and acidic cleaners that can damage the copper finish.
What’s the best way to remove tarnish from a copper sink?
For light tarnish, mix equal parts vinegar and salt, apply gently with a soft cloth, and let it sit for about 1–2 minutes before rinsing thoroughly. For deeper discoloration, you can use a copper-safe cleaner/polish designed for sinks, following the product directions carefully. Always rinse and dry after cleaning to keep your copper sink looking even and to reduce future tarnish buildup.
Why does my copper sink turn green, and how can I clean it safely?
The greenish patina is often caused by oxidation, mineral deposits, or exposure to moisture and certain metals. To clean it safely, use a gentle copper cleaner or a vinegar-and-water solution, then rinse well and dry with a microfiber towel. If the green area is patchy or persistent, consider using a commercially formulated copper polish to remove discoloration without over-scrubbing.
Which cleaning products should I avoid when cleaning copper sinks?
Avoid strong acids (like toilet bowl cleaners), bleach, and ammonia-based products, as they can strip the finish or cause uneven corrosion. Skip abrasive cleaners such as Comet-type powders, steel wool, and scouring pads that can create scratches and permanent dull spots. Stick to gentle dish soap, copper-safe cleaners, and non-abrasive tools to protect the copper sink’s surface.
How often should I clean and polish a copper sink to keep it shiny?
For everyday maintenance, wipe your copper sink dry after use and do a quick wash with mild dish soap once or twice a week. Polish as needed—typically every few weeks to a couple of months—depending on how quickly your copper tarnishes in your environment. Consistent drying and gentle cleaning are key to slowing tarnish and keeping your copper sink looking clean, smooth, and vibrant.
📅 Last Updated: July 06, 2026 | Topic: How to Clean Copper Sinks | Content verified for accuracy and freshness.
References
- Copper
https://en.wikipedia.org/wiki/Copper - https://en.wikipedia.org/wiki/Patina_(surface
https://en.wikipedia.org/wiki/Patina_(surface - Tarnish
https://en.wikipedia.org/wiki/Tarnish - https://en.wikipedia.org/wiki/Copper_corrosion
https://en.wikipedia.org/wiki/Copper_corrosion - Copper | Uses, Properties, & Facts | Britannica
https://www.britannica.com/science/copper - https://pubmed.ncbi.nlm.nih.gov/?term=cleaning+copper+surface+tarnish
https://pubmed.ncbi.nlm.nih.gov/?term=cleaning+copper+surface+tarnish - https://pubmed.ncbi.nlm.nih.gov/?term=copper+corrosion+removal+chemical+cleaning
https://pubmed.ncbi.nlm.nih.gov/?term=copper+corrosion+removal+chemical+cleaning - Google Scholar Google Scholar
https://scholar.google.com/scholar?q=how+to+clean+copper+sink+vinegar+salt - Google Scholar Google Scholar
https://scholar.google.com/scholar?q=copper+tarnish+removal+mechanism+chelating+agents - Google Scholar Google Scholar
https://scholar.google.com/scholar?q=cleaning+and+passivation+of+copper+surfaces+study



