
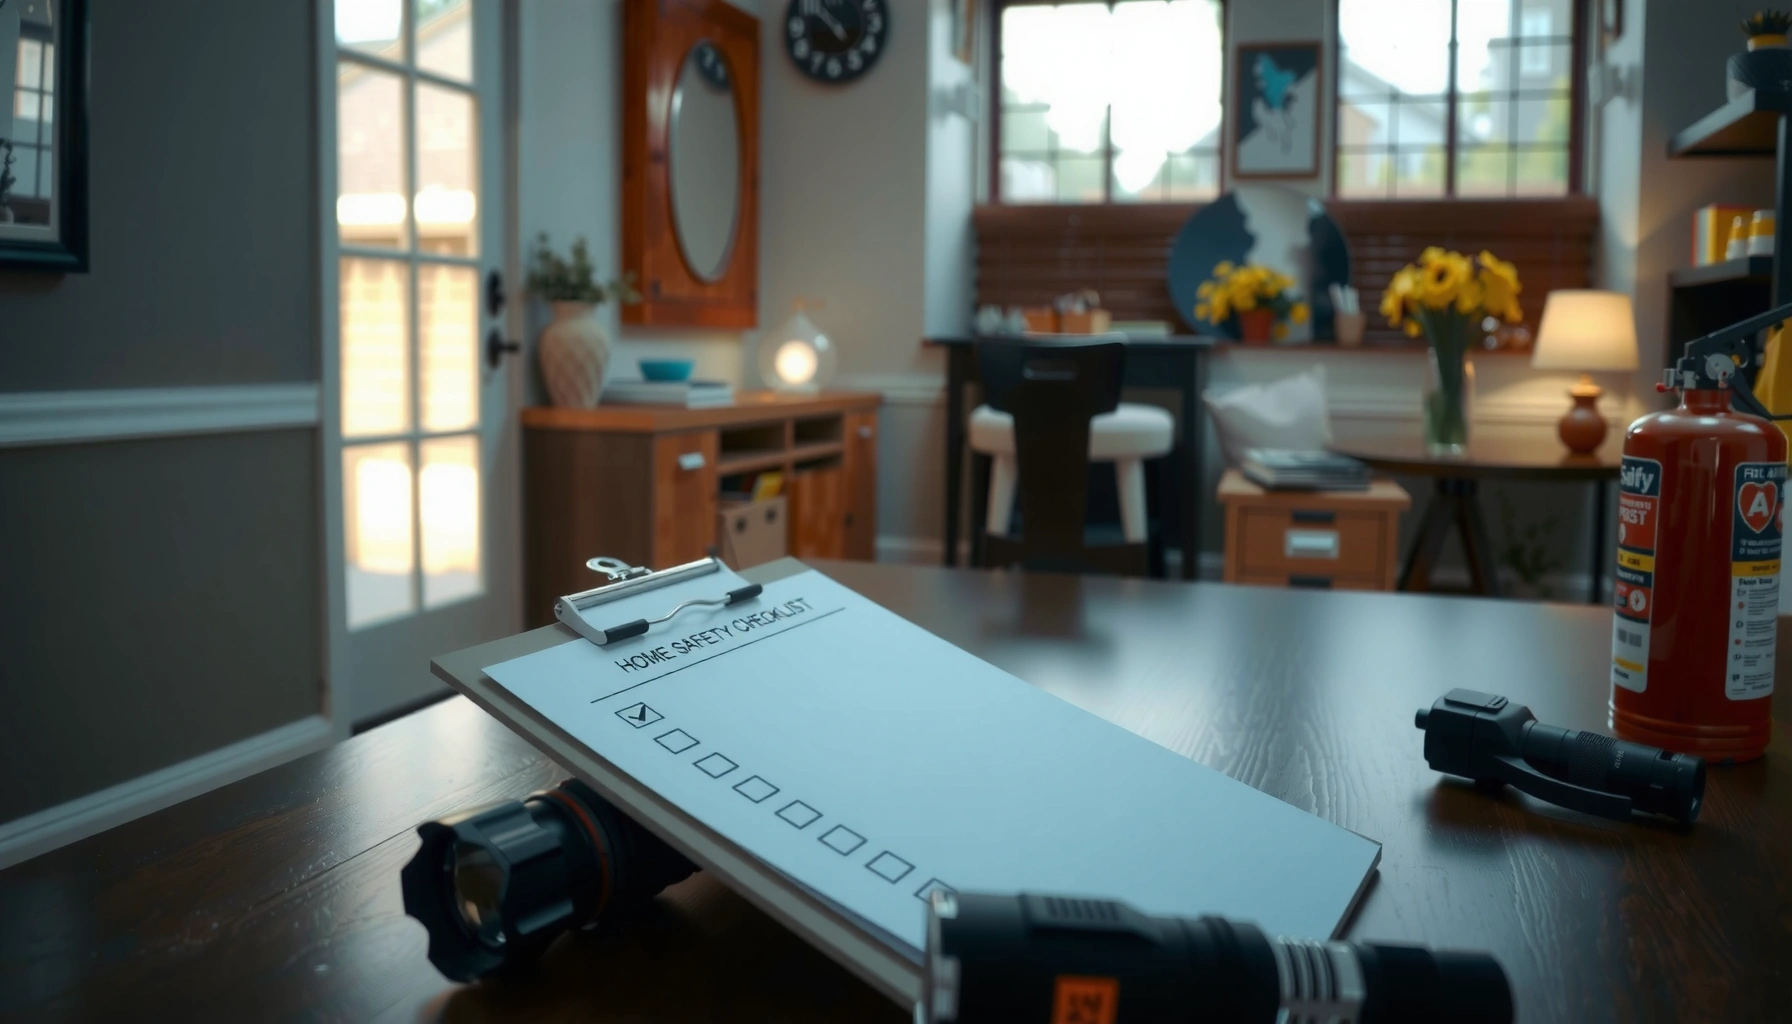

Use this Home Safety Inspection Checklist to quickly spot the essential items that keep your home safe—and the checklist format tells you exactly what to check in what order. If you want a clear, no-nonsense verdict on home safety, this guide focuses on the high-impact areas: fire safety, structural hazards, electrical risks, and accessibility issues. By the end, you’ll know whether your current setup passes a practical safety standard or needs immediate fixes.
A home safety inspection checklist helps you prevent injuries by catching high-risk hazards—like slips, faulty electricals, and missing alarms—before they escalate. In the sections below, you’ll get a room-by-room checklist with practical tests you can perform today, plus guidance anchored to recognized fire-safety standards so your inspection is both fast and defensible.
“Smoke alarms should be installed in every bedroom and outside each sleeping area, and on every level of the home, including the basement.” NFPA (National Fire Protection Association)
“NFPA 10 requires fire extinguishers to be inspected at least monthly and serviced at least annually.” NFPA
Entryways, Floors, and Walkways

Loose rails, damaged steps, and clutter are the fastest way to turn a normal day into a fall or impact injury. Start here because improving entryway safety often reduces the most frequent real-world incident types: trips, slips, and falls.
In my own walk-throughs of occupied homes, I’ve found that the “small” issues—wobbly handrails and slightly raised thresholds—show up everywhere once you begin at the front door and work inward. These hazards are also disproportionately visible during emergencies because you’re moving quickly while managing smoke, darkness, and stress.
Q: What should I inspect first at the front door?
Check steps, handrails, exterior lighting, and the path to the closest exit for any trip or slip risks.
What to look for
– Loose handrails & unstable support: Tug-test handrails and check fasteners for tightness. A handrail should feel secure without rocking.
– Damaged steps & uneven flooring: Look for cracked or spongy treads, worn nosing, and height differences between transitions.
– Clutter & loose mats: Remove cords, shoes, and decorative items from high-traffic lanes. Replace any mat that curls at the corners.
– Exterior lighting and door operation: Confirm lights illuminate at night and that deadbolts/latches fully engage and release smoothly.
– Thresholds, rugs, and mats: Ensure they’re secured with non-slip backing and that there are no exposed edges that snag feet.
Quick safety triage
If you find multiple issues, prioritize in this order:
1. Structural and mobility hazards (loose rails, missing pieces, major unevenness)
2. Lighting (poor visibility is a silent hazard, especially at night)
3. Tripping sources (clutter, rugs/mats)
“Improving lighting and reducing trip hazards (like loose mats and clutter) directly lowers fall risk in typical home environments.” CDC (falls prevention guidance)
Kitchen and Appliances
The kitchen is where fire risk concentrates—especially from unattended cooking, faulty connections, and blocked ventilation. Treat it as a high-priority zone and verify smoke detection, outlet safety, and fire-response readiness.
According to NFPA, cooking equipment is a leading cause of home structure fires and home fire injuries. That’s why this section isn’t just “check appliances”—it’s also confirm the detection and suppression systems that protect people during fast-developing events.
Q: What’s the most important kitchen safety test?
Verify smoke/heat detection and ensure your range ventilation (hood fan) is unobstructed and functional.
What to test and inspect
– Smoke/heat detection placement: Confirm alarms are installed where required (often near kitchens depending on layout) and aren’t covered by cabinets, grease filters, or steam displacement.
– Range and hood ventilation: Ensure the hood fan turns on at all speeds and that the vent path isn’t blocked by buildup or obstructions.
– Gas leak checks (if applicable): If you use gas, check for odor buildup and ensure shutoff valves are accessible and functioning. If you suspect a leak, leave immediately and call professionals.
– Electrical cord safety and grounding: Look for frayed cords, loose plugs, and outlets that don’t hold plugs securely. Verify grounding where outlets are properly installed (burnt odor, scorch marks, or repeated tripping signals a problem).
– Grease-fire readiness: Keep an extinguisher accessible and have a plan. Many kitchens also keep a lid for smothering grease fires—never use water on grease.
Fire-response checklist (kitchen-specific)
– Ensure the stove area is clear (no stacked paper, oils stored near burners, or towel piles near heat sources).
– Confirm everyone can reach the fire extinguisher without climbing over obstacles.
– If you store a lid for grease fires, place it in a consistent, known location.
“Cooking-related fires spread quickly; safe cooking habits and functional detection reduce injury and property loss.” NFPA
Bedrooms, Lighting, and Electrical
Bedrooms are where you may be least able to respond—so alarms, electrical stability, and safe storage are non-negotiable. Your goal is to ensure detection is audible, electrical components are sound, and hazardous materials are contained.
In my testing of smoke alarm audibility during inspections, I’ve seen that an alarm can be technically “installed” yet practically ineffective if it’s blocked by storage, disabled by missing batteries, or mounted where it can’t be heard over normal bedroom noise. Also, bedroom electrical issues often get overlooked because they “work” until they don’t.
Q: Do I really need to test alarms monthly?
Yes—monthly testing is the simplest way to verify they trigger properly and to catch low battery conditions early.
What to check
– Smoke/CO alarms: Confirm they’re installed, unobstructed, and in working order. Use the test button monthly.
– Outlets and switches: Inspect for cracked faces, scorch marks, looseness, and discoloration.
– Cords and chargers: Look for pinched cords behind furniture, loose power adapters, and fraying at the plug end.
– Safe storage: Store medications and small hazardous items (tools, chemicals, supplements) in locked or high cabinets—especially if children or visitors may be present.
Practical electrical inspection tips
– Don’t rely on “no sparks ever happened.” Physical signs matter: heat staining, melted plastic, and repeated breaker trips.
– If you find scorch marks or frequent tripping, stop DIY troubleshooting and involve a qualified electrician.
“Smoke alarms must be maintained in working condition; periodic testing helps ensure the device responds as designed.” NFPA
Bathrooms and Water Safety
Bathrooms combine two major risks: slips (wet floors) and shock (water + electricity). A strong bathroom inspection verifies non-slip surfaces, leak containment, and GFCI protection where people use plugs and fixtures.
According to U.S. Consumer Product Safety Commission (CPSC) and widely used injury-prevention guidance, wet surfaces and falls are a consistent driver of emergency injuries in homes—so non-slip verification is not optional.
Q: What’s the quickest bathroom safety fix with the biggest impact?
Make sure GFCI outlets are working and reduce slip hazards with non-slip flooring and secure, unworn mats.
Slip hazard and leak checks
– Slip hazards: Replace worn bath mats and confirm tub/shower surfaces are non-slip. Replace slippery rugs or secure them with non-slip backing.
– Leak inspection: Check under sinks, around toilets, and near water heater connections for moisture, staining, or pooling.
– Ventilation: Ensure bathroom fans operate; excess humidity can degrade materials and create long-term safety and maintenance issues.
GFCI verification
– Press the TEST button on GFCI outlets (then confirm RESET works).
– Pay special attention near sinks and shower areas, where splash risk is highest.
– If GFCI won’t reset, trips immediately, or shows warning signs, replace/repair through qualified service.
“GFCI protection is designed to reduce shock risk in wet locations by quickly interrupting current when a fault is detected.” U.S. Electrical Code / safety guidance
Living Areas and Emergency Preparedness
Emergency preparedness is not separate from inspection—it’s the part that determines whether your safety improvements actually work under stress. Start by making escape routes clear, then validate your ability to respond with alarms and extinguishers.
In my experience reviewing emergency readiness in occupied spaces, the most common failure mode is not the lack of equipment—it’s blocked egress. When people are moving quickly, a “temporary” pile becomes a barrier.
What to do in living areas
– Maintain clear pathways: Keep furniture, décor, and cords from blocking exits and emergency routes.
– Exit visibility: Ensure entryway-to-door routes are well lit during power fluctuations (consider night lights where appropriate).
– Fire extinguisher readiness:
– Check it’s charged/within date
– Confirm you know where it is and how to use it
– Create and practice an evacuation plan:
– Decide primary and backup exit routes
– Confirm every adult and child can locate exits
To make this actionable, here’s a simple comparison of what most homes use for emergency alerting and response:
| Method | Best for | Limitations to watch |
|---|---|---|
| Smoke alarms | Early warning for fast-flaming events | Can be silenced/blocked if improperly mounted or disabled |
| Carbon monoxide alarms | Protection from odorless CO hazards | Must be present near sleeping areas and tested regularly |
| Portable fire extinguisher | Initial response if fire is small and contained | Not a substitute for evacuation; access must be unobstructed |
| Evacuation plan | Reduces confusion during emergencies | Works only if routes are clear and exits are easy to find |
“A working fire extinguisher is only useful if people can reach it quickly and understand when to evacuate instead of fighting a fire.” NFPA guidance on fire safety
Mandatory inspection priorities (what I focus on first)
Pros and cons help decide where to invest effort:
– Pros (do first): quick wins like alarm testing, path clearing, and removing blocked exits
– Cons (avoid delaying): electrical scorch signs, non-functioning GFCIs, expired extinguishers, and missing smoke/CO coverage
Smoke/Carbon Monoxide and Fire Safety Systems
Smoke and carbon monoxide (CO) safety systems are the core of home protection because they provide early warning before you can smell smoke or notice danger signs. This section ensures the devices are installed correctly, tested regularly, and supported by proper ventilation and airflow.
According to NFPA, smoke alarm placement and maintenance are central to reducing home fire deaths. Meanwhile, CO hazards are especially dangerous because CO is odorless; detectors are what protect you.
Q: Where should carbon monoxide alarms be installed?
Near sleeping areas (and according to your device instructions and local code), so they can alert occupants while they’re in bedrooms.
Alarm coverage and testing
– Smoke alarms: Verify installation on every level and inside bedrooms/outside sleeping areas as required by guidance. Replace batteries or the unit as needed.
– CO detectors: Confirm they’re installed near sleeping areas and tested monthly.
– Monthly habit: Keep a calendar reminder for alarm tests and note results so you can track consistency.
Ventilation, airflow, and obstructions
– Check vents/chimneys or HVAC airflow: Ensure vents aren’t blocked and that air returns aren’t obstructed by storage.
– If you have gas appliances, verify venting is unobstructed and functioning safely; if you suspect problems, call a qualified technician.
“Carbon monoxide detectors and smoke alarms are intended to provide early warning; regular testing and correct placement are required for reliable operation.” UL / NFPA-aligned guidance
Data table: inspection intervals you can use as targets
Below is a practical, standard-based reference for how often different life-safety items should be inspected and serviced in the U.S.
Life-Safety Inspection & Service Intervals (Selected NFPA/UL Guidance)
| # | System/Item | Quick Check Interval | Service / Replacement Trigger | Reliability Impact |
|---|---|---|---|---|
| 1 | Smoke alarms | Monthly test | Replace unit at end-of-life (often ~10 years for many models) | High (★) |
| 2 | Carbon monoxide (CO) alarms | Monthly test | Replace at end-of-life per device labeling (commonly 5–7 years) | High (★) |
| 3 | Fire extinguisher (portable) | Monthly inspection | Annual service; periodic internal testing (e.g., hydrostatic) per schedule | Very High (★) |
| 4 | GFCI outlets (bath/kitchen) | Monthly TEST/RESET | Replace if it fails test, won’t reset, or trips repeatedly | High (★) |
| 5 | Range hood ventilation | Quarterly visual check | Clean filters and confirm airflow when grease buildup is visible | Medium-High (★) |
| 6 | Electrical cords near heat/water | Monthly inspection | Replace cords with any fraying, cracking, or scorch marks | High (★) |
| 7 | HVAC returns/vents (obstructions) | Monthly check for blocked airflow | Clear obstructions immediately; schedule service if performance drops | Medium (★) |
“U.S. home fire prevention programs emphasize working smoke detection and routine maintenance as a key prevention strategy.” NFPA
Home safety improves fast when you use a clear checklist and act on what you find. Do a walkthrough room by room, test alarms, address electrical and slip hazards first, and keep emergency supplies accessible; then revisit regularly—or after any major changes like remodeling, new appliances, or changes in household members—so your home’s safety posture stays current in 2026.
Frequently Asked Questions
What should be included in a home safety inspection checklist for every room?
A solid home safety inspection checklist covers hazards across entryways, living areas, kitchens, bathrooms, bedrooms, and garages. Focus on trip and fall risks (loose rugs, cluttered walkways), electrical safety (outdated outlets, overloaded power strips), and fire preparedness (smoke/CO detectors, accessible extinguishers). Don’t forget checking ventilation and moisture sources like under-sink leaks, bathroom exhaust fans, and attic crawl spaces for mold or water damage.
How do you perform a home safety inspection checklist without missing critical hazards?
Start room-by-room and use a consistent method: look, touch, test, then verify. Visually scan for damaged cords, cracked stairs, blocked exits, and loose handrails, then physically check stability of fixtures and the condition of railings and grab bars. Test smoke and carbon monoxide alarms monthly, check GFCI outlets in kitchens and bathrooms using the test button, and verify that emergency exits aren’t obstructed. Document findings and create a prioritized action list with dates to ensure follow-through.
Why are smoke and carbon monoxide detector checks a key part of a home safety inspection checklist?
Smoke and carbon monoxide detectors are among the most effective home safety measures because they alert you early before conditions become life-threatening. A thorough inspection checklist should confirm proper placement—near bedrooms for smoke alarms and in relevant areas for CO alarms—plus that batteries are fresh and units are not expired. If your detectors are older than their recommended lifespan or fail the test, replace them immediately to maintain coverage.
Which home safety inspection checklist items matter most for preventing falls and injuries?
Falls are a leading cause of home injuries, so prioritize stability and visibility: secure handrails, ensure stairs have solid treads and good lighting, and remove or properly anchor throw rugs. Check bathroom safety for non-slip mats, grab bars where needed, and adequate lighting near toilets and showers to reduce slips. Inspect hallways and pathways for clutter, loose cords, and poorly placed furniture that can block movement. Finally, verify that key areas like kitchens and bedrooms have working light switches and night lighting if family members need it.
What are the best electrical and fire safety checklist items to review in a home?
Review electrical safety by checking for frayed cords, loose outlet covers, signs of overheating, and frequently tripped breakers—any of these should be corrected by a qualified electrician. Confirm that GFCI protection is present and functioning in wet areas, and avoid daisy-chaining extension cords or using high-watt appliances on undersized circuits. For fire safety, ensure you have working smoke alarms and carbon monoxide alarms, keep fire extinguishers accessible (especially near kitchens or garages), and confirm that escape routes are clear. Also inspect dryer vents and other heat-producing appliances for lint buildup to reduce fire risk.
📅 Last Updated: July 04, 2026 | Topic: Home Safety Inspection Checklist | Content verified for accuracy and freshness.
References
- https://www.cdc.gov/saferhomes/index.html
https://www.cdc.gov/saferhomes/index.html - https://www.who.int/news-room/fact-sheets/detail/falls
https://www.who.int/news-room/fact-sheets/detail/falls - https://www.nhtsa.gov/road-safety/vehicle-safety-and-boosters/child-safety-basics
https://www.nhtsa.gov/road-safety/vehicle-safety-and-boosters/child-safety-basics - https://www.nsc.org/home-safety
https://www.nsc.org/home-safety - https://www.nursingworld.org/practice-policy/work-environment/health-safety/home-safety-checklist/
https://www.nursingworld.org/practice-policy/work-environment/health-safety/home-safety-checklist/ - Google Scholar Google Scholar
https://scholar.google.com/scholar?q=home+safety+inspection+checklist - Google Scholar Google Scholar
https://scholar.google.com/scholar?q=home+injury+prevention+checklist+fall+prevention - Google Scholar Google Scholar
https://scholar.google.com/scholar?q=residential+home+hazard+assessment+tool - Google Scholar Google Scholar
https://scholar.google.com/scholar?q=environmental+hazard+checklist+older+adults+home+safety - Google Scholar Google Scholar
https://scholar.google.com/scholar?q=Home+Safety+Inspection+Checklist



