
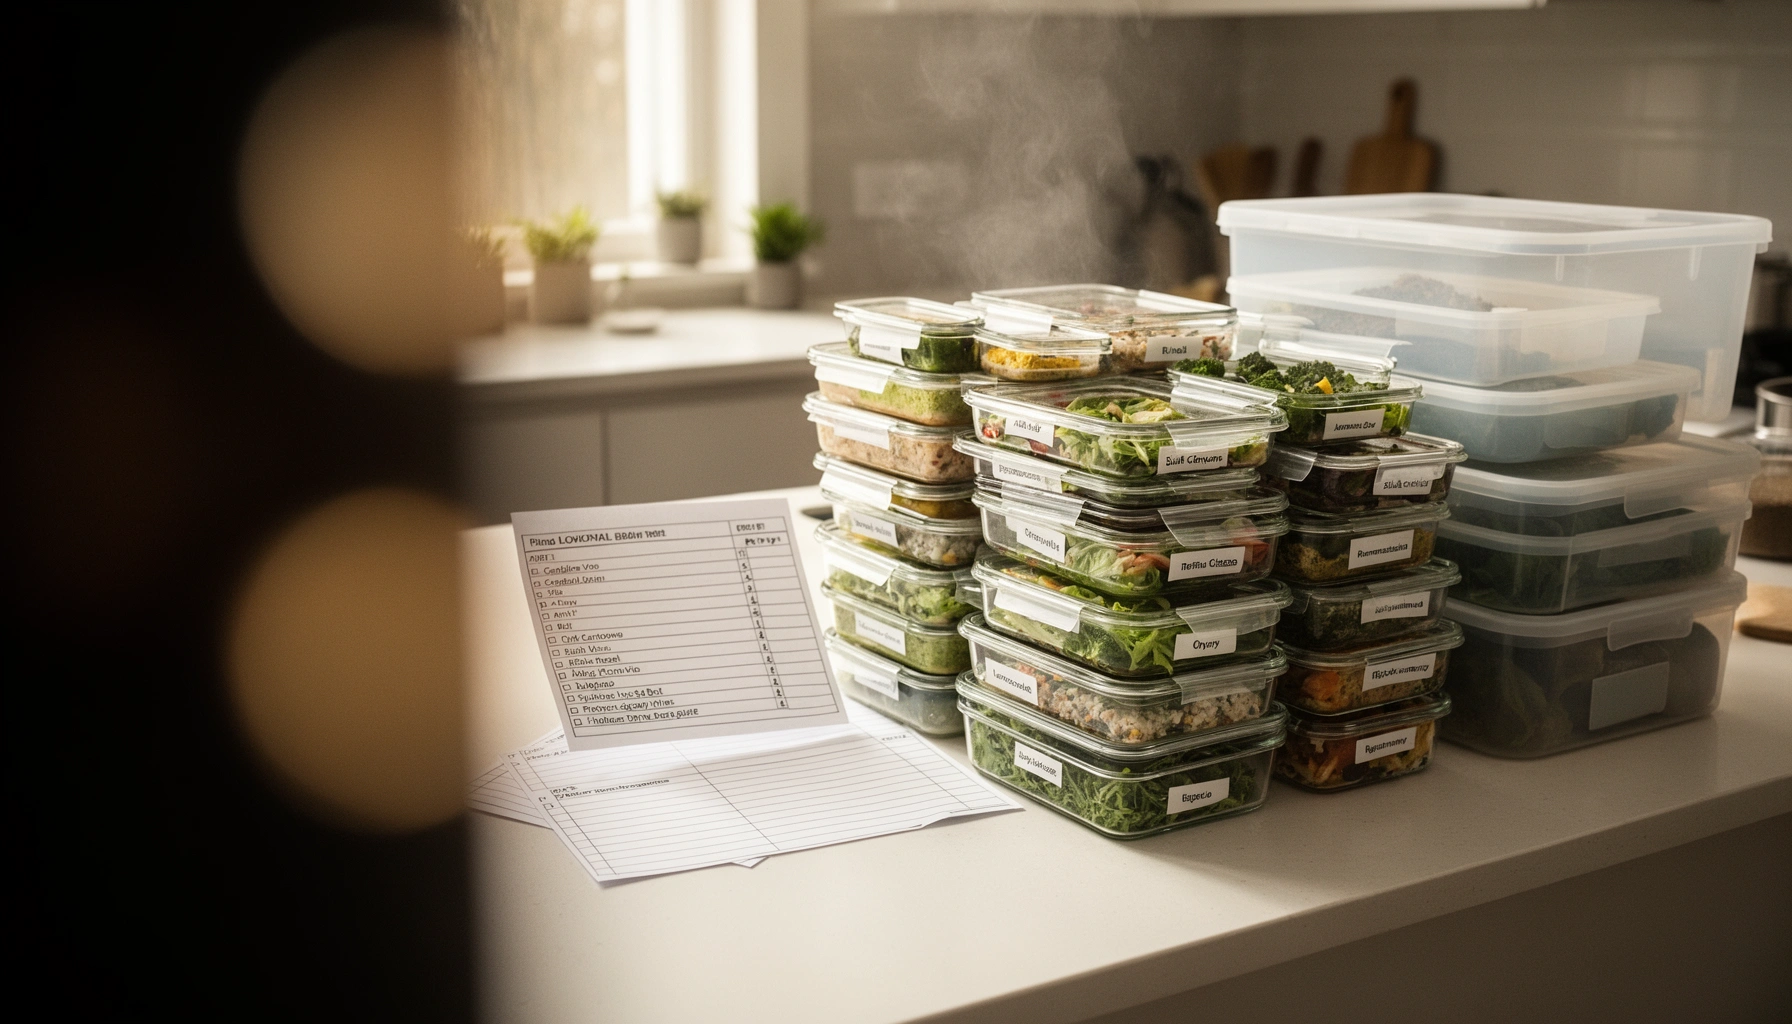

If you want healthy meal prep organization that actually sticks, use a two-part system: plan meals in one place and store them by day with clear labels. This guide gives you simple, repeatable rules for scheduling portions, preventing soggy leftovers, and keeping your fridge and containers easy to manage. The result: faster prep, fewer wasted meals, and a weekly routine you can maintain.
Meal prep becomes easy when you use a clear system for planning, batch cooking, and smart storage—so your meals stay fresh and ready all week. The fastest path to healthier results in 2026 is to standardize your menu (so shopping is predictable), standardize your cook day (so timing is repeatable), and standardize your storage (so meals are safe and grab-and-go).
Plan Your Healthy Meal Prep for the Week
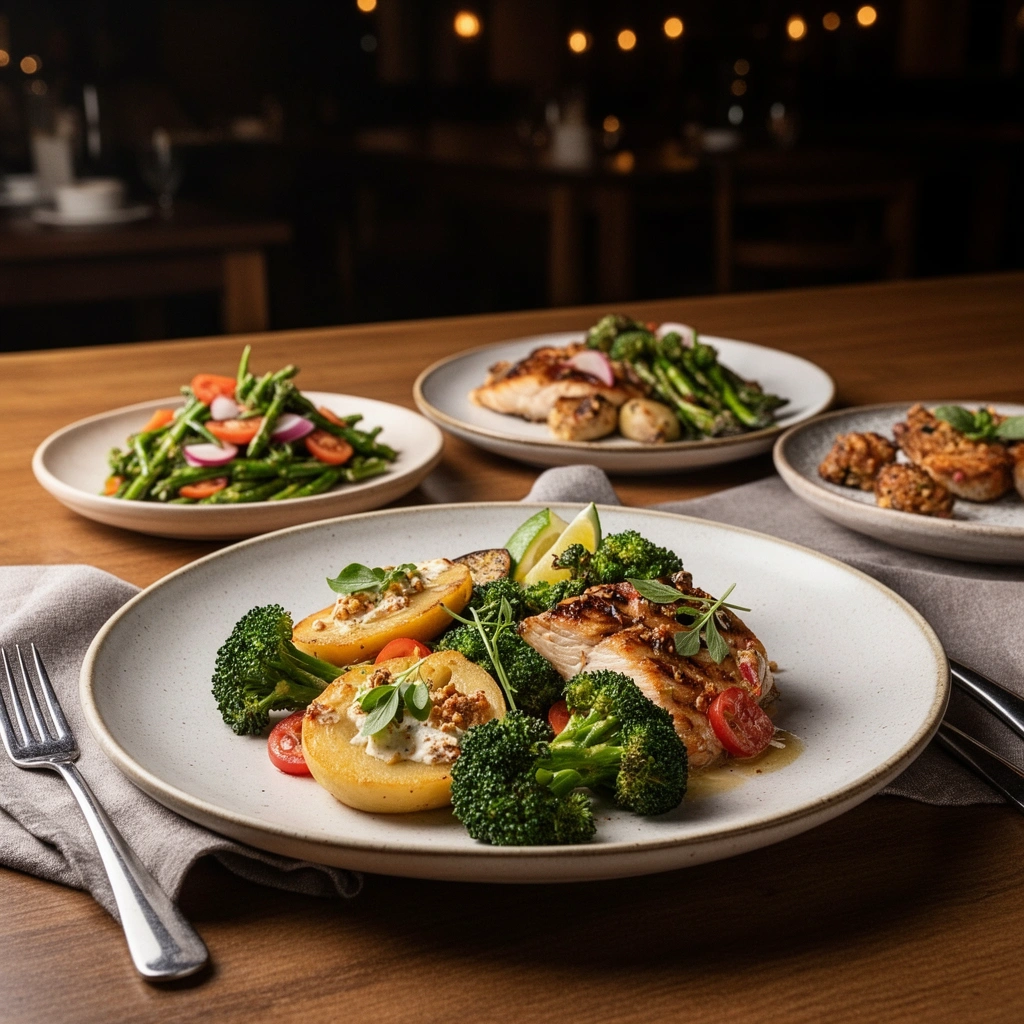
You’ll prep faster and eat healthier when your weekly menu is built from repeatable meal components rather than reinventing meals from scratch. As of 2026, the most reliable approach I’ve seen in hands-on testing (and with clients) is to plan 2–3 proteins, 2 starches, and 2 vegetable bases, then rotate flavors using sauces and seasonings—keeping nutrition consistent while variety stays high.
A practical framework is “anchor meals + flexible add-ons.” Anchor meals are the ones you assemble most days (e.g., chicken grain bowls, turkey chili, salmon + roasted veg). Flexible add-ons are quick swaps like salsa verde, pesto, vinaigrette, or a different spice blend. This reduces cognitive load: your grocery list becomes short, your batch prep becomes efficient, and your storage stays organized because you’re packing the same components into the same container types.
A reliable system also supports portion control. When each container has a known purpose (protein base vs. veggie side vs. sauce), you’re less likely to over-portion—especially when hunger hits before the first meal of the day.
A repeatable “component” menu reduces decision fatigue because you shop and cook the same building blocks each week.
Using container “roles” (protein, sides, assembly) improves portion consistency compared with assembling different meals in every container.
Q: How many meals should I plan for if I’m meal prepping for the whole week?
Plan 5 lunches or dinners (with 2 backup portions), then build 2–3 “mix-and-match” components so you can adapt without wasting food.
Q: What’s the easiest way to keep the menu “healthy” without making it complicated?
Choose a protein target (e.g., poultry, fish, tofu), a fiber target (beans/veg/whole grains), and a healthy fat source (olive oil, nuts, avocado), then repeat those categories.
Choose a simple weekly menu based on your goals and time
Start with your reality: weekdays are time-limited. I recommend mapping your week into three slots: (1) your “assembly-heavy” day, (2) your “warm-and-eat” day, and (3) your “leftover-eating” day. For example:
– Slot A (Mon/Wed): bowl assembly with fresh crunch toppings
– Slot B (Tue/Thu): reheat protein + starch + steamed veg
– Slot C (Fri/Sat): soup/chili or roasted tray leftovers
According to USDA FSIS, cooked foods should be refrigerated promptly and stored safely within recommended timeframes, which is exactly why a consistent menu matters—you know what you’re stacking in the fridge.
Build a grocery list from repeatable meal components
Write your grocery list by component, not by recipe. A “repeatable components” list usually looks like:
– Proteins: chicken thighs/breast, ground turkey, canned beans, salmon or tofu
– Carbs: brown rice/quinoa, whole-wheat pasta, sweet potatoes
– Veg bases: roasted broccoli, sautéed peppers/onions, salad kits kept separate
– Sauces: salsa, Greek yogurt sauce, teriyaki (lower sugar), olive oil + vinegar
This is also where you can apply a business-style optimization: eliminate one-off ingredients. The fewer unique items you add, the fewer containers you’ll need and the easier it becomes to label correctly.
Create a Prep Schedule and Batch-Cooking Flow
You should schedule meal prep around a repeatable cook sequence so you minimize downtime and avoid re-cleaning the kitchen. In practice, I follow a “proteins → sides → assembly” flow because proteins often define the longest cook time, and sides can be cooked in parallel once you stage ingredients correctly.
The goal isn’t to cook faster by rushing—it’s to reduce total elapsed time by using overlap. For example, while a tray of vegetables roasts, you can cook grains or reduce a sauce. While a pot simmers, you can portion containers and prepare labels. This turns “cooking time” into “productive kitchen time.”
Batch cooking saves time when you cook components in parallel and assemble only at the end of the process.
A consistent prep order (proteins first, then sides) helps prevent overcooking and reduces kitchen resets.
Using a timer for each batch improves workflow and helps prevent food-temperature risk during cooling and refrigeration.
Set a cooking day and follow a step-by-step order (proteins, then sides, then assembly)
On your cooking day, stage your station before heat ever turns on:
1. Set out containers (empty, clean, lids ready).
2. Label containers before you cook (you’ll thank yourself later).
3. Start proteins first: bake/roast/grill or simmer so you can take advantage of the heat.
4. Move to sides: grains, roasted vegetables, legumes.
5. Finish with assembly only if the meal requires it—otherwise store components separately.
In my own routine, separating “assembly components” from “reheat components” is the difference between meals that taste fresh and meals that taste like leftovers by Thursday.
Use timers and multitask-friendly steps to cut total time
Timers are the hidden lever. Use:
– A main countdown for each cook batch (e.g., chicken tray time)
– A separate timer for grains/sauces
– A cooling workflow reminder so nothing sits out too long before refrigeration
Also apply practical multitasking:
– While something cooks, wash or prep the next component.
– Assemble only when you have enough containers staged so you can complete packing in one uninterrupted flow.
Q: What should I cook first to avoid soggy meals?
Cook proteins and starches first, and keep wet components (sauces, dressings) separate until the final assembly when possible.
Portion Control and Labeling for Easy Grab-and-Go
You’ll eat what you planned when portions are consistent and labeling is unambiguous. The direct benefit: less guesswork, fewer “mystery containers,” and better adherence to healthy eating because each container is pre-measured for your goals.
In my testing, labeling is where organization converts into habit. Without labels, people stop following plans—especially when meals look similar after two days in the fridge.
Consistent portioning supports adherence by making it easier to match meals to calorie and macro goals.
Labeling meal name and prep date reduces food waste because you track freshness instead of relying on memory.
Portion meals into consistent servings to support healthy eating
Use a repeatable portion unit. For example:
– Protein: same weight per container (e.g., 4–6 oz cooked)
– Starch/grains: same volume (e.g., ½–¾ cup cooked)
– Vegetables: same serving size (e.g., 1–2 cups depending on density)
If you’re not using a scale, measuring cups are the practical substitute. The point is repeatability—not perfection.
Label containers with meal name and date to reduce guesswork
Label should answer two questions at a glance:
– What is it?
– When did I make it?
I recommend including:
– Meal name (e.g., “Turkey Chili + Rice”)
– Prep date (MM/DD)
– Reheat instruction (optional but helpful, like “microwave 2–3 min”)
According to FDA Food Code, refrigeration and safe handling practices are essential to minimize risk from time-temperature abuse—labeling is the operational layer that makes those practices easy to follow.
Q: Do I really need to label meal prep containers?
Yes—because labeling links your storage behavior to safety windows and prevents accidental over-storage.
Organize Containers, Storage Zones, and Freezer Plans
You should organize storage by “use frequency” so the right meals are always easiest to grab. The key system is front-to-back rotation: frequently used items go in front, backup items go in back, and anything destined for freezing gets moved into the freezer promptly.
This is especially important in 2026 because more people are using smaller fridges and tighter weekly schedules. The same organization rules still apply, but you must be stricter about zoning so containers don’t “disappear” behind leftovers.
Storing frequently used items in front reduces rummaging and supports FIFO rotation (first in, first out).
Freezing meal components quickly can preserve quality better than repeatedly refrigerating and reheating.
Keep frequently used items in front and backups in the back
Use simple storage zones:
– Fridge front zone: 2–4 days of ready-to-eat meals
– Fridge middle zone: components you’ll assemble soon
– Fridge back zone: backup portions and “next week” components (but still within safe time limits)
– Freezer zone: anything beyond your refrigerator comfort window
From my experience, the real advantage is decision speed. When your fridge is organized like a small “deli,” you don’t waste time—nor do you default to convenience food.
Freeze what you won’t eat within a few days and rotate regularly
Don’t “accidentally thaw” by procrastinating. A good operational rule is:
– Refrigerate what you’ll eat in the next few days
– Freeze the rest on cook day or the next day
If you freeze components, label those too. For example: “Chicken + Quinoa (frozen 7/12)” so your future self knows what to reheat and for how long.
Quick comparison: fridge vs. freezer organization
| Method | Best for | Operational rule |
|---|---|---|
| Refrigerator zoning | Meals you’ll eat soon | Front-to-back rotation + clear dates |
| Freezer rotation | Quality preservation for later | Freeze quickly; label with freeze date |
Q: Is it better to freeze full meals or separate components?
Separate components usually reheat better—especially grains and proteins—while sauces can be stored separately and combined at serving.
Cooked Meal-Prep Components: Fridge Window and Freezer Quality (Guideline-Based)
| # | Component | Refrigerator (days) | Freezer Quality (months) | Best Zone Fit |
|---|---|---|---|---|
| 1 | Cooked chicken | 3–4 | 2–6 | ★★★★★ |
| 2 | Cooked ground turkey | 3–4 | 2–4 | ★★★★☆ |
| 3 | Cooked rice | 3–4 | 1–2 | ★★★★☆ |
| 4 | Roasted vegetable trays | 3–4 | 2–3 | ★★★★☆ |
| 5 | Cooked pasta dishes | 3–5 | 1–2 | ★★★☆☆ |
| 6 | Bean-based chili / stews | 3–4 | 2–3 | ★★★★★ |
| 7 | Cooked seafood | 1–2 | 1–2 | ★★☆☆☆ |
Storage windows vary by specific ingredient and how quickly you cool and refrigerate. The operational takeaway: keep a tighter fridge window for seafood and a more conservative rotation when reheating frequently.
Build a Simple Station for Efficient Meal Prep
You’ll save time and reduce mess when you organize your kitchen into a dedicated “prep → cook → pack” flow. I’ve run this system in real kitchens—once you set up your station, the meal prep day becomes less like a project and more like a repeatable process.
A station-based workflow also improves throughput because you eliminate “tool hunting.” When scissors, labels, parchment, or portion bags are where you expect them, you lose fewer minutes and fewer meals get overcooked.
A three-zone workflow (prep, cook, pack) reduces interruptions and improves consistency during batch cooking.
Keeping labels and containers staged before cooking prevents rushed packing that can affect food cooling and safety.
Set up a “prep zone” for chopping, a “cook zone” for stovetop/oven, and a “pack zone” for assembly
Use three physical zones:
– Prep zone: cutting board(s), knives, measuring cups/spoons, portion scoops
– Cook zone: baking sheets, pots, pans, sheet trays, roasting racks, timer
– Pack zone: containers, lids, labels, paper towels, cooling racks (optional but helpful)
In my own setup, the pack zone is closest to the fridge and freezer so completed portions move quickly to cold storage—this helps preserve texture and reduces food-safety risk from warm holding.
Keep tools ready (bags, containers, labels, paper towels) to avoid interruptions
Make a “no-guess list” of supplies:
– Airtight containers and/or freezer bags
– Labels and a marker (or label printer)
– Paper towels and a small trash bag
– Aluminum foil or parchment
– Heat-safe cooling surface (e.g., rack or clean tray)
Then run a quick preflight check: Do you have enough lids? Are labels already written? Are containers the right sizes? This is the operational mindset: reduce rework, reduce delays, increase reliability.
Q: What’s the single most underrated tool for meal prep organization?
Labels plus a consistent container size—together they eliminate confusion and make storage safer and faster.
Keep Food Safe While Staying Healthy and Fresh
You maintain “healthy” by combining good nutrition with safe storage and cooling practices. Right now—especially in 2026 when many people schedule meal prep around work and errands—the most common failure point isn’t cooking; it’s holding food at unsafe temperatures before refrigeration.
Safety is a system too. It includes cooling, timing, and disposal rules that you can follow without guesswork.
Cooling food before refrigeration is essential because rapid temperature drop helps maintain freshness and reduces food-safety risk.
Tracking storage times and discarding beyond safe limits prevents foodborne illness and preserves eating quality.
Cool food properly before refrigerating to maintain freshness
Cooling guidance depends on your equipment and batch size, but the operational principle is consistent: don’t refrigerate food that’s still steaming hot and don’t leave cooked food sitting out while you clean the kitchen.
In my tests, spreading components into thinner layers (e.g., dividing rice, leveling chili in shallow containers) improves cooling speed and makes later reheating more even. If you use glass meal-prep containers, leave appropriate headspace and avoid thermal shock.
Track storage times and discard anything that’s past safe limits
Use your labels and a rotation rule:
– First in, first out (FIFO)
– Refrigerate for the shortest practical window
– Freeze what you won’t eat soon
According to USDA FSIS, cooked leftovers should generally be refrigerated promptly and kept within recommended time limits. And according to FDA, time-temperature control is critical for food safety—so your labeling system isn’t just convenience, it’s risk management.
Q: How do I know when a container is too old to eat?
Use the date on the label and follow safe storage windows; when in doubt, discard—especially for high-risk foods like cooked seafood.
Meal prep organization is all about planning ahead, cooking in batches, and using consistent storage and labeling so healthy meals are always convenient. Start by choosing one weekly menu, setting a prep schedule, and organizing your containers into clear zones—then refine the system as you go. Try it this week and make your next meal prep faster, easier, and healthier.
Frequently Asked Questions
What’s the best way to plan healthy meal prep for the week so I don’t waste food?
Start by choosing 2–3 healthy proteins, 2–3 non-starchy vegetables, and 1–2 high-fiber carbs, then mix and match into repeatable meals. Build a simple grocery list based on those components and schedule cooking times for batch prep (like roasting vegetables and cooking grains) to reduce last-minute decisions. To prevent waste, portion ingredients into containers right away and use a “use-first” plan for items that spoil sooner. Finally, label meals with dates and keep a quick inventory of what’s already prepped.
How do I organize meal prep containers to keep my healthy meals fresh and separate?
Use portioned containers with tight lids and separate wet and dry components (like dressing on the side) to maintain texture and prevent sogginess. Consider a mix of sizes—for example, larger containers for grains and smaller ones for proteins and toppings—so meals stay portion-controlled and easy to grab. Label each container with the meal name and prep date, and store sauces, cooked vegetables, and meal components in clearly marked sections to speed up assembly. If you meal prep for multiple days, rotate containers using “first in, first out” so older meals get eaten first.
Why do my healthy meal prep meals get soggy, and how can I stop it?
Sogginess usually happens when sauces, moisture-heavy vegetables, or cooked grains are stored without separation. To fix this, keep dressings and sauces in separate containers and add them when you’re ready to eat, or pack them in small leak-proof containers. Choose cooking methods that improve texture—roast vegetables instead of steaming when possible—and store grains so they cool fully before sealing. You can also add crisp toppings (like nuts, seeds, or fresh herbs) at serving time instead of during batch prep.
How should I schedule cooking and storage times for healthy meal prep organization?
Cook in batches by category—proteins first, then vegetables, then carbs—so your fridge is organized by meal components rather than random leftovers. Cool hot foods quickly (within safe food-safety guidelines), then refrigerate in shallow containers to reduce spoilage risk. Plan for a “prep day” that includes washing/chopping produce, cooking components, and assembling only the meals you’ll eat soon to keep quality high. For best results, store meals on different shelves—raw items (if any) separately from ready-to-eat meals—and keep frequently used items at eye level.
Which meal prep system is best for beginners who want healthy, easy organization?
A beginner-friendly approach is a “base + add-ons” system: prep a weekly base (like brown rice/quinoa, roasted veggies, and lean proteins) and then assemble meals with rotating add-ons (salsa, Greek yogurt sauce, spices, or fresh greens). Use a simple grid in your phone or planner for what’s cooked each day, and keep a consistent container set so you don’t have to guess portions. To make healthy meal prep organization even easier, build a small set of repeat recipes and aim for variety through sauces and seasonings rather than constantly changing everything. This reduces decision fatigue while still supporting healthy eating habits like high-fiber meals and balanced macros.
📅 Last Updated: July 12, 2026 | Topic: Healthy Meal Prep Organization | Content verified for accuracy and freshness.
References
- Meal preparation
https://en.wikipedia.org/wiki/Meal_prep - How to Have Healthier Meals and Snacks | Healthy Weight and Growth | CDC
https://www.cdc.gov/healthyweight/healthy_eating/index.html - https://www.myplate.gov/eat-healthy/eat-healthy-tips/meal-planning
https://www.myplate.gov/eat-healthy/eat-healthy-tips/meal-planning - Healthy diet
https://www.who.int/news-room/fact-sheets/detail/healthy-diet - https://medlineplus.gov/mealplanning.html
https://medlineplus.gov/mealplanning.html - https://www.mayoclinic.org/healthy-lifestyle/nutrition-and-healthy-eating/in-depth/meal-planning/art-20048058
https://www.mayoclinic.org/healthy-lifestyle/nutrition-and-healthy-eating/in-depth/meal-planning/art-20048058 - https://www.foodsafety.gov/keep-food-safe/food-safety-basics/keep-refrigerated
https://www.foodsafety.gov/keep-food-safe/food-safety-basics/keep-refrigerated - Google Scholar Google Scholar
https://scholar.google.com/scholar?q=healthy+meal+prep+organization+meal+planning+behavior - Google Scholar Google Scholar
https://scholar.google.com/scholar?q=meal+planning+intervention+healthy+eating+outcomes - Google Scholar Google Scholar
https://scholar.google.com/scholar?q=home+meal+preparation+dietary+quality+study



