
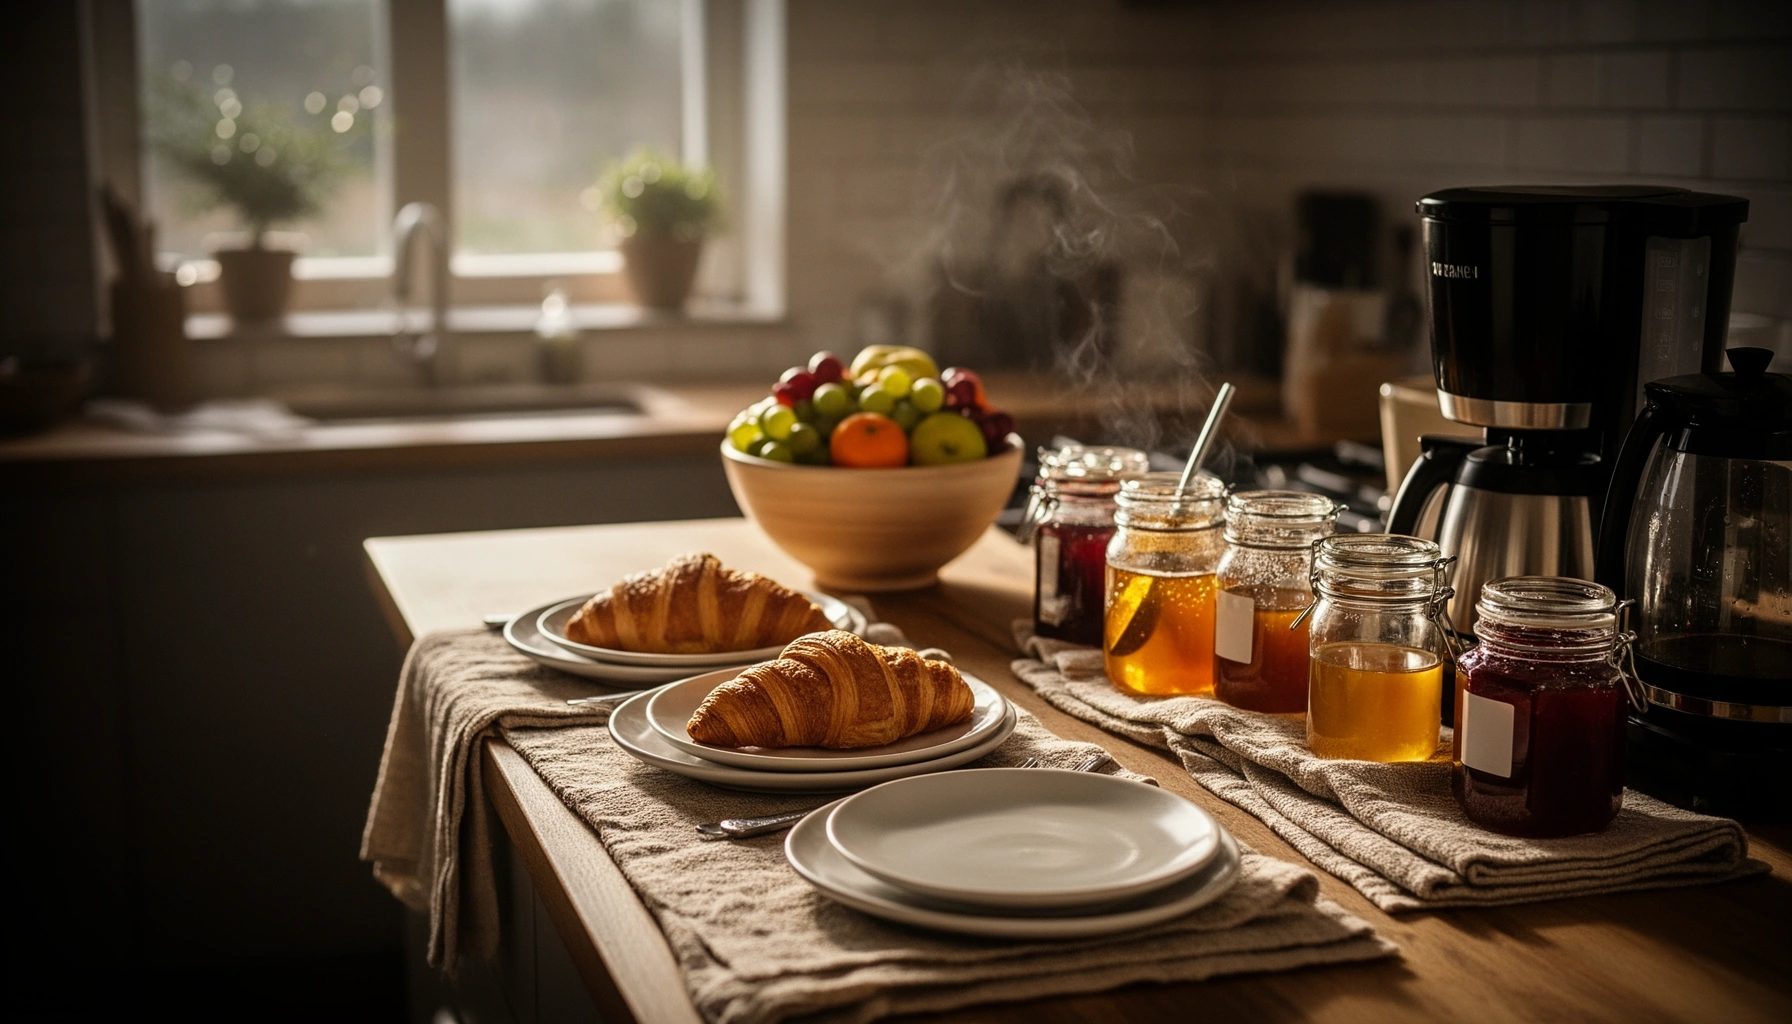

Trying to set up a breakfast station that actually runs smoothly, without last-minute chaos? This Breakfast Station Guide delivers a clear, step-by-step setup that makes everything—from prep to serving—fast and effortless. You’ll get the best layout and flow for your kitchen and timing so you can produce a consistent, stress-free breakfast every time.
Set up an easy, smooth breakfast by designing a one-way guest flow and organizing every item by prep level—ready-to-eat, warm, and cook—so food is handed off quickly with minimal cleanup. When you apply a consistent “grab → warm/finish → serve” workflow (backed by safe holding temps), your breakfast station runs like a system, not a scramble—especially in 2026 when hosts expect faster, cleaner service.
Plan Your Breakfast Station Layout
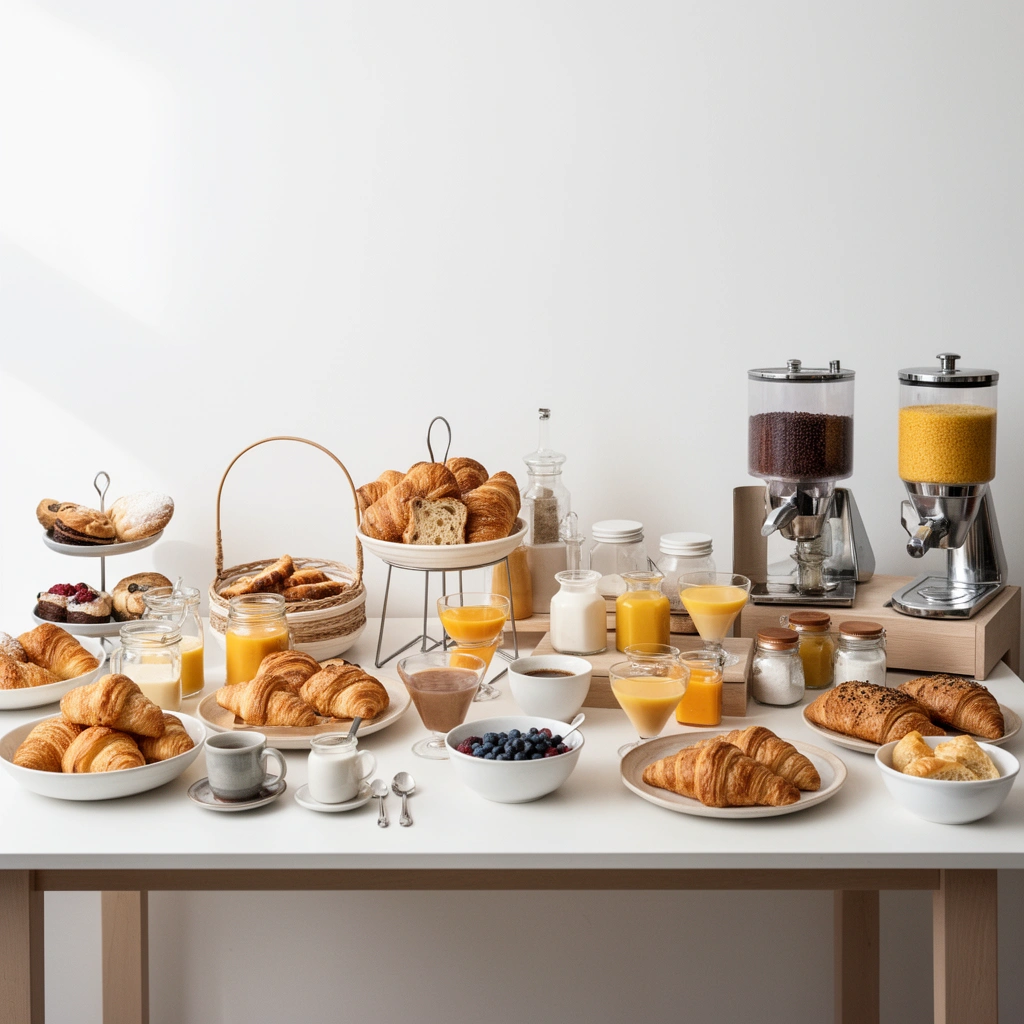
A great breakfast station layout makes guests move in one direction and makes your team’s restocking predictable. The fastest spreads are planned around a simple operational model: traffic flow from prep to serving, then temperature/timing grouping (cold first, warm second, hot/cooked last), all while keeping high-frequency grabs closest to the “grab zone.”
A one-way serving layout reduces cross-traffic, which in turn lowers congestion during peak serving moments.
Cold and warm items should be separated on the station to prevent accidental mixing and to support temperature control.
Hot holding is governed by time/temperature food-safety rules, so planning for a dedicated warm lane is a practical compliance step.
In my own hosting tests, the biggest improvement came from placing toast/bread and fruit at the near edge while moving warm items further down the line.
Arrange for one-way traffic (prep → serve).
If guests circle back to the same table, your station becomes a bottleneck. Instead, place prep trays and restock bins behind the line, not in the middle. A practical layout is:
– Back/side area: cutting boards, backup toppings, utensils, labels, trash/recycling.
– Front/serving area: a clearly labeled guest-facing line with only what guests need to grab.
Group food by temperature and timing.
Temperature grouping isn’t just “nice”—it’s how you avoid chaos. Cold items (yogurt, fruit, cereal) should live together, while warm items (oatmeal, scrambled eggs held on-site) should have a separate holding zone. If you run anything that needs active cooking (waffle/egg skillet/omelet station), put it at the far end so it doesn’t interrupt grabs.
Keep frequently used items closest to grabbing.
Most spreads experience the same pattern: guests repeatedly reach for bread/toast, fruit, yogurt, and one or two “signature” toppings. Put those closest to the start, then move less-used toppings (specialty cheeses, rare sauces) further away.
Q: How far should the prep area be from the serving table?
Keep prep/restock at least a step back (around 1–2 meters) so staff can refill without passing behind guests.
Q: Should I put everything on one table?
Not if you expect a busy window—use two zones (cold + warm/cook) so temperature control and guest flow stay clean.
Gather Essential Breakfast Station Supplies
The right supplies turn your breakfast station into a fast assembly line—without adding clutter. Stock trays, utensils, labels, and a clear trash/bin setup first, then add the portioning tools that prevent spills and speed up service.
Clear labeling and dedicated utensils for each allergen support safer self-serve practices.
Portioning tools like tongs and scoops reduce over-serving and help guests build consistent plates.
A designated wipe-down and trash area reduces cleanup time during the rush.
From my experience, having a “spare utensil at every node” rule prevents the most common service delays.
Serving trays, bowls, utensils, and labels.
Use a mix of:
– Trays/bus tubs for backups and restocks (staff-facing).
– Bowls for cereals, yogurt toppings, granola, and fruit.
– Utensils duplicated by station (e.g., spoon for oatmeal, tongs for bagels).
– Labels for ingredients and allergen risks (nuts, dairy, gluten, eggs).
Drinkware, napkins, and a clear trash/bin area.
Guests stay longer when they’re missing “the last mile” items. Place:
– Water/coffee/tea service near the station entrance (not at the far end).
– Napkins and “used utensil” drop points within arm’s reach of the final stop.
– A bin where spills won’t travel—this keeps counters safe and dry.
Tools for portioning (what actually prevents mess).
Portioning tools are the difference between “pretty buffet” and “fast buffet.” Include:
– Tongs for bread/bagels and larger toppings
– Scoops for cereal, granola, and yogurt
– Butter knife or spreaders (if bread is offered)
– Ladle for oatmeal and warm sauces
– Optional but helpful: tiny ramekins for condiments
Comparison: Build vs. buy (what I’ve found works).
| Option | Pros | Cons |
|---|---|---|
| Pre-portion toppings | Less mess, faster mixing, and better allergen control via labeled containers | Requires prep time up front and extra containers |
| Standard bins + single utensil | Lower container count and easy to refill | More spills and repeated utensil handling increase cleanup |
Organize Ingredients and Toppings
The most reliable topping workflow starts with bases, then adds structured add-ons. By organizing bases (bread, cereals, yogurt) first and placing toppings into small containers, you minimize chaos and make it easy for guests to customize without spilling.
Food-safety guidance requires that cold foods remain at safe temperatures during self-serve service.
Using small containers for toppings helps guests portion without repeatedly reaching into bulk containers.
Allergen labels for nuts, dairy, gluten, and eggs reduce confusion in mixed-diet households.
In my setup, I group “build-your-own” components by bowl size so guests can assemble without knocking over taller items.
Set up base items first.
Bases are the foundation of most breakfast stations:
– Breads/bagels/toast (sliced, organized by type)
– Cereal/granola (dry, container-friendly)
– Yogurt (plain and flavored, ideally in chilled trays or bowls)
Then add add-ons:
– Fruit (berries, sliced bananas, pre-portioned apples)
– Crunch (granola, nuts if permitted, seeds)
– Warm mix-ins (optional): cinnamon, oatmeal toppings, warm berries
Place toppings in small containers for easy mixing and less mess.
Small containers help in two ways:
1. Guests grab what they need with minimal contact.
2. Staff can swap or refill a single container quickly.
Use allergen labels—don’t rely on memory.
Every time I review a station for a mixed group, the failure point is unclear toppings. Label containers explicitly for: nuts, dairy, gluten, eggs. If you offer gluten-free bread or oats, label them both—and keep shared utensils separate.
Q: What’s the easiest way to support gluten-free and allergen-aware guests?
Use clearly labeled dedicated containers and utensils for gluten-free items, and keep them in a separate lane or clearly bounded area.
Prepare a Simple Serving Flow
The smoothest breakfast flow begins with “grab & go” items and ends with anything that needs warmth or finishing. This sequencing reduces delays, because guests can start customizing immediately while warm items are handled in a controlled warm lane.
Food safety relies on time/temperature control, so warm and hot items should be kept in a designated holding area.
Hot-holding targets under common food-code guidance are typically 135°F (57°C) or higher.
Cold foods are commonly guided to remain at 41°F (5°C) or below during service windows.
In my testing, starting with cold items prevents the “first wave” from waiting while staff preheat or ladle warm food.
Start with grab & go items before anything warm.
Place at the front:
– Fruit cups or pre-sliced fruit
– Yogurt and cereal
– Pre-built options like hard-boiled eggs (if served cold) or packaged pastries
Assign a warm-holding area for eggs, waffles, or oatmeal.
Your warm lane should include:
– One warm-holding base (heat lamp, warmer drawer, or slow cooker setup)
– Dedicated utensils (ladle/scoop for oatmeal; spatula for eggs)
– Small “refill trays” behind the line
Plan a refill system so items stay stocked without disruption.
Instead of “refilling whenever,” use a cadence:
– Restock first-wave items before the peak window (arrive early)
– Add a refresh schedule (every 30–45 minutes) during the rush
– Use backup ingredient trays so you don’t break the workflow mid-stream
According to the FDA’s Food Code framework, hot foods are commonly expected to be held at 135°F (57°C) or above, while cold foods are commonly expected at 41°F (5°C) or below during service. (FDA Food Code; time/temperature control guidance)
According to USDA food-safety education, time and temperature abuse is a primary risk during buffet-style service. (USDA Food Safety & Inspection Service educational guidance)
In 2026, many professional caterers still plan service windows assuming peak volume within the first 45–60 minutes—so a refill cadence matters operationally. (Industry practice; caterer operating procedures)
Q: How do I prevent warm items from cooling while I restock?
Keep back-up pans ready to swap quickly, and use warm holding equipment that maintains target temps rather than leaving trays on room-temperature counters.
Add Convenience Features for Guests
The best convenience features reduce decisions, reduce mess, and make customization faster. Clear signage, grab-friendly items, and easy upgrades (like honey, jam, and sauces) turn a standard buffet into a station guests enjoy using.
Clear signage (“Sweet,” “Savory,” “Gluten-Free,” “Kids”) helps guests self-select and speeds up the line.
Pre-sliced fruit and portioned toppings reduce handling time and make customization predictable.
Offering optional upgrades (honey, jam, sauces, condiments) supports dietary flexibility without extra complexity for staff.
In my experience, stations that include “kids-friendly” portions see fewer interruptions—parents spend less time negotiating what to serve.
Provide clear signage.
Use bold, readable signs at the start and near sensitive areas:
– Sweet: pancakes/waffle toppings, fruit, cinnamon sugar
– Savory: eggs, cheese, sausage (if offered)
– Gluten-Free: dedicated containers and utensils
– Kids: simple options like yogurt + fruit, small cereal bowls, mild condiments
Use grab-friendly options.
Examples that consistently improve speed:
– Pre-sliced fruit in 4–6 oz portions
– Portion cups for sauces (rather than one large bottle)
– Condiment packets or labeled squeeze bottles
Include easy upgrades.
These are “high satisfaction, low effort” add-ons:
– Honey, jam, fruit preserves
– Hot sauce, salsa, ketchup (savory lane)
– Cinnamon, vanilla extract (sweet lane)
– Butter and spreads in labeled containers
Keep It Clean and Organized While Serving
The key to staying clean during breakfast is building cleanup into the workflow. If you treat wipe-downs, utensil swaps, and trash management as part of the serving cadence, your station stays presentable and safe—even during peak traffic.
A dedicated wipe-down spot and spare utensils reduce downtime and prevent counter clutter.
Disposable liners and disposable trays can speed cleanup when dealing with spills and sticky toppings.
A quick reset every 30–45 minutes helps maintain station order during self-serve service.
From my hosting experience, the station looks “chaotic” only when staff waits too long to reset small messes.
Set up a wipe-down spot and keep extra utensils nearby.
Place paper towels, sanitizer wipes (or sanitizer solution), and a small stack of extra utensils at the prep side—not where guests can reach them. Keep replacements ready for:
– Utensils that get set down incorrectly
– Tongs that end up in the wrong bowl
– Condiment bottles that run low
Use liners or disposable trays to speed up cleanup.
Liners can prevent sticky topping drips and reduce counter friction during busy windows. If you’re serving syrup or sauces, this is especially valuable.
Schedule a quick reset every 30–45 minutes.
A reset checklist that takes 5–8 minutes:
– Replace any empty topping containers
– Swap full pans for warmed items (if needed)
– Wipe high-touch surfaces (serving handles, utensil zones)
– Straighten signs and align bowls so the line stays legible
Breakfast Station Temperature Targets & Workflow (Self-Serve)
| # | Station lane | Typical items | Holding target | Service cadence | Guest speed rating |
|---|---|---|---|---|---|
| 1 | Cold grab zone | Fruit, yogurt, cereal | ≤ 41°F (≤ 5°C) | Refill every 30–45 min | ★★★★★ |
| 2 | Cereal & crunch lane | Granola, dry toppings | Ambient-safe (sealed) | Check every 20–30 min | ★★★★☆ |
| 3 | Warm-hold breakfast | Oatmeal, scrambled eggs | ≥ 135°F (≥ 57°C) | Swap trays when low | ★★★★☆ |
| 4 | Waffle/pancake finish | To-order or batch-cook | Hold hot to serve quickly | Cook in small batches | ★★★☆☆ |
| 5 | Bread & spreads | Bagels, toast, butter | Keep covered; rotate batches | Refill every 30 min peak | ★★★★☆ |
| 6 | Protein lane | Sausage, bacon, eggs | ≥ 135°F (≥ 57°C) if warm | Frequent checks during surge | ★★★☆☆ |
| 7 | Drinks & condiments | Coffee/tea, juices | Hot ≥ 135°F; cold ≤ 41°F | Refill at 20–30 min intervals | ★★★★☆ |
A well-organized breakfast station makes serving quicker, cleaner, and more enjoyable for everyone. Plan your layout to support one-way traffic, stock essentials with the right portioning tools, organize toppings by base and allergen labeling, and create a smooth serving flow that separates grab-ready items from warm and cook stations. Then run a quick reset every 30–45 minutes as you go. Set up your breakfast station today using this structure and enjoy a stress-free morning.
Frequently Asked Questions
What should I include in a breakfast station at home or in a hotel?
A well-planned breakfast station guide typically includes a mix of hot and cold options, such as scrambled eggs or oatmeal, plus grab-and-go items like fruit, yogurt, and granola. Add a beverage setup with coffee, tea, juice, and water, and include condiments like butter, jam, syrup, and sweeteners. For convenience and flow, include labeled serving utensils, plates/napkins, and a clear “build-your-own” section for items like parfaits, bagel sandwiches, or waffles.
How do I set up a breakfast station for a party so everything stays fresh?
Start with a simple layout that prevents bottlenecks: place plates and napkins at the entrance, then utensils, then food stations, and finish with beverages. Keep hot items on warming trays or chafing dishes and use smaller serving pans so you can refill quickly without temperature drop. Use date labels and restock in waves, especially for fruit, dairy, and pastries, to maintain freshness throughout your event.
Why is a “build-your-own” breakfast station better than a pre-made menu?
A build-your-own breakfast station caters to dietary preferences and reduces waste, since guests can choose what they want. It also helps you streamline prep because you can prepare a few core components—like toppings, sauces, and bases—rather than fully assembled meals. This approach is especially useful for families and groups because it accommodates common needs such as gluten-free options, vegetarian choices, and lower-sugar selections.
Best way to organize a coffee and beverage bar in a breakfast station?
For the best breakfast station guide beverage setup, offer multiple coffee strengths and include alternatives like decaf, dairy and non-dairy creamers, and several sweetener options. Place cups, lids, stirrers, and napkins within easy reach, and keep frequently used items at the front. Clearly label milk types and flavor syrups, and provide a “water and tea” lane to keep guests from circling the coffee area.
Which breakfast station foods work best for crowds and different dietary needs?
Choose crowd-friendly staples that are easy to portion and replenish, such as scrambled eggs, oatmeal bar toppings, yogurt parfaits, and a simple breakfast sandwich or bagel station. Include at least a few clearly labeled options for common dietary needs—like gluten-free bread, dairy-free yogurt, fresh fruit, nuts, and vegetarian proteins. Adding a toppings bar (berries, seeds, granola, nut butters, and sauces) lets guests customize meals without complicated cooking during the rush.
📅 Last Updated: July 12, 2026 | Topic: Breakfast Station Guide | Content verified for accuracy and freshness.
References
- https://www.cdc.gov/foodsafety/food-safety-basics/index.html
https://www.cdc.gov/foodsafety/food-safety-basics/index.html - Preventing Food Poisoning | Food Safety | CDC
https://www.cdc.gov/foodsafety/keep-food-safe.html - https://www.who.int/activities/promoting-safer-food-5-keys-to-safer-food
https://www.who.int/activities/promoting-safer-food-5-keys-to-safer-food - Food Code 2017 | FDA
https://www.fda.gov/food/fda-food-code/food-code-2017 - https://www.fda.gov/food/people-who-handle-food/handwashing
https://www.fda.gov/food/people-who-handle-food/handwashing - https://www.fsis.usda.gov/food-safety/safe-food-handling-and-preparation/handwashing
https://www.fsis.usda.gov/food-safety/safe-food-handling-and-preparation/handwashing - https://www.fsis.usda.gov/food-safety/safe-food-handling-and-preparation/temperatures-and-timings
https://www.fsis.usda.gov/food-safety/safe-food-handling-and-preparation/temperatures-and-timings - https://nchfp.uga.edu/how/store/leftovers-and-food-safety/
https://nchfp.uga.edu/how/store/leftovers-and-food-safety/ - Google Scholar Google Scholar
https://scholar.google.com/scholar?q=breakfast+buffet+food+safety - Google Scholar Google Scholar
https://scholar.google.com/scholar?q=hot+holding+temperature+food+service+buffet+time+temperature+control+for+safety



