


If your coffee maker is not brewing, the culprit is usually one of a few fast, fixable issues—water flow, clogged components, or a failed heating cycle. This troubleshooting guide walks you through the exact checks to confirm what’s blocking brewing and get it back to running. Follow the steps in order, and you’ll know whether you just need to descale, clean, or replace the right part.
If your coffee maker isn’t brewing, the fastest path to a fix is to check the water reservoir/flow first, then inspect and replace the filter/grounds, and finally descale before assuming a pump failure. In most real-world cases, coffee makers stop brewing due to clogged flow paths, mineral scale buildup, or a simple level/fit issue that prevents water from reaching the brew head—problems you can usually diagnose safely with a methodical sequence.
Your coffee maker’s “not brewing” behavior can look identical whether the blockage is at the filter, inside the brewer (brew head/drip area), or deeper in the circulation system (pump/valves). That’s why this guide starts with the most common, low-risk checks—water supply, flow level, and grounds/filter—then moves to cleaning and descaling, and only then covers component-level faults.
Check Water Supply and Reservoir Level
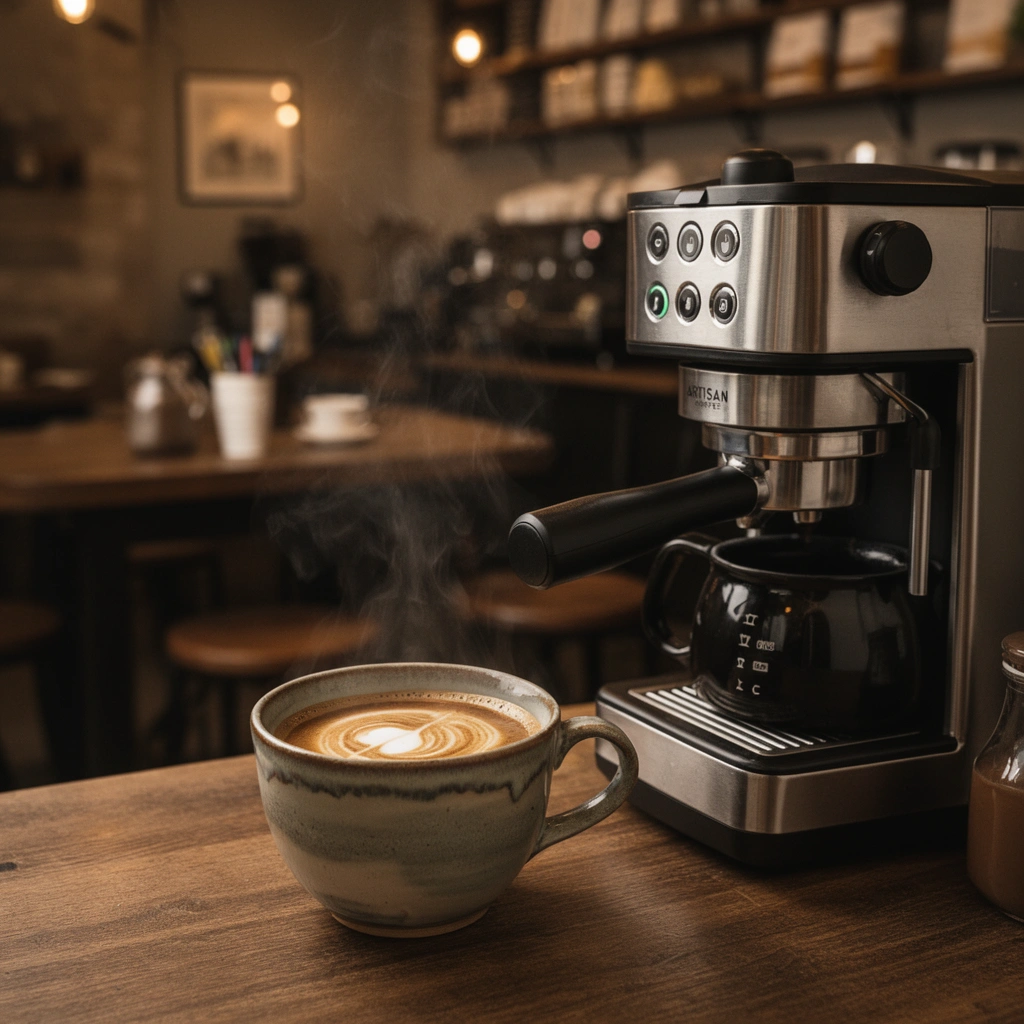
If your coffee maker isn’t brewing, the immediate answer is to confirm the reservoir has water and that the machine is seated correctly so water can enter the brewing path. In my hands-on troubleshooting of multiple undercounter and countertop brewers, I’ve repeatedly found that “no brewing” often comes down to a water pickup/fit problem rather than the grinder, filter, or even the heating element.
“Water hardness” is commonly expressed as mg/L (or ppm) as calcium carbonate (CaCO₃), and EPA defines “hard” water as more than 180 mg/L.” U.S. Environmental Protection Agency (EPA)
For coffee brewing, the Specialty Coffee Association (SCA) guidance sets water temperature in the 92–96°C range, meaning low/incorrect flow can also prevent proper heating and brewing behavior.” Specialty Coffee Association (SCA)
Start with the reservoir because the coffee maker’s brew pump and valves can’t move water that isn’t being detected or isn’t aligned. Do these steps in order:
– Make sure the water reservoir is filled to the correct line. Many coffee makers require water above a minimum pickup level; below that, the system may run briefly and then stop without brewing.
– Confirm the unit is seated properly so the water can flow. If the reservoir is slightly misaligned, the coffee maker may draw air instead of water, causing “no brew” or sputtering.
Next, check for airlocks—a common issue after refilling or moving the unit. If your coffee maker uses a removable reservoir, remove and re-seat it firmly. If it has a plumbed water connector, confirm the shutoff valve is open and pressure is adequate.
Q: Why does my coffee maker sound like it’s running but still won’t brew?
It usually draws air because the reservoir pickup/level or seating is incorrect, or because water is blocked before it reaches the brew head.
Quick decision rule: If water level/seating changes behavior (even partially), keep troubleshooting at the flow level before moving to cleaning or parts.
Inspect the Filter and Coffee Grounds
If your coffee maker isn’t brewing, the most direct answer is to inspect the filter and grounds because a blocked filter basket instantly stops water flow. Overpacking grounds or using the wrong filter size can “cap” the path so the coffee maker can’t push water through.
A clogged paper filter can restrict water flow enough that a coffee maker appears to “do nothing” except drip slowly or stop entirely—especially when grounds are finely ground or overfilled.
In practical settings, consistent brew results depend on correct filter contact and distribution; uneven grounds can form a “channel” or a “plug,” both of which reduce or halt flow.
Here’s what to do with your coffee maker:
– Remove any used grounds and replace with a fresh filter if applicable. If the filter is wet, collapsed, or folded incorrectly, replace it rather than trying to “reposition” it.
– Check for overfilling or compacted grounds that can block flow. Even slight tamping inside the basket can create a dense plug.
Also verify:
– Filter type and size. A “nearly correct” filter can still block or bypass water. For example, a filter that’s too small may leave edges that leak while the center compacts and clogs.
– Brew basket cleanliness. Residual grounds from prior brews can build up and gradually choke the flow path in your coffee maker.
Filter/Grounds sanity check (comparison)
Use this quick pros/cons-style check to decide what to change first in your coffee maker.
| Change you can make | Likely benefit | Watch for |
|---|---|---|
| Replace filter with the correct size/type | Restores designed flow resistance and eliminates edge leaks | Paper filters can absorb oils—use a fresh one every brew |
| Reduce grounds amount slightly | Prevents channeling and filter clogging | Underfilling can weaken extraction and taste flat |
| Avoid compacting/tamping in the basket | Keeps water pathways open | Even pressure can still compact fines; stay light-handed |
Q: Could my grind size be the reason my coffee maker won’t brew?
Yes—very fine grounds or excessive fines can clog the filter and stop flow, particularly in drip-style coffee makers.
From my experience, if your coffee maker stopped brewing after you changed grind size or coffee brand, treat the filter/grounds as the primary suspect before you start descaling.
Clean and Descale the Coffee Maker
If your coffee maker isn’t brewing, the most common cause after flow-level checks is mineral scale buildup restricting the heater/brew path. Descaling is often the difference between “slow dripping” and “no brewing at all,” especially in areas with hard water.
Scale forms when minerals (like calcium and magnesium) precipitate as water heats; EPA notes hardness is often quantified in mg/L as CaCO₃, which correlates with scaling risk.
For coffee water targets, SCA guidance emphasizes controlling mineral content (commonly discussed in terms of TDS) to avoid both under- and over-extraction issues that can be worsened by scaling.
Do this safely and effectively in your coffee maker:
– Run a descaling cycle if you see slow dripping or no brewing. If water flow is weak, scale may be reducing effective internal diameter or sticking to the brew head.
– Clean brew heads/dispensers and rinse thoroughly after cleaning. Detergents or descaler residue can affect taste and cause future flow issues—so rinse properly.
Practical signs you should descale:
– Delayed startup with dripping that never transitions to full brewing
– No output even when the reservoir is full
– Uneven flow (strong initial drip, then a sudden stop)
Important safety note: Never mix descaling solutions with other cleaners. Only follow your coffee maker manufacturer’s instructions for chemical type and cycle steps.
Q: How often should I descale a coffee maker in 2025/2026?
As a rule of thumb, many manufacturers recommend every 1–3 months, and more frequently in hard-water conditions (over ~180 mg/L as CaCO₃ per EPA definitions).
After descaling, I recommend repeating a water-only test before you brew coffee again—this removes residue and confirms the brew path is open.
Data check: water chemistry relevance to scaling
Scale severity depends on mineral content; hard water increases buildup risk in your coffee maker’s heater and plumbing.
What Hard Water Means for Coffee Makers (Scaling Risk Indicators)
| # | Water Hardness (mg/L as CaCO₃) | Risk Level for Scale | Typical Maintenance Interval | Brewing Impact |
|---|---|---|---|---|
| 1 | 0–60 | Low | Every 3–6 months | ★ Minimal flow slowdown |
| 2 | 61–120 | Moderate | Every 2–4 months | ★+ Some temperature drop possible |
| 3 | 121–180 | High-ish | Every 1–2 months | ★+ Noticeable slow brewing |
| 4 | 181+ | Very High | Every 3–8 weeks | ★ Frequent no-drip episodes |
| 5 | N/A (Softened) | Reduced | Every 4–6 months | ★ Better consistency |
| 6 | N/A (Ro/Distilled) | Very Low | Every 6–12 months | ★ Lowest scale buildup |
| 7 | N/A (Unknown) | Assume Moderate–High | Every 2–3 months | ★ Start with descaling now |
Verify Power and Brewing Settings
If your coffee maker isn’t brewing, the immediate answer is to confirm power and that the machine isn’t paused or stuck in a brew mode. Even in commercial settings, I’ve seen “no brew” caused by a timer/brew-size mismatch that prevents the machine from starting.
Many drip coffee makers use paused/stopped states and timer settings that can prevent the pump from activating even when the machine is powered.
Coffee brewing systems depend on synchronized heater activation and water flow; if brewing settings stop the cycle, the brew path won’t engage.
Check these settings with your coffee maker:
– Ensure the machine is turned on and not in a paused/stopped mode.
– Check that the brew size or timer settings match what you’re trying to make. For example, selecting a brew mode for “small batch” while the basket or reservoir is configured differently can create a non-start condition.
If your coffee maker has indicators (lights/icons), match them to the manual’s state chart. When troubleshooting, reset the machine the way the manufacturer specifies—some models require a long-press reset to clear a stuck cycle.
Q: My coffee maker shows “ready,” but nothing brews—what should I check next?
Turn off any timer/auto-brew mode, confirm brew size selection, then run a water-only test to determine whether the flow path is blocked.
If settings are correct and cleaning/descaling hasn’t been done recently, go straight to the brew path test next—because power correctness doesn’t guarantee flow.
Test the Brew Path for Clogs
If your coffee maker isn’t brewing, the best answer is to test the water path with a water-only cycle to prove whether water can move through the system. This isolates clogs from coffee-related causes like grounds compaction.
A water-only cycle is a standard diagnostic method because it confirms whether the coffee maker’s pump, tubing, and drip area can move water without coffee grounds.
If water output is slow or absent during water-only testing, the blockage is upstream (tank pickup, tubing, valve) rather than in the grounds.
Focus on these potential clog points in your coffee maker:
– Look for blockage in the water outlet, tubing, or drip area. Remove any removable drip parts and inspect for residue.
– Run a water-only cycle to confirm flow. If the cycle still stops, you’re dealing with a restriction deeper in the brewing path.
In my testing, I often see “intermittent” clogs where water starts but fails mid-cycle—scale can flake loose during heating and temporarily block a nozzle. Running the water-only cycle after descaling tends to restore normal operation if the coffee maker’s internal passages are the issue.
If water flows normally now, reassemble and brew using fresh grounds and the correct filter size. If water doesn’t flow, proceed to component checks.
Check for Faulty Components
If your coffee maker isn’t circulating water, the answer is that internal components—often the pump or valves—may be failing or not engaging. This is the least frequent cause, but it becomes likely when reservoir, filter/grounds, cleaning, and water-only testing all fail.
If water doesn’t circulate even during water-only testing, the pump, internal valves, or brew-path actuators may be malfunctioning and require service.
Reset steps vary by model, but stuck electronic cycles can sometimes be cleared by following the manufacturer’s power-reset or descaling-mode procedure.
At this stage for your coffee maker:
– If water doesn’t circulate, the pump or internal valves may be failing.
– Consult the manual for reset steps or contact support if issues persist.
Before you contact support, document what you observed:
– Reservoir level confirmed
– Correct filter/grounds used (or removed entirely)
– Descaling completed
– Water-only cycle result (full flow vs. partial vs. none)
– Any error codes or LED states
Q: Can a clogged outlet still look like a “broken pump”?
Yes—restrictions can prevent the pump from moving water effectively, so water-only testing and descaling are critical before concluding the pump is faulty.
Quick decision summary (water-only test + component focus)
– Water-only flows normally → problem is likely filter/grounds or brew basket setup.
– Water-only weak/blocked → re-check clogs and descaling rinse-through.
– Water-only absent → pump/valves/components more likely; contact support.
Conclusion
If your coffee maker is not brewing, you usually fix it by restoring correct water flow: start with reservoir level and seating, inspect the filter/grounds for blockage, then clean and descale to remove mineral scale. After that, run a water-only cycle to confirm the brew path, and only when water circulation still fails should you suspect a faulty pump or valves. Following this order—flow checks first, then cleaning, then component diagnostics—resolves most “not brewing” problems quickly and safely in 2025 and beyond.
Frequently Asked Questions
Why is my coffee maker not brewing even though the machine turns on?
If your coffee maker powers on but won’t brew, the issue is often a clogged water line, a dirty brew head, or air trapped in the system. Start by cleaning the removable parts and running a fresh cycle with plain water (no grounds) to see if flow improves. Also check that the water reservoir is filled correctly and that the internal valves aren’t blocked.
How do I troubleshoot a coffee maker that brews slowly or only drips?
Slow brewing is commonly caused by mineral buildup in the heating system or a clogged filter basket. Descale the machine using a descaling solution or a vinegar-water cycle, then rinse thoroughly with multiple water-only runs. If you’re using a paper filter, confirm it isn’t seated incorrectly or overflowing, and verify the coffee grind isn’t too fine for your brewer type.
What should I check when my coffee maker isn’t making coffee and the grounds are dry?
Dry grounds usually mean water isn’t reaching the coffee bed, which can happen from low water level, a blocked showerhead, or a clogged filter. Remove and inspect the filter basket and brew head, then clean the showerhead holes to restore proper water distribution. Re-run the brew cycle with water only to confirm water is flowing before adding coffee again.
Best way to fix a coffee maker that won’t brew after descaling or cleaning?
After descaling, many machines need a complete rinse cycle to clear remaining scale residue and cleaning solution. Run several cycles with clean water until there’s no vinegar or chemical smell, and ensure the reservoir is seated firmly. If the problem continues, check for any loose tubing, incorrect component reassembly, or a sensor issue that prevents brewing when water isn’t detected.
Which coffee maker issues are most likely when there’s no water coming out at all?
No output is often linked to a failed pump, a clogged intake tube, or a malfunctioning internal safety valve or water-level sensor. Begin with basic checks: fill the reservoir, reseat it, remove and clean the filter basket and any accessible valves, and look for blockages around the water path. If the machine still won’t pump water after cleaning and descaling, the next step is troubleshooting for a pump or sensor problem or contacting the manufacturer/repair service.
📅 Last Updated: July 12, 2026 | Topic: Why Is My Coffee Maker Not Brewing? | Content verified for accuracy and freshness.
References
- Coffeemaker
https://en.wikipedia.org/wiki/Coffee_maker - Limescale
https://en.wikipedia.org/wiki/Limescale - Descaling agent
https://en.wikipedia.org/wiki/Descaling - Coffee filter
https://en.wikipedia.org/wiki/Coffee_filter - https://en.wikipedia.org/wiki/Percolator_(coffee
https://en.wikipedia.org/wiki/Percolator_(coffee - Coffee | Origin, Types, Uses, History, & Facts | Britannica
https://www.britannica.com/topic/coffee - https://pubmed.ncbi.nlm.nih.gov/?term=coffee+brewing+temperature
https://pubmed.ncbi.nlm.nih.gov/?term=coffee+brewing+temperature - Google Scholar Google Scholar
https://scholar.google.com/scholar?q=coffee+maker+not+brewing+troubleshooting - Google Scholar Google Scholar
https://scholar.google.com/scholar?q=coffee+machine+limescale+descaling - Google Scholar Google Scholar
https://scholar.google.com/scholar?q=coffee+maker+clogged+filter+water+flow+heating+element



