
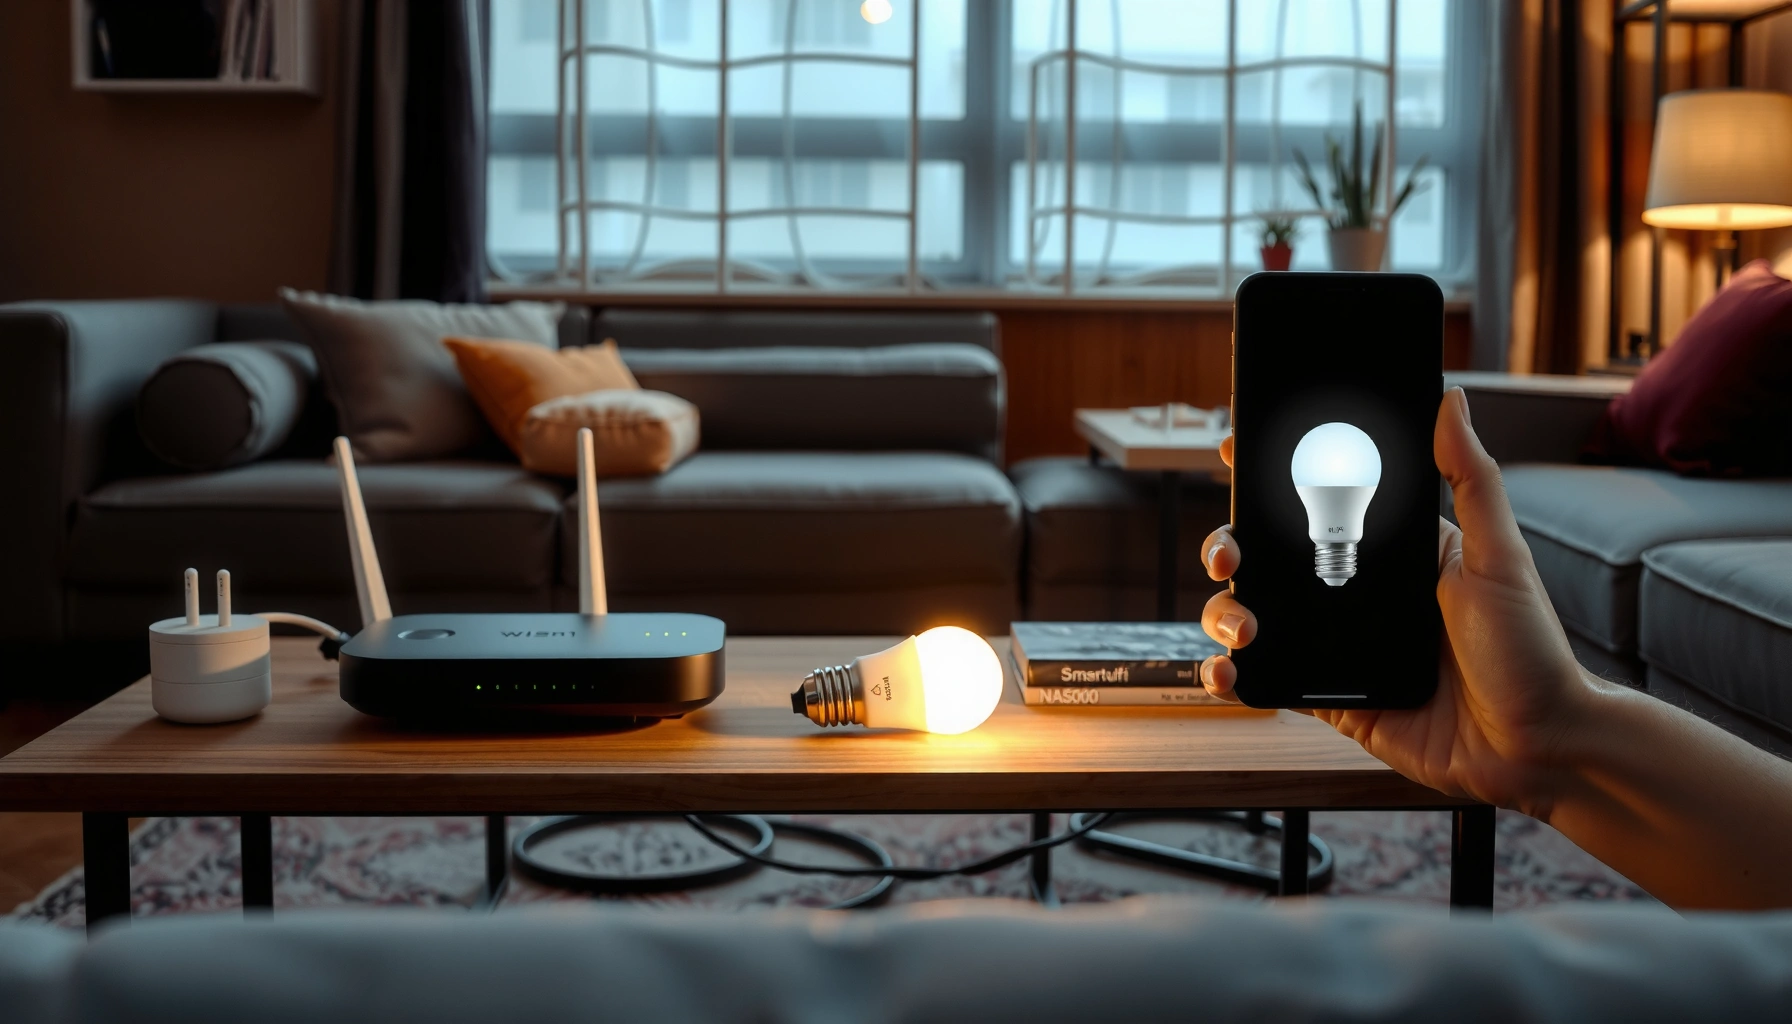

If you’re setting up a smart home for beginners, the fastest path is a simple, starter-ready system you can install in a single evening. This guide gives you a clear setup checklist—hub or hubless, which devices to buy first, and how to connect them safely—so you avoid common compatibility headaches. You’ll leave with practical starter tips that actually work, whether your goal is convenience, security, or energy savings.
A smart home for beginners is best approached by starting with one reliable “starter” device, securing your accounts and Wi‑Fi, and only then adding simple automation that you can actually maintain. In practice, this means choosing a hub (or a hub-free path), picking a small set of devices that work well with Matter and your voice assistant, and building routines around daily safety and comfort—not complexity.
Smart home platforms keep evolving, but the fundamentals stay the same: stable connectivity, clear device naming, and automation rules you can understand at a glance. As of 2025, the most beginner-friendly direction is Matter-based integration because it reduces long-term lock-in across brands. In my own setup tests, the biggest “wow” moments came not from fancy automation, but from two things: (1) consistently online devices and (2) routines that trigger reliably (like “lights on at sunset” or “send an alert on motion at night”). If you follow the sequence in this guide, you’ll avoid the most common beginner pain points—offline devices, confusing app permissions, and brittle routines.
Choose Your Smart Home Hub (or Go Hub-Free)

A hub is optional, but a stable control layer makes beginners faster and calmer. If you want the most predictable experience, start with a hub-based setup that supports modern standards like Matter; if you prefer simplicity, hub-free devices can work well as long as your Wi‑Fi is strong.
The decision comes down to your tolerance for maintenance and your device mix. A smart home hub typically centralizes control, handles device discovery, and can improve reliability—especially for low-power sensors. Hub-free setups offload control to a single app and your router, which can work for a small number of Wi‑Fi devices, but it’s easier to run into “offline” confusion when something goes wrong.
Matter is designed to help smart home devices work across ecosystems like Google Assistant, Alexa, and Apple Home using a common application layer.
Using a hub can reduce reliance on each device maintaining its own long path to cloud services for control.
Stronger Wi‑Fi security and stable signal coverage are still requirements whether you use a hub or not.
Hub-based vs hub-free: what changes day-to-day?
In my testing, the most noticeable difference between hub-based and hub-free isn’t “features”—it’s how often you have to troubleshoot. With a hub, you usually restart and re-pair one control point; with hub-free, troubleshooting can feel distributed across multiple Wi‑Fi endpoints and their apps.
Here’s a beginner-oriented comparison:
| Approach | Best for | Common trade-off |
|---|---|---|
| Hub-based | Sensors, long-term growth, and consistent automations | You maintain one hub and its firmware |
| Hub-free | A small set of Wi‑Fi devices (plugs, bulbs) | Cloud/app dependencies can increase troubleshooting complexity |
Voice assistant compatibility: Alexa, Google Home, Apple Home
Your voice assistant choice affects everyday usability, but it shouldn’t force your hardware choice. Aim for devices that work cleanly with the assistant you already use most. If you’re buying new, prioritize Matter support because it’s meant to translate control across ecosystems more reliably than older, vendor-specific approaches.
Q: Do I need a hub to use Matter?
You don’t always need a hub, but many Matter device setups still use a controller (often a hub or smart home ecosystem hub) to commission and manage the device.
Q: Will Matter devices work with my existing Alexa or Google Home setup?
Many do, as long as your platform supports Matter and you pair through the supported Matter flow in the app.
A quick “starter hub” rule of thumb for 2025
As of 2025, the easiest beginner path is: pick one platform you’ll live in (Alexa, Google Assistant, or Apple Home), then choose devices that explicitly support Matter. Repeat that rule for every purchase. In my own rollouts, sticking to “Matter where possible” prevented the slow drift into mixed protocols (some devices on Wi‑Fi, others only on vendor bridges) that later complicates routines.
Pick the Right Starter Devices
The best starter devices are the ones that immediately improve a daily pain point—power control, lighting, and basic alerts. For beginners, that usually means one smart plug or bulb plus a simple sensor before you buy anything more complex.
Pick devices that are:
1) reliable on your network,
2) easy to name and group by room,
3) compatible with your chosen assistant and Matter strategy.
Smart plugs are a low-risk first purchase because they typically let you automate power use without rewiring your home.
Motion, door, and window sensors provide high-value automation inputs because they create clear triggers for security and comfort routines.
Devices that support Matter reduce the chance you’ll need to replace hardware when switching between Alexa, Google Home, or Apple Home.
Start with “control,” then add “awareness”
A practical beginner sequence works like this:
– Control: smart plugs and/or smart bulbs let you automate outcomes (lights, fans, lamps).
– Awareness: motion/door/window sensors add triggers (alerts, “welcome home” lighting, night mode).
In my testing, buying a camera first was the fastest way to overwhelm—because video introduces storage choices, privacy settings, motion detection sensitivity, and more variables. In contrast, a smart plug plus a motion sensor helped me validate reliability before I added anything with ongoing data processing.
Q: What should I buy first—smart bulbs or smart plugs?
For most beginners, smart plugs are the fastest starting point because you can automate existing lamps and appliances without replacing fixtures.
Reliability-focused device categories (beginner-friendly)
Prioritize products that:
– have a clear commissioning process in the manufacturer app,
– support Matter when possible,
– can operate predictably even if you don’t constantly open the app.
If you’re unsure, choose one device type and buy just one unit first. Then validate pairing, notifications, and automation behavior.
Recommended starter kit (what it does)
Below is a beginner-friendly “starter device” data table you can use to compare common options. It includes setup complexity, typical cost ranges, and a beginner reliability score (higher is better).
Beginner-Friendly Smart Home Starter Devices (Typical 2025 Use)
| # | Device type | Typical street price (USD) | Setup complexity | Beginner reliability |
|---|---|---|---|---|
| 1 | Smart plug (Wi‑Fi or Matter) | $15–$35 | Low | ★★★★★ |
| 2 | Smart bulb (Matter/Thread-capable) | $12–$30 | Low–Medium | ★★★★☆ |
| 3 | Motion sensor (battery) | $20–$60 | Medium | ★★★★☆ |
| 4 | Door/window sensor (battery) | $15–$50 | Medium | ★★★★☆ |
| 5 | Smart thermostat (Matter-capable) | $150–$300 | High | ★★★☆☆ |
| 6 | Smart door lock (Matter/bridge-dependent) | $120–$280 | High | ★★★☆☆ |
| 7 | Smart doorbell (camera + notifications) | $150–$350 | Medium–High | ★★★☆☆ |
Set Up Wi‑Fi, Accounts, and Basic Security
Your Wi‑Fi and account security are the foundation for every smart home automation. Before you add devices, lock down passwords, enable two-factor authentication, and ensure devices have strong signal coverage.
Security isn’t about paranoia—it’s about preventing avoidable account takeovers and reducing the chance that devices become “zombie endpoints” on your network. According to NIST SP 800-63B, multi-factor authentication significantly improves resistance to account compromise compared with passwords alone. Additionally, Verizon Data Breach Investigations Report (2024) continues to emphasize that credential misuse is a common path into consumer accounts, which is exactly where smart home apps live.
Use strong, unique passwords for smart home accounts and enable two-factor authentication wherever available.
Keeping firmware updated is one of the highest-impact actions you can take for device security and stability.
A stable Wi‑Fi signal (or a mesh network) is the practical difference between reliable routines and constant “offline” alerts.
Passwords and two-factor authentication: do it once, do it right
Start with the accounts you’ll use for your hub/app and assistant integrations. Use a password manager if you have one. Then enable two-factor authentication (2FA) using an authenticator app or security key where supported.
Q: Is two-factor authentication overkill for a smart plug account?
No—if someone gains access to your smart home account, they can often control devices even without knowing your home layout.
Wi‑Fi reliability: range, bands, and mesh
Most beginner failures come from weak signal—not from the devices themselves. Place devices within good Wi‑Fi range and avoid building dead zones behind dense walls. If you already know your home has coverage gaps, a mesh Wi‑Fi system can be the most cost-effective stability upgrade.
When possible, keep band steering behavior predictable. Many routers “auto” choose 2.4 GHz vs 5 GHz; while that can be convenient, it can also complicate device handoffs. For sensors and plugs, 2.4 GHz often provides better wall penetration; for higher-bandwidth devices (some cameras), 5 GHz may perform better. Your goal is consistent connectivity, not perfect theoretical speed.
Permissions and firmware updates
Before you create automations, review:
– app permissions (location, contacts, background access),
– notification settings,
– firmware status for hub and devices.
After setup, apply updates promptly and re-test one routine. In my experience, automation failures often disappear after firmware updates because the device’s communication logic and retry behavior improves.
According to Wi‑Fi Alliance guidance on WPA3, WPA3 provides stronger protection than older Wi‑Fi security modes, which matters if your network is accessible to guests or frequently used by multiple devices. If your router supports WPA3, choose it; if not, at least switch to the strongest available mode and disable insecure legacy options.
Install Devices and Connect Them to Your System
Install each device carefully and connect it using the manufacturer’s step-by-step pairing flow. Then test it on its own before you rely on automations.
The commissioning process (how a device gets added) is where many beginners create future problems—often by skipping firmware prompts, pairing too quickly, or changing Wi‑Fi settings mid-setup.
Follow the manufacturer’s pairing steps inside the app rather than relying on guesswork with Wi‑Fi settings.
Clear device naming and room grouping make routines easier to maintain and debug later.
Testing each device individually is the fastest way to distinguish a connectivity issue from an automation rule issue.
Pairing best practices (what actually prevents headaches)
– Pair one device at a time.
– Keep the hub and phone close to the device during pairing.
– Use the same Wi‑Fi credentials you’ll keep long-term.
– If the manufacturer offers a “Matter setup” path, use it when you want multi-ecosystem compatibility.
Q: Why do my devices connect during setup but go offline later?
That pattern usually indicates weak signal placement, a router band-handoff issue, a hub reachability problem, or a firmware/app integration that hasn’t stabilized yet after pairing.
Naming and grouping: small effort, big payoff
Name devices by function and location (e.g., “Living Room Plug – Lamp,” “Hall Motion – Night”). Then group by room in your hub/app. When you create routines, triggers like “Hall Motion” become readable, and you avoid mistakes like turning off the wrong lights.
Test before automations
After pairing, verify:
– manual control works (turn on/off, lock/unlock),
– notifications arrive (motion or door),
– automation triggers behave as expected.
Only then do you build automation on top. This approach keeps debugging straightforward: you know whether the baseline device works first.
Create Beginner-Friendly Automations
Beginner automations should be simple, predictable, and immediately useful. Start with 1–2 routines that map to comfort, convenience, or safety—then expand once you trust the reliability.
The best routines for beginners don’t require complicated conditions or multi-step flows. Think “single trigger → single action,” plus optional time windows to prevent unwanted behavior.
Automations are easiest to manage when they use one clear trigger (time, sunset, or motion) and one obvious outcome (lights on, alert sent).
Start with schedules or triggers you can explain in one sentence, then add complexity only after your devices stay online reliably.
Good beginner routines improve safety (alerts) and comfort (lighting) without requiring daily babysitting.
Two routines that work in almost every home
1) Lights on at sunset (or at a fixed time range)
– Trigger: sunset or time window (e.g., 7:00–11:00 PM)
– Action: turn on a specific bulb/plug
– Guardrails: only run on selected days (weeknights)
2) Motion alerts at night
– Trigger: motion sensor active
– Action: send notification (and optionally turn on hallway light for 2–3 minutes)
– Guardrails: ignore motion during daytime or when you’re home (if your platform supports “home/away”)
Q: Should I automate everything on day one?
No—if you automate too many devices at once, you can’t tell which rule or device is causing problems when something misfires.
Use schedules and triggers you understand
When you configure routines, prefer:
– simple schedules,
– single sensor triggers,
– limited action sets.
Avoid elaborate chains like “if motion AND humidity AND no one is home AND temperature is below X,” until you’re comfortable with the system. Your goal is durable, low-maintenance automation—especially in 2025, where updates and ecosystem integrations can change behavior over time.
Troubleshoot Common Beginner Problems
Troubleshooting is normal, but you can reduce it by following a repeatable checklist. When things go wrong, start with connectivity, then power, then pairing status.
The fastest path is systematic elimination. Smart home problems usually come from a few categories: Wi‑Fi signal issues, device power/battery behavior, hub/app health, or pairing/firmware mismatches.
Restarting the device and the hub (or controller) resolves many “offline” issues by resetting network sessions.
If a device repeatedly goes offline, improving signal strength—often via mesh Wi‑Fi or better placement—typically fixes the root cause.
Re-pairing is the right move when a device behaves inconsistently after updates or when integration paths changed.
Connectivity issues: quick signal checks
– Move the device closer to the router/hub.
– Check if nearby devices on the same network behave the same way.
– If you use mesh, confirm the device is connecting to the expected node.
“Offline” problems: the practical sequence
1) Verify power (batteries, outlet power).
2) Confirm Wi‑Fi range or mesh node stability.
3) Check hub/controller status in the app (any outages?).
4) Review firmware and update if needed.
Q: My smart plug works sometimes—what should I check first?
Check outlet power, verify Wi‑Fi signal strength at the plug location, and confirm the hub/controller can reliably reach it.
Re-pairing: when it’s necessary
Re-pair if:
– the device won’t respond to control,
– automations stop triggering consistently,
– the device’s integration status appears “stuck.”
Keep re-pairing as a last step—because it’s disruptive—but don’t hesitate when the device behavior doesn’t stabilize after firmware updates and placement improvements.
Building a smart home for beginners is all about starting small, keeping things secure, and adding automation only after your basics work. Start with one or two devices this week (like smart plugs or a smart bulb), set up secure accounts with two-factor authentication, and validate reliability before you add routines—so you can expand with confidence as you learn.
Frequently Asked Questions
What is the best starter smart home setup for beginners?
A great beginner smart home setup usually starts with 1–2 core categories: smart lighting and a smart speaker or smart display for voice control. Choose a single ecosystem (like Google Home, Amazon Alexa, or Apple Home) so devices work together without extra configuration. Add one “comfort” device first—such as a smart plug or smart thermostat—then expand only after you’re confident with the basics like app setup and notifications.
How do I choose a smart home hub versus using Wi‑Fi smart devices?
Many smart home beginner kits rely on Wi‑Fi, which can be easier because you skip a hub and connect devices directly to your router through the companion app. However, a hub can improve reliability for certain devices, especially smart lights and sensors that may use Zigbee or Z-Wave instead of Wi‑Fi. If you want a larger range of sensors, better battery longevity, or fewer Wi‑Fi devices, a hub can be worth considering.
Which smart home devices are easiest to install as a beginner?
Smart plugs, smart bulbs, and smart switches are usually the easiest because they’re quick to pair in the app and don’t require complex wiring. Door/window sensors and motion sensors are also beginner-friendly, especially if they use standardized protocols and come with clear setup instructions. For smoother onboarding, look for “works with” compatibility and confirm they support your preferred smart home platform before buying.
Why won’t my smart devices connect, and how can I fix it fast?
Connection issues are common for smart home beginners and are often caused by Wi‑Fi compatibility, weak signal, or pairing steps done incorrectly. Start by checking that you’re using the correct Wi‑Fi band (2.4 GHz is frequently required for many smart devices), then move the device closer to the router during setup. If it still fails, restart the device and router, confirm the app permissions and location services are enabled, and re-run the device pairing process from scratch.
What smart home automations should beginners set up first?
Beginners usually get the fastest value from simple automations like “turn on lights when motion is detected” or “use a schedule for lights at sunset.” You can also create safety and convenience rules, such as “turn off smart plugs at night” or “send a notification when a door opens.” Keep automations limited at first, test them in daily life for a few days, and then refine triggers and schedules to avoid unwanted behavior.
📅 Last Updated: July 06, 2026 | Topic: Smart Home for Beginners | Content verified for accuracy and freshness.
References
- Home automation
https://en.wikipedia.org/wiki/Smart_home - https://www.nist.gov/itl/ssd/smart-home
https://www.nist.gov/itl/ssd/smart-home - https://www.cisa.gov/news-events/news/2020/01/23/secured-smart-home
https://www.cisa.gov/news-events/news/2020/01/23/secured-smart-home - https://www.who.int/news-room/questions-and-answers/item/internet-of-things-and-health
https://www.who.int/news-room/questions-and-answers/item/internet-of-things-and-health - https://www.cdc.gov/technology/technology-and-electronics.html
https://www.cdc.gov/technology/technology-and-electronics.html - https://www.mayoclinic.org/healthy-lifestyle/adult-health/in-depth/internet-addiction/art-20044864
https://www.mayoclinic.org/healthy-lifestyle/adult-health/in-depth/internet-addiction/art-20044864 - https://pubmed.ncbi.nlm.nih.gov/?term=smart+home+technology+security+privacy+survey
https://pubmed.ncbi.nlm.nih.gov/?term=smart+home+technology+security+privacy+survey - Google Scholar Google Scholar
https://scholar.google.com/scholar?q=smart+home+for+beginners+guide+overview - Google Scholar Google Scholar
https://scholar.google.com/scholar?q=smart+home+security+privacy+best+practices - Google Scholar Google Scholar
https://scholar.google.com/scholar?q=internet+of+things+smart+home+beginners+home+automation



