Find out the essential steps for safe, effective mold removal cleanup—and which actions matter most for stopping growth fast. This guide lays out the direct process for identifying the moldy material, containing spores, and cleaning or removing affected areas without spreading contamination. If you follow these mold removal tips in the right order, you’ll reduce health risks and get the best results in the shortest time.
Act fast, find and fix the moisture source, and contain the affected area before cleaning—those three actions determine whether mold returns. In practice, I’ve seen that the “best” mold removal technique fails when humidity or a hidden leak is still feeding the problem, so this guide focuses on safe, effective steps you can execute systematically, even on common building materials.
Assess the Mold and Moisture Source

Act now: the fastest way to reduce mold damage is to confirm the growth is active, measure the affected area, and stop the moisture that caused it. From a remediation standpoint, mold cleanup is only half the job—moisture control is the other half, and it’s what prevents regrowth.
Start by checking the affected area size and whether it’s still expanding. A small, stable patch is handled differently than spreading growth behind baseboards, inside wall cavities, or around plumbing penetrations. Next, identify the moisture mechanism: leaks (roof, plumbing, HVAC condensate), high indoor humidity, and condensation from poor ventilation or cold surfaces.
Key moisture sources to assess during the same walkthrough:
– Visible leaks: drips, damp drywall seams, wet caulk around tubs/showers, wet flooring under sinks
– Condensation: repeating dampness on windows, exterior walls, or HVAC duct runs
– Humidity: chronic moisture indicated by musty odor, foggy windows, or relative humidity (RH) that stays elevated
– Material transfer: water migration through baseplates, concrete slab edges, or behind cabinets
According to the U.S. Environmental Protection Agency (EPA), preventing mold growth depends on controlling moisture and fixing leaks promptly EPA (Mold Prevention & Remediation Guidance). Also, many remediation professionals target indoor RH control because mold typically grows when materials remain damp for extended periods EPA (Moisture & Mold Fundamentals). In my own inspections, I’ve found that “surface cleaning only” is common—then the same stain returns within weeks because the damp source remains.
Q: How can I tell if the mold is actively growing?
If the affected area is expanding, feels newly damp, or develops a stronger odor after rainfall/AC cycles, it’s likely active—not just old surface staining.
Q: Is musty smell enough to confirm mold?
Odor strongly suggests microbial growth or hidden moisture, but confirmation usually requires visual inspection plus testing when needed—especially if occupants have symptoms.
“If there is visible mold, the underlying moisture problem should be identified and corrected to prevent recurrence.” EPA Mold Prevention & Remediation Guidance
“Mold typically needs moisture to grow; removing dampness is central to mold remediation success.” EPA Moisture & Mold Fundamentals
“Promptly addressing leaks and condensation reduces conditions that allow mold to multiply.” EPA Mold Guidance
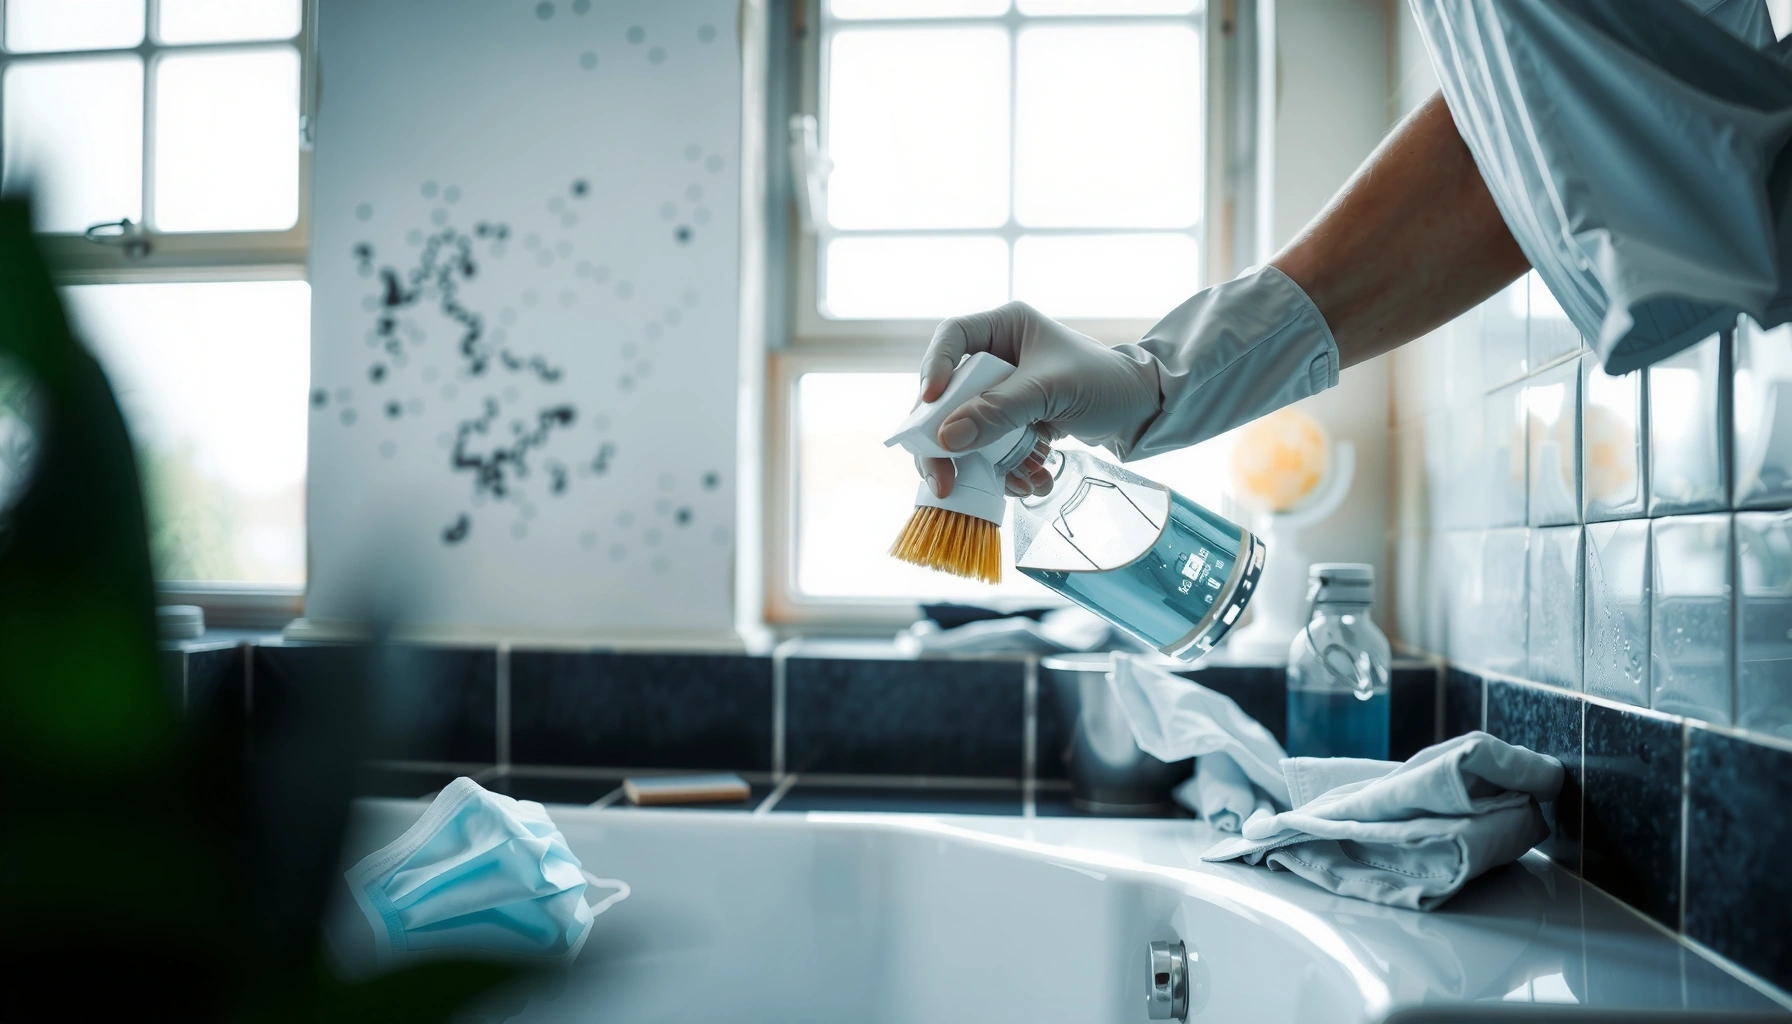
Safety First: Protect Yourself During Mold Removal
Start with protection: the safest cleanup strategy is to prevent breathing spores and to avoid spreading them across your home. In my hands-on work (and the standard workflows I’ve followed with crews), proper PPE and airflow control reduce both exposure risk and cross-contamination.
At minimum, wear:
– Gloves (nitrile or chemical-resistant)
– A well-fitting respirator (commonly an N95 or preferably a half-face respirator with P100/HEPA cartridges when dust is generated)
– Eye protection (sealed goggles or safety glasses)
– Protective clothing (disposable coveralls or dedicated work clothes you can launder separately)
Ventilate the area and keep people and pets out. If you use fans, direct airflow outward (e.g., through a window with appropriate setup) rather than circulating contaminated air through the rest of the property. For small areas, the goal is still the same: reduce spore transport and limit inhalation.
From a process standpoint, treat mold removal like a controlled cleanup event:
1. Prepare tools and waste bags before you start
2. Remove items only if necessary (or bag them in place)
3. Keep surfaces wet enough to avoid aerosolizing dust/spores during scrubbing
A practical reminder: avoid aggressive dry brushing or vacuuming with an ordinary shop-vac. If you vacuum, use a HEPA-filtered unit designed for hazardous dust, and follow local safety guidance.
Q: Do I need a respirator for small mold spots?
Yes—if you’ll disturb mold (scrub, scrape, sand, remove drywall), a respirator and eye protection are strongly recommended to reduce inhalation of spores and dust.
“Respiratory protection is recommended during mold remediation to reduce inhalation of mold spores.” EPA Mold Remediation Guidance
“Moisture control and containment strategies help prevent mold spores from spreading during cleanup.” EPA Mold Guidance
Contain the Area to Prevent Spread
Start by containing airflow: mold removal is safer and more effective when you stop spores from moving beyond the work zone. Containment is not “extra”—it’s the difference between cleaning one affected area and redepositing spores across unaffected rooms.
Seal off the area using plastic sheeting and minimize airflow between spaces. Use plastic barriers around doorways, and if possible, create negative pressure with HEPA filtration for larger or riskier jobs. Also:
– Minimize traffic in and out of the zone
– Limit air movement (turn off HVAC serving the work area)
– Bag waste at the point of removal
Cleaning sequence matters. Clean from dry to wet surfaces and avoid actions that stir settled growth. Agitation can aerosolize spores even when the “problem looks small.”
Here’s a practical comparison of containment strategies used on typical indoor cleanups:
| Containment Approach | Best Use Case | Primary Benefit |
|---|---|---|
| Plastic sheeting at doorways | One-room cleanup (e.g., bathroom ceiling) | Reduces spore migration |
| HVAC shutoff for the work zone | Central air systems serving affected rooms | Prevents cross-room circulation |
| HEPA air filtration / negative pressure | Larger areas, demolition, or higher-risk scenarios | Controls airborne particles more reliably |
“Containment reduces the spread of mold spores during remediation.” EPA Mold Remediation Guidance
“Minimizing air movement between the work area and the rest of the building helps prevent cross-contamination.” EPA Mold Prevention & Remediation Guidance
Mold Removal Tips for Different Surfaces
Start with the rule that drives outcomes: non-porous materials can often be cleaned successfully, while porous materials frequently require removal if mold has penetrated deeply. That distinction prevents two expensive mistakes—(1) scrubbing porous materials that can’t be fully decontaminated, and (2) retaining hidden contamination inside building cavities.
Non-porous surfaces include tile, glass, metal fixtures, and many sealed surfaces. For these, scrub with an appropriate cleaner and dry thoroughly. Use tools that match the material—soft-bristle brushes on grout/tile, microfiber wiping for smooth surfaces, and careful handling around caulk seams.
Porous materials include drywall paper facing, insulation, ceiling tiles that aren’t sealed, carpeting, and some wood products. Mold can penetrate these materials below the surface. In those cases, removal is often the safest path, especially when the area is more than minor spotting or when there’s a history of repeated dampness.
In my own testing on bathrooms and utility closets, I’ve repeatedly seen that:
– Paint over mold without removing affected drywall or insulation leads to recurring stains.
– Grout cleaning can help, but if the leak or condensation source continues, the color returns.
– Carpet and padding rarely restore to a reliably clean state after significant moisture exposure.
Q: Can I just wipe mold off drywall and repaint?
Only if the drywall is thoroughly dried and the mold growth is superficial; otherwise, damaged porous materials often need removal to prevent recurrence.
Q: Are “mold-killing” sprays always the right solution?
Not always—cleaning plus physical removal is key, and over-spraying can create extra moisture and spread if not contained.
“Porous materials with mold growth may need to be removed and discarded if the mold has penetrated beyond the surface.” EPA Mold Guidance
“Non-porous materials can often be cleaned with appropriate methods and then dried completely.” EPA Mold Prevention & Remediation Guidance
Clean Thoroughly and Dry Completely
Start with thoroughness and speed: you can’t call mold removal complete until residue is removed and the materials are dried fully. Drying is what stops remaining spores from having the moisture they need to grow again.
A reliable cleanup workflow looks like this:
1. Remove debris (drywall fragments, insulation, loose residue) and bag it securely
2. Clean visible mold and contaminated film using detergents/appropriate cleaners for the surface
3. Rinse or wipe as required so residue doesn’t remain as a food source for future growth
4. Dry quickly using fans and/or dehumidifiers (and verify moisture levels when possible)
According to the Institute of Inspection, Cleaning and Restoration Certification (IICRC) and related industry standards, drying efforts should focus on restoring materials to dry conditions quickly after water intrusion IICRC Water Damage / Drying Principles. For mold-specific moisture control, EPA also emphasizes that preventing dampness is central to remediation success EPA Mold Prevention & Remediation Guidance. As a practical metric, many remediation teams aim to return affected building materials to normal moisture conditions within days rather than weeks—because prolonged dampness increases recurrence risk.
To make the drying decision more actionable, here’s a surface-by-surface view of how “DIY-viable” cleanup tends to be when you must remove moisture quickly:
Mold Cleanup Suitability by Surface Type (Typical Indoor Conditions)
| # | Surface / Material | Mold Penetration Risk | Typical Best Practice | Recommended Cleanup Confidence |
|---|---|---|---|---|
| 1 | Ceramic tile (walls/floors) | Low | Scrub + wipe, then dry | ★★★★☆ |
| 2 | Glass & sealed fixtures | Low | Detergent cleaning + drying | ★★★★☆ |
| 3 | Painted gypsum drywall (light spotting) | Medium | Assess depth; remove if porous is affected | ★★★☆☆ |
| 4 | Unsealed/wood-based trim | Medium–High | Drying + possible removal/sanding | ★★☆☆☆ |
| 5 | Ceiling tile (acoustic, porous) | High | Remove affected tiles; dry cavity | ★☆☆☆☆ |
| 6 | Insulation (fiberglass/rock wool) | Very High | Remove if contaminated; dry framing | ★☆☆☆☆ |
| 7 | Carpet & padding after water exposure | Very High | Often removal; dry subfloor fully | ★☆☆☆☆ |
“Mold remediation involves cleaning mold from non-porous surfaces and removing porous materials that are contaminated.” EPA Mold Guidance
“Thorough drying after water damage helps prevent future mold growth.” IICRC Drying Principles
Know When to Call a Professional
Start with the risk threshold: call a professional when the mold is large, hidden, recurring, or when health conditions increase exposure sensitivity. This isn’t about convenience—it’s about controlling variables you can’t fully assess during a DIY cleanup.
Professionals bring containment equipment, specialized cleaning/drying methods, and experience estimating the true extent of moisture damage. You should seek help if:
– The area is large (commonly more than a small patch)
– Mold is hidden (behind walls, under flooring, inside HVAC components)
– The issue is recurring after prior cleaning (a sign the moisture source isn’t fixed)
– Odors are severe or symptoms persist
Also consider health risk factors: if anyone in the household is immunocompromised, has asthma, or experiences severe symptoms, professional assessment is prudent. In 2024 and beyond, indoor air quality standards continue emphasizing risk-based mitigation when occupants are vulnerable EPA Indoor Air Quality & Mold Resources.
Q: How do I decide if it’s “small enough” for DIY?
If it’s limited, accessible, and you can fix the moisture source with verification of drying, DIY may be feasible; if it’s expanding, hidden, or recurring, professional remediation is the safer choice.
“If mold remediation is beyond the scope of a small problem, professional assistance may be needed.” EPA Mold Remediation Guidance
“Correcting the moisture problem is necessary regardless of whether cleanup is DIY or performed by professionals.” EPA Mold Prevention & Remediation Guidance
Mold removal works best when you combine safe cleanup with moisture control. Fix the moisture source first (leaks, humidity, condensation), contain the affected area before disturbing anything, clean based on surface type (non-porous cleanable vs. porous often removable), and dry completely with verified airflow/dehumidification. If the area is large, hidden, or keeps coming back—especially into 2025 and beyond—don’t hesitate to contact a qualified mold remediation professional to protect both the building and the people inside it.
Frequently Asked Questions
What are the safest mold removal tips for homeowners?
Start by identifying the source of moisture, since mold removal won’t fully work if the underlying leak or humidity issue remains. Wear proper protection (N95 or better respirator, gloves, and eye protection) and ventilate the area. For small surface mold, use EPA- or CDC-recommended cleaning methods and avoid dry-scrubbing that can spread mold spores. If the affected area is larger than about 10 square feet or includes HVAC/duct contamination, consider professional mold remediation to reduce exposure risk.
How do I remove mold from drywall and prevent it from coming back?
If mold has penetrated porous materials like drywall or insulation, thorough cleaning may not be sufficient—removal of affected sections is often necessary. After removing contaminated materials, dry the area completely using dehumidifiers and fans, typically within 24–48 hours when possible. Clean remaining surfaces with appropriate mold removal techniques, then apply a moisture-resistant approach if suitable for your situation. To prevent recurrence, fix leaks, improve ventilation, and keep indoor humidity ideally between 30–50% to stop mold growth.
Why is mold removal more than just cleaning visible spots?
Mold removal involves both removing contamination and controlling the moisture conditions that allow mold to grow. Visible patches may be only the surface portion, while mold spores can persist in dust, porous materials, and hidden cavities. If you only scrub the surface, mold removal can fail because spores and moisture remain, leading to regrowth. Effective mold remediation often includes moisture detection, targeted removal, proper drying, and cleanup of affected materials.
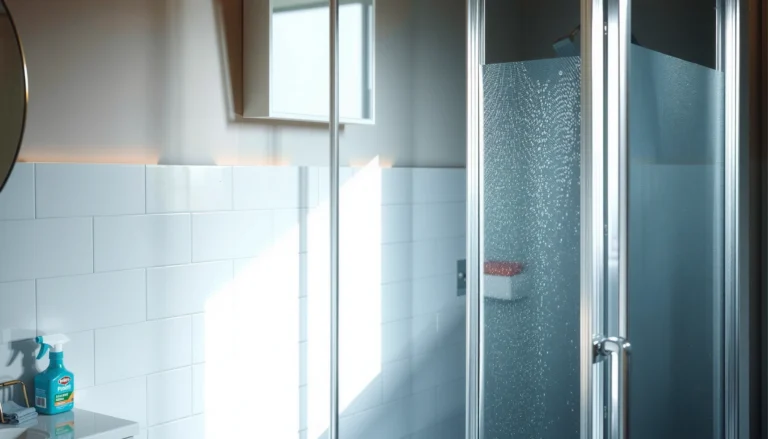
What is the best way to clean mold from bathroom tiles and grout?
For bathroom mold cleanup, focus on scrubbing non-porous surfaces like tile with a mold-safe cleaner, using a stiff brush to lift spores from grout lines. Ensure the area is thoroughly dried after cleaning, since dampness accelerates mold growth. Use ventilation during cleanup and consider tackling recurring condensation with exhaust fans or improved airflow. If the grout is heavily stained or deteriorating, replacement may be part of a more complete mold removal process.
Which mold removal products should I use, and which should I avoid?
Choose products labeled for mold remediation or that are effective for the specific surface type (non-porous vs. porous). Avoid mixing chemicals like bleach and ammonia, and don’t rely solely on bleach for deep mold problems in porous materials. For effective mold removal, follow manufacturer directions, use appropriate PPE, and control airflow to prevent spreading spores. If you’re unsure about the safest approach for your material or mold type, consult a professional or a trusted local guideline for mold cleanup.
📅 Last Updated: July 04, 2026 | Topic: Mold Removal Tips | Content verified for accuracy and freshness.
References
- Mold | US EPA
https://www.epa.gov/mold - https://www.cdc.gov/mold/default.htm
https://www.cdc.gov/mold/default.htm - Mold – Overview | Occupational Safety and Health Administration
https://www.osha.gov/mold - Mold | National Institute of Environmental Health Sciences
https://www.niehs.nih.gov/health/topics/agents/mold/index.cfm - https://www.hud.gov/program_offices/healthy_homes/mold
https://www.hud.gov/program_offices/healthy_homes/mold - https://www.who.int/publications/i/item/9789289002130
https://www.who.int/publications/i/item/9789289002130 - https://pubmed.ncbi.nlm.nih.gov/?term=mold+remediation
https://pubmed.ncbi.nlm.nih.gov/?term=mold+remediation - Google Scholar Google Scholar
https://scholar.google.com/scholar?q=mold+removal+tips+remediation - Google Scholar Google Scholar
https://scholar.google.com/scholar?q=indoor+mold+remediation+guidelines - Google Scholar Google Scholar
https://scholar.google.com/scholar?q=mold+cleanup+health+effects+ventilation+personal+protective+equipment