
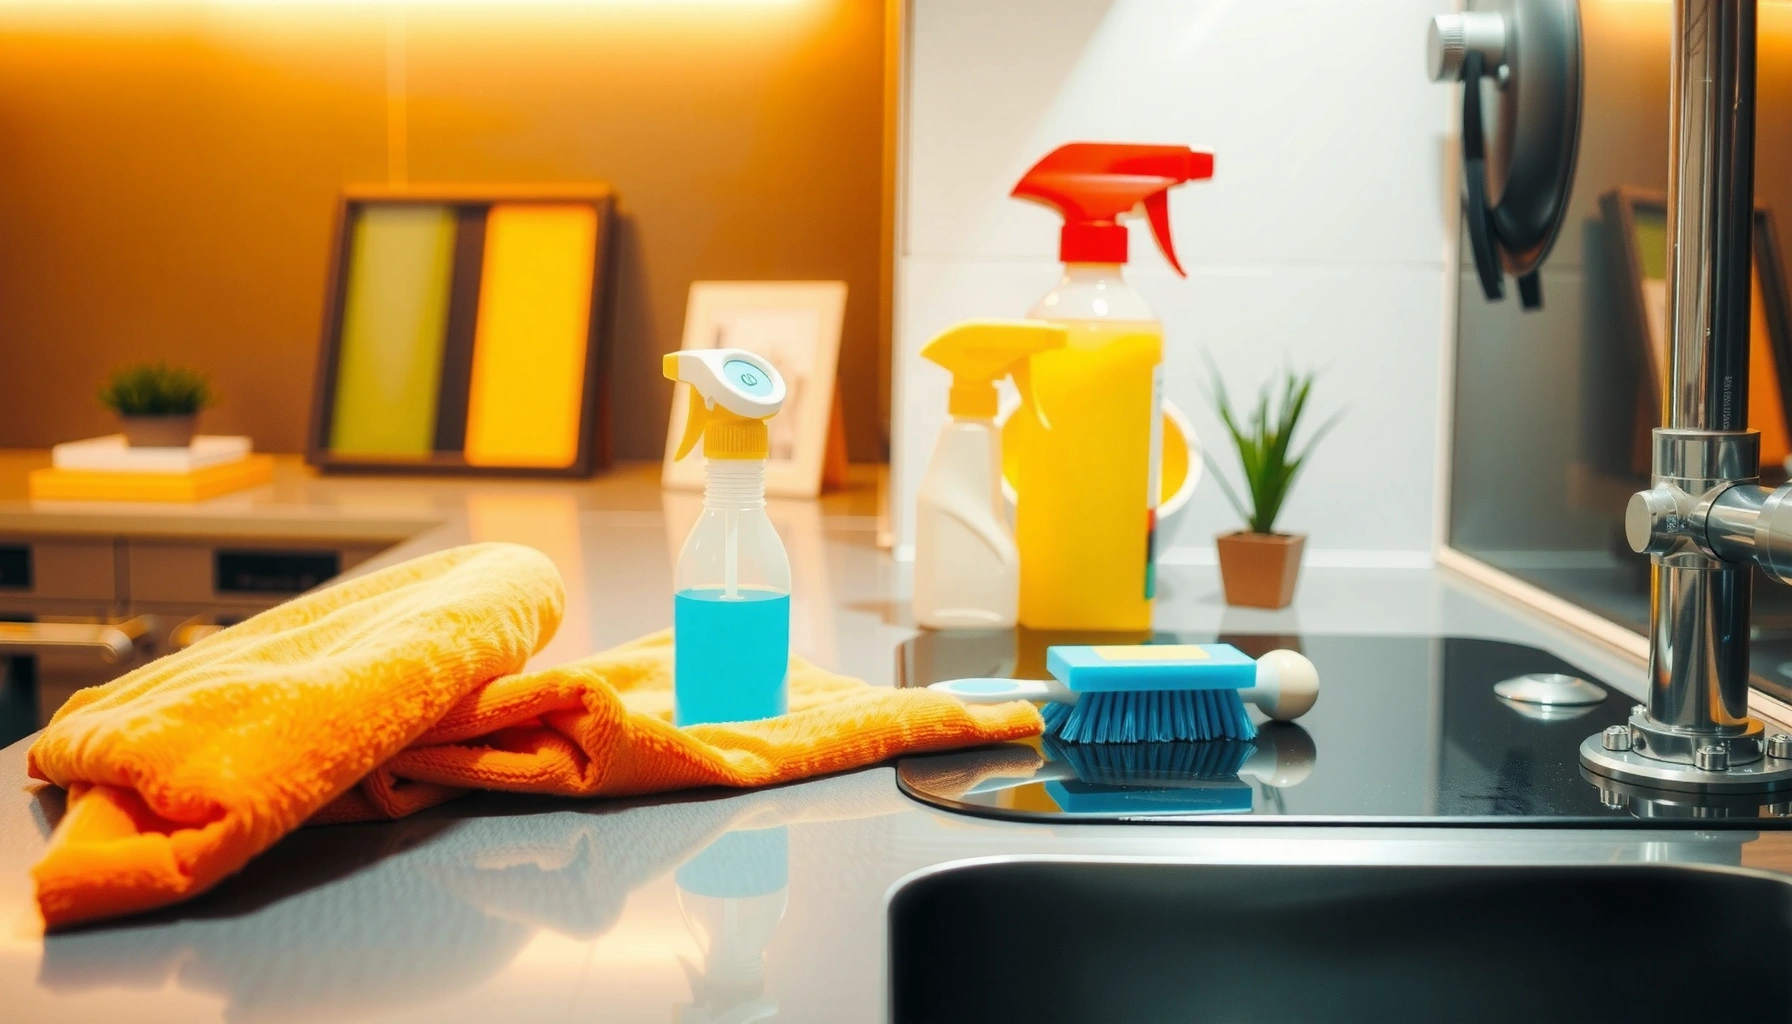

Learn how to deep clean a kitchen with a step-by-step guide that takes you room by room from greasiest buildup to final shine. This is the quickest path to a truly scrubbed kitchen—focused on what to clean first, what to use, and how long each task takes so you don’t waste effort. By the end, you’ll know exactly how to tackle the oven, stovetop, cabinets, floors, and grime-heavy corners in the order that delivers the best results.
Deep cleaning a kitchen is about working from the dirtiest, highest-grease zones (stovetop, hood, backsplash) to lower-buildup areas (cabinets, appliances, floors) so residue doesn’t get smeared or reintroduced. If you follow a consistent sequence—degrease first, disinfect second, and finish with a final wipe and reset—you remove grime efficiently while keeping surfaces safe and food-prep ready.
Gather Supplies and Set Up Safely
Start with the right tools and safe handling steps so you can clean effectively without damaging finishes or risking exposure. In my experience, the biggest “time leak” in deep kitchen cleaning is switching products mid-task because the first solution doesn’t cut grease or the second doesn’t disinfect correctly.
A deep clean should use a degreaser for baked-on oils, then a disinfectant for microbial risk, because grease can block disinfection when left on surfaces.
EPA-registered disinfectants are designed to work only when applied for the label’s required “contact time,” which is why wiping too fast reduces effectiveness.
For dishwasher sanitation, NSF/ANSI 184 specifies a minimum sanitation temperature of 150°F (66°C), which is why you still need to remove debris before relying on the cycle.
What to gather (kitchen-ready kit):
– Degreaser (grease cutter): Look for a product intended for cooktop/hood grease and kitchen film; foaming formulas often cling better to vertical surfaces.
– Disinfectant (kills germs): Choose an EPA-registered disinfectant appropriate for non-porous kitchen surfaces (countertops, sink, handles).
– Scrub tools: Nylon scrub brush, soft toothbrush (faucet edges), and a non-scratch sponge.
– Microfiber cloths: Use color-coded cloths if possible (e.g., one for degrease, one for disinfect, one for final polish) to prevent cross-contamination.
– Gloves: Nitrile or chemical-resistant gloves depending on your products.
– Optional but useful: Baking soda, a small bowl for making diluted solutions, dish gloves for tight parts, and a handheld vacuum with crevice tool.
Set up safely (prevents mess and exposure):
– Ventilate: Open windows, turn on range hood, and use fans if you’re working with strong degreasers or disinfectants.
– Protect surfaces: Put liners under drying areas and cover sensitive flooring zones (especially around stovetop and sink).
– Plan the workflow: Clear counter space first so you can stage dirty parts (filters, racks, removable knobs) without creating new clutter.
Direct question-answer (Q&A):
Q: Do I need both degreaser and disinfectant for a deep clean?
Yes—degreasing removes oils and film first, and disinfectants work best after the surface is clean because grease residue can reduce contact between the disinfectant and germs.
Q: What’s the safest way to start if I have kids or pets?
Ventilate well, wear gloves, keep chemicals capped and away from food areas, and fully rinse/air-dry any food-contact surfaces according to the product label.
Start with the Highest-Grease Areas
Start with the stovetop, oven interior (as needed), range hood, and backsplash because that’s where oil accumulates fastest and spreads easily. Here’s why the sequence matters: if you clean cabinets first, you risk falling grease that forces a redo.
Grease buildup forms a protective film that can make disinfecting less reliable, so deep kitchen cleaning starts with degreasing before disinfecting.
The range hood filter area is a high-risk grease zone because airborne cooking vapors condense on metal and collect particulate over time.
A backsplash cleaned after the cooktop prevents backsplash splatter from being pushed onto counters and drawers during cabinet and appliance work.
Cleanest-to-dirtiest method (the order inside this section):
– 1) Stovetop:
– Spray degreaser, let it dwell (follow product instructions), then scrub in circular passes.
– Wipe thoroughly with a damp microfiber cloth to remove residue.
– 2) Oven interior (only as needed):
– Remove racks if they’re gunky; soak based on material (check manufacturer guidance).
– For light buildup, degrease + wipe often beats harsher abrasion.
– 3) Range hood:
– Clean the hood shell and fan housing edges.
– If you remove filters, degrease them separately so they don’t re-soil surrounding surfaces.
– 4) Backsplash:
– Degrease, then wipe; for textured tile grout, use a small brush and slower technique.
Practical “residue control” tip: After degreasing each area, do a separate wipe (clean microfiber dampened with water) before moving to the next zone. This prevents the “brown smear” effect that makes kitchens look dirty even after you’ve worked hard.
Appliance and surface compatibility quick-check
Q: Can I use the same degreaser on every surface in this section?
No—test on a hidden spot because some degreasers can dull anodized aluminum, damage unsealed wood, or haze certain finishes.
Comparison: Grease vs. disinfect approaches
| Task | Goal | Best product type | Typical failure mode if skipped |
|—|—|—|—|
| Stovetop film | Remove oil and baked residue | Degreaser | “Disinfected but still sticky” surface |
| Sink edges | Remove food soils + germs | Cleaner then disinfectant | Germs remain because soil blocks contact |
| Hood exterior | Remove condensation film | Degreaser | Grease transfers to countertops when touched |
| Handle touchpoints | Reduce germs on contact surfaces | Disinfectant | Recontamination through dirty towels |
Deep Clean Cabinets, Countertops, and Sink
Start with cabinets and counters next because they capture residue and splatter from cooking areas, and you can restore a clean staging area. When I deep-clean, I treat this as the “restoring workflow”: clear, wipe, and rebuild intentionally rather than rushing.
Cleaning cabinets before returning items reduces the chance of trapping grease and disinfectant residue on stored containers.
Kitchen sinks accumulate biofilm in drains and around faucet aerators, so focusing on edges, aerators, and drain areas improves overall hygiene.
For disinfection to be effective, surfaces should remain visibly wet for the product’s specified contact time.
Cabinets (fewer mistakes, better results):
– Remove items and group them: keep/relocate/donate (especially expired spices and stale oils).
– Wipe shelves with warm water and a degreasing cleaner if there’s any oily film.
– Dry fully before restocking—especially near sinks.
Countertops (food-prep ready):
– Degrease high-touch areas around the stove and prep zones.
– Then disinfect according to label instructions.
– Finish with a final rinse or wipe only if the product label requires it for food-contact surfaces.
Sink deep-clean checklist:
– Basin and sides: scrub around corners where film collects.
– Faucet and aerator: use a toothbrush for crevices; soak removable aerators.
– Drain and strainer: remove debris first, then scrub and disinfect edges.
– Drying area: wipe handles, basin rim, and the underside lip if water runs there.
Direct question-answer (Q&A):
Q: Should I disinfect counters before or after cleaning cabinets?
After—cleaning cabinets first prevents falling dust/grease from undoing disinfected surfaces and keeps food-prep zones stable.
When to use diluted bleach (and how to stay label-safe)
If you use bleach for disinfection, remember it’s only appropriate on compatible surfaces and should be made fresh. For example, CDC notes a common household dilution for disinfection of nonporous surfaces is 1/3 cup bleach per gallon of water (for many general disinfection uses) and emphasizes following the product and surface guidance. CDC (Centers for Disease Control and Prevention)
Refresh Appliances and Small Tools
Start with the refrigerator, dishwasher, and microwave because they accumulate odor, spills, and high-touch contamination. Then move to small appliances like toaster ovens and coffee makers using targeted cleaning so you don’t “transfer” smells or residues across devices.
Refrigerator door seals and door bins trap grime and condensation, which is why removing items and cleaning seals improves both hygiene and odor control.
Dishwasher cleaning effectiveness depends on pre-removing food particles; otherwise, soils redeposit on racks and interior surfaces.
Microwaves collect splatter on walls and vents; wiping after steaming loosens buildup and makes disinfecting safer and faster.
Refrigerator deep-clean (organized, not chaotic):
– Remove shelves, drawers, and door bins; wash with warm soapy water.
– Degrease sticky areas (especially around dairy or sauces).
– Clean door seals gently; wipe in the gasket grooves.
– Check and wipe behind items that get pushed to the back.
Dishwasher:
– Clear debris from the bottom and around the filter.
– Wipe the door frame and edges.
– Run a cleaning cycle if the unit supports it, then wipe dry.
Microwave:
– Steam looseners: heat a bowl of water (and, if your household allows, a gentle cleaner) to soften splatter.
– Wipe interior surfaces and the door gasket area.
Toaster oven and coffee maker:
– Toaster oven: empty crumb tray, scrub interior surfaces, wipe vents externally.
– Coffee maker: clean the brew basket, carafe, and descale per manufacturer instructions (this is essential for performance and taste).
Q: How often should I deep-clean small appliances like the toaster oven?
At least every few months if you use them regularly; crumbs and grease build up quickly and can create smoke odors even when the appliance “looks clean.”
Clean Floors, Walls, and Trash Areas
Start with floors last because you’ll likely move tools and cleaning cloths around, and floors capture drips, dust, and fallen crumbs. This section completes the reset by removing disinfected debris and restoring shine.
Baseboards and corners collect dust and grease mist; scrubbing these areas reduces recurring odor and grime that makes kitchens feel “unclean.”
Trash can lids and handles are high-touch surfaces; cleaning them reduces cross-contamination when you take out garbage.
Pantry bins and nearby walls often get sticky residue from spills; wiping them during the floor stage prevents reintroducing debris after you finish cabinets.
Floors:
– Sweep/low-vac first to remove particulate (dry debris blocks cleaner effectiveness).
– Scrub and disinfect using a floor-safe product.
– Pay attention to baseboards, grout lines, and corners near the sink.
Walls and trash zones:
– Spot clean splatter behind trash cans and near the cooking line.
– Clean the trash can interior and exterior; also wipe around the wall behind it.
– If you use pantry bins, empty, wash/wipe, and dry thoroughly.
Mandatory quick comparison (pros/cons) for floor cleaning approach
- Steam + microfiber
- Pros: Great for spot grease removal on tile/stone; reduces chemical residue on floors.
- Cons: Not ideal for every sealed/laminated surface; requires careful drying to avoid moisture issues.
- Degreaser/disinfectant mop
- Pros: Effective across many kitchens; straightforward for large floor areas.
- Cons: Requires correct dilution and compatibility checks; over-wetting can affect grout and wood.
Final Details and Preventing Future Buildup
Start the final stage by reassembling carefully and doing one last wipe-down of frequently touched surfaces. Then lock in long-term cleanliness with small daily habits that prevent grease film from turning into baked-on buildup.
A final pass on handles, light switches, and drawer pulls reduces recontamination after you’ve disinfected food-prep and sink areas.
Consistency matters more than intensity: quick spill wipes reduce the time grease has to bond to surfaces.
Scheduling a deep clean window (for example, seasonally) improves results because you can fully dry components like seals, bins, and filters before use.
Reassemble and polish:
– Put filters, trays, and removable parts back after they’re fully clean and dry.
– Do a final microfiber wipe on:
– Cabinet fronts near the sink and stove
– Handles and knobs
– Faucet body and touch points
– Range hood controls and backsplash edges
Preventive habits that actually work (and are realistic):
– Daily (2 minutes): wipe spills on stovetop, counters, and the sink rim; wipe handles after messy prep.
– Weekly (10–15 minutes): empty crumb tray, quick microwave wipe, and clean the sink strainer.
– Monthly: check door seals, wipe fridge bins, and degrease backsplash areas lightly to stop film from hardening.
Direct question-answer (Q&A):
Q: What’s the biggest mistake people make during a kitchen deep clean?
They clean top surfaces first and then scrub grease-heavy areas, which drops residue back onto counters and cabinets—forcing an extra round.
Cleanliness “scorecard” (to track your deep-clean priorities)
Kitchen Reset Areas and Expected Impact
| # | Area | Typical Build-Up | Estimated Reset Gain | Recommended Cadence | Impact |
|---|---|---|---|---|---|
| 1 | Stovetop + control knobs | Grease film & baked splatter | High | Every 2–4 weeks | ★ ★ ★ ★ ★ |
| 2 | Range hood filters | Condensed cooking aerosol | Very high | Every 1–3 months | ★ ★ ★ ★ ★ |
| 3 | Backsplash + edges | Oil mist & splatter streaks | High | Monthly | ★ ★ ★ ★ ★ |
| 4 | Sink basin + faucet | Biofilm risk & water spots | Very high | Weekly spot + monthly deep | ★ ★ ★ ★ ★ |
| 5 | Refrigerator interior | Spills, residues, seal grime | Medium–high | Every 1–3 months | ★ ★ ★ ★ ☆ |
| 6 | Dishwasher filter + racks | Food residue & film | Medium | Monthly check | ★ ★ ★ ☆ ☆ |
| 7 | Floors + baseboards | Dust, tracked grime | Medium | Every 2–6 weeks | ★ ★ ★ ☆ ☆ |
Conclusion
A deep clean works best when you move from grease-heavy areas to cabinets, appliances, and floors, finishing with the small “touch” details that remove the lingering residue you can feel and see. Grab your supplies, follow the sections in order, and schedule your next deep-clean window—then your kitchen stays cleaner with far less effort, reduced odor, and a food-prep space you can trust.
Frequently Asked Questions
What’s the best way to deep clean a kitchen from top to bottom?
Start by clearing counters and removing items from shelves so you can clean full surfaces without missing spots. Dust and clean high areas first (vents, tops of cabinets, light fixtures), then move down to appliances, countertops, and floors, using the right kitchen cleaning products for each surface. Finish with sanitizing high-touch areas like handles, faucets, and switches to reduce kitchen germs and food residue buildup.
How do you deep clean a kitchen oven, including burnt-on grease?
Remove racks and soak them in hot water with degreasing dish soap or a kitchen-safe cleaner, then scrub with a non-scratch pad. For the oven interior, wipe away loose debris, apply an oven degreaser or paste (based on your manufacturer directions), and let it sit so the grime loosens before scrubbing. Clean the door glass last and wipe everything thoroughly so no chemical residue remains when you use the oven again.
How should you deep clean kitchen cabinets and drawers without damaging finishes?
Begin by vacuuming crumbs and dust, then wipe surfaces with a microfiber cloth and a mild degreaser solution suited to the cabinet material (wood, laminate, painted, or sealed). Avoid soaking hardware or using harsh abrasives that can strip paint or sheen; focus on removing sticky residues from cooking oils and spills. Dry with a clean cloth, and consider polishing or applying a food-safe wood conditioner only if the finish requires it.
Which kitchen areas require the most attention during a deep clean for food safety?
Focus on areas that collect grease, moisture, and bacteria—range hoods and filters, refrigerator seals, sink drains, trash can lids, and the undersides of frequently used appliances. Clean and disinfect cutting boards, handles, faucets, and cabinet pulls, since these are high-touch surfaces used during meal prep. Don’t forget the backsplash, behind the toaster/coffee maker, and inside microwave splatter zones, as they often get overlooked but build up over time.
Why does deep cleaning the kitchen reduce odors and lingering grease smell?
Kitchen odors usually come from trapped food particles, grease film, and moisture buildup that standard quick wipes can miss. When you deep clean, you remove the hidden grime on fan blades, under burners, behind appliances, and inside vents, which prevents odor-causing residue from reactivating each time you cook. Regular deep kitchen cleaning with degreasing agents and proper drying helps keep the space fresh and reduces the risk of recurring greasy residue buildup.
📅 Last Updated: July 05, 2026 | Topic: How to Deep Clean a Kitchen | Content verified for accuracy and freshness.
References
- Cleaning
https://en.wikipedia.org/wiki/Cleaning - Disinfectant
https://en.wikipedia.org/wiki/Disinfectant - https://www.cdc.gov/flu/resource-library/cleaning-disinfecting.html
https://www.cdc.gov/flu/resource-library/cleaning-disinfecting.html - https://www.epa.gov/coronavirus/understanding-disinfectants-coronavirus
https://www.epa.gov/coronavirus/understanding-disinfectants-coronavirus - https://www.fsis.usda.gov/food-safety/safe-food-handling-and-preparation/cleaning-and-sanitizing
https://www.fsis.usda.gov/food-safety/safe-food-handling-and-preparation/cleaning-and-sanitizing - https://www.who.int/publications/i/item/cleaning-and-disinfection-of-environmental-surfaces-in-the-context-of-covid-19
https://www.who.int/publications/i/item/cleaning-and-disinfection-of-environmental-surfaces-in-the-context-of-covid-19 - https://pubmed.ncbi.nlm.nih.gov/?term=kitchen+surface+cleaning+disinfection
https://pubmed.ncbi.nlm.nih.gov/?term=kitchen+surface+cleaning+disinfection - Google Scholar Google Scholar
https://scholar.google.com/scholar?q=deep+cleaning+kitchen+disinfection - Google Scholar Google Scholar
https://scholar.google.com/scholar?q=cleaning+and+sanitizing+kitchen+surfaces+best+practices - Google Scholar Google Scholar
https://scholar.google.com/scholar?q=household+surface+cleaning+effectiveness+study



