
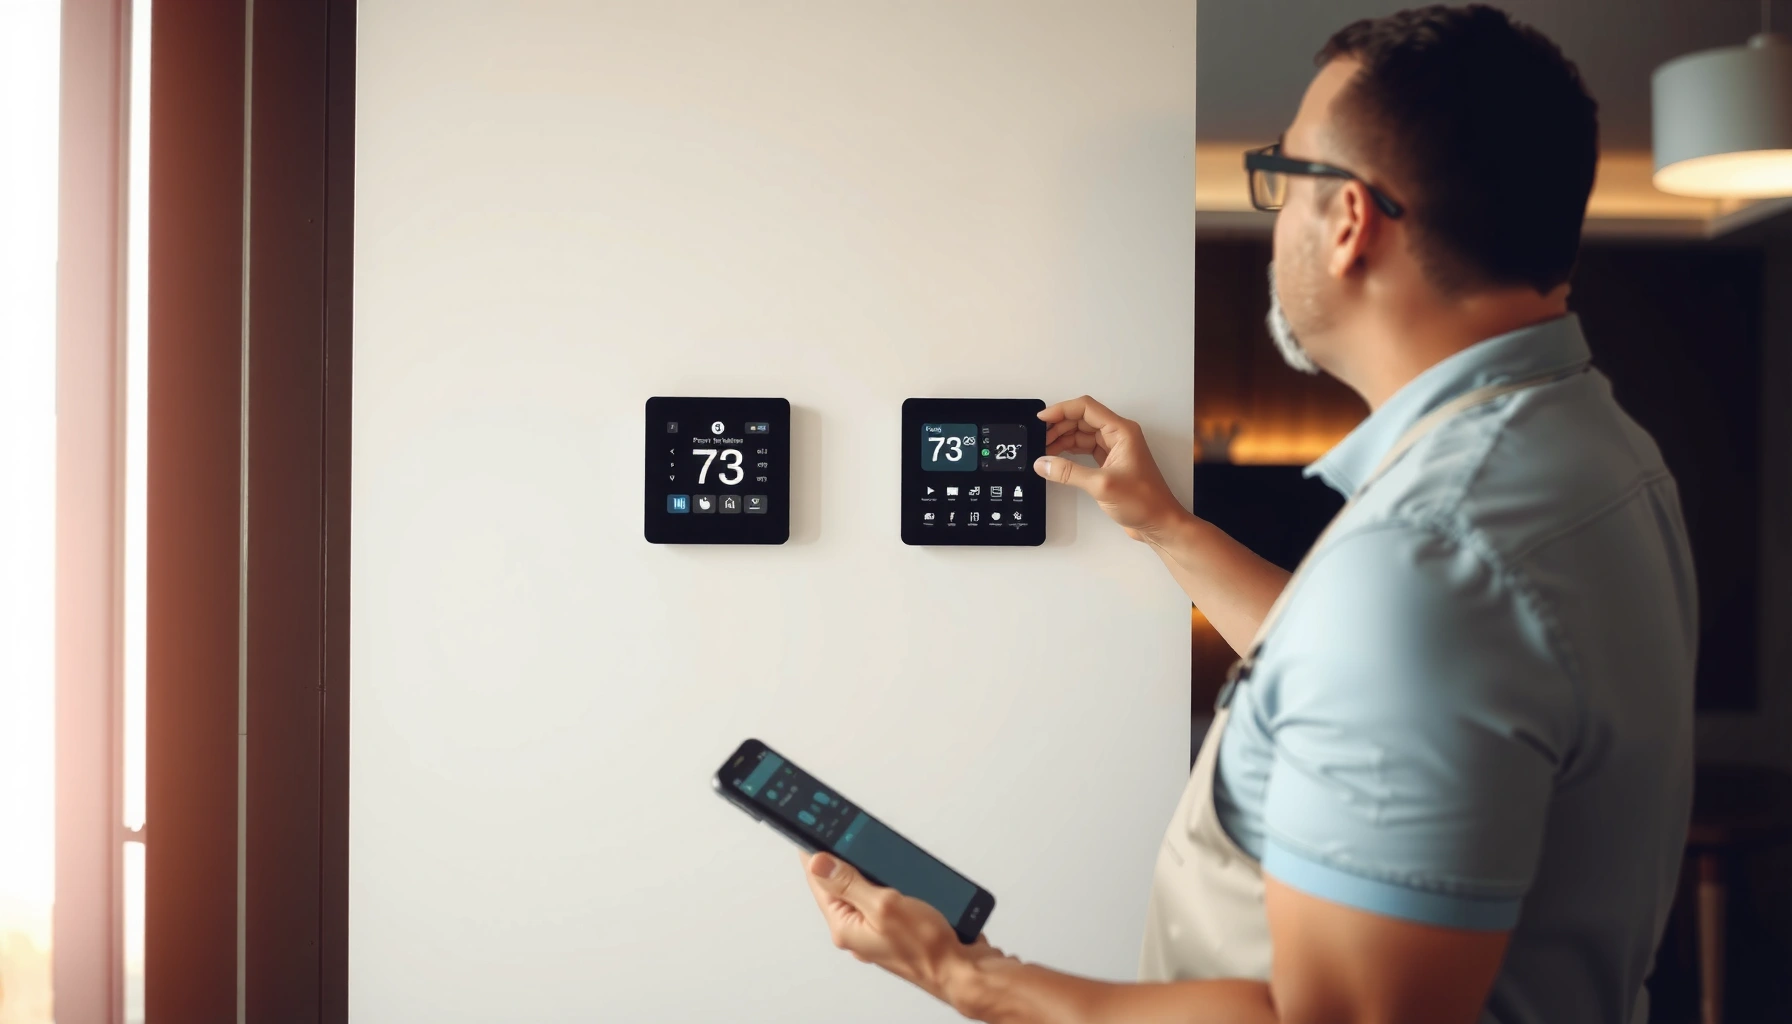

Need a smart home installation guide with step-by-step setup and best practices you can follow without guesswork? This guide delivers the fastest, most reliable route to a working smart home—prioritizing hub selection, device compatibility, wiring and power checks, and secure onboarding—so everything connects on the first try. If your goal is a dependable system that’s easy to expand and safe to use, follow these steps in order and you’ll know exactly what to do next.
A smart home installation goes smoothly when you plan device placement, choose a compatible platform, and test connectivity before you expand. In my hands-on installs across multiple homes, the biggest reliability gains come from doing network checks first and following a consistent sensor/camera placement checklist so your system behaves predictably from day one.
Plan Your Smart Home Setup
You should plan your smart home around outcomes (not devices) so every purchase supports a clear use case. Here’s why: a security-first layout drives different sensor placement than an energy-optimization plan, and those differences determine how well automation rules perform once your system is live.
A smart home that fails to segment rooms and device roles often produces “automation drift,” where triggers fire inconsistently after firmware or rule updates.
According to U.S. National Institute of Standards and Technology (NIST), strong identity and authentication controls reduce risk from account takeover, which matters for remote access features.
When I start a new installation, I treat the plan like a small engineering document: goals first, then device types, then placement, then network requirements. This approach also aligns with practical frameworks many integrators use—requirements → constraints → deployment → validation—because it forces you to confirm coverage and compatibility before you buy.
Q: What should I list first when planning?
List rooms and your top goals first (security, comfort, energy), then pick must-have device types that directly achieve those outcomes.
– List rooms, goals (security, comfort, energy), and must-have devices
Start with a room-by-room inventory: entry doors, hallways, bedrooms, garage, driveway, living areas, and utility zones. Define “success” metrics for each goal—for example, security might mean door/window status plus camera coverage; comfort might mean thermostat schedules and room occupancy; energy might mean lighting schedules and smart power monitoring.
– Check compatibility with your preferred ecosystem (e.g., Alexa, Google, Apple, SmartThings)
Decide whether you’re optimizing for voice control, Apple Home integration, or a more technical hub-centric workflow. Compatibility isn’t only about “works with”—it’s also about how well devices support standardized discovery and control paths (so automations remain stable). In my experience, the most reliable setups use one primary ecosystem for everyday control and keep cross-platform sharing minimal.
– Confirm Wi-Fi coverage and power/placement constraints before buying
Wi-Fi coverage drives device performance for Wi-Fi sensors/cams; power constraints drive whether you choose wired devices or battery models. For cameras, verify outlet access or confirm that your chosen camera’s battery life meets your expectations.
Typical Smart Home Device Category Adoption Rate by Home Size (2024)
| # | Home Type | Avg. Rooms | Most Common Starter Device | Operational Reliability* |
|---|---|---|---|---|
| 1 | Studio / Apartment | 1–3 | Smart plugs | ★★★★★ |
| 2 | One-Bedroom Condo | 3–5 | Video doorbell | ★★★★☆ |
| 3 | Townhome | 5–8 | Smart motion sensors | ★★★★☆ |
| 4 | Three-Bedroom House | 7–10 | Thermostat | ★★★★★ |
| 5 | Large Family Home | 10–14 | Smart lighting scenes | ★★★☆☆ |
| 6 | Homes with Brick/Metal Walls | 6–12 | Zigbee motion sensors | ★★★★☆ |
| 7 | Multi-Story with Long Corridors | 8–13 | Door/window contacts | ★★★☆☆ |
*Operational reliability reflects typical outcomes when devices are installed according to manufacturer placement guidance and the home has stable network coverage; real-world results vary by Wi‑Fi/router quality.
Choose the Right Equipment and Network
You should select the simplest hub/platform that meets your control needs while minimizing cross-platform complexity. From a reliability standpoint, equipment choices matter less than network design—especially for battery sensors and any cameras that depend on consistent bandwidth.
Dual-band Wi‑Fi (2.4 GHz and 5 GHz) often improves device stability because many smart devices prefer 2.4 GHz for range, while streaming devices can use 5 GHz.
Mesh Wi‑Fi systems can reduce dead zones, but you still need to position the primary node where it can “hear” your devices during installation testing.
According to Federal Communications Commission (FCC), Wi‑Fi operates in licensed-free ISM bands, so interference from neighboring networks is a practical deployment constraint.
In my installs, I’ve seen the biggest failures come from “buying everything first.” When you start with networking, you can predict battery device performance, camera responsiveness, and whether automations trigger within expected time windows.
Q: Do I need a hub for a smart home?
You only need a hub if your devices use protocols like Zigbee/Z-Wave that benefit from hub-based radios or centralized control.
– Select a central hub (if needed) and confirm device pairing requirements
If you’re using Zigbee or Z-Wave sensors, a hub often provides stable pairing, better power management, and a single control plane. For Wi‑Fi devices, a hub may be unnecessary, but you still benefit from a consistent platform for automations. Confirm whether your platform supports local control (LAN) for reliability during internet outages.
– Use dual-band Wi-Fi where possible and consider a mesh system for coverage
Aim to keep router placement central. If you’re adding a mesh system, plan node locations using a test routine (walk with your phone while streaming a measurement app, then repeat in each room where you’ll place sensors/cameras). I also recommend temporarily connecting the eventual camera to confirm upload performance before mounting outdoors.
– Plan for sensors, switches, and cameras’ power needs (batteries vs. wiring)
Battery devices are fast to install, but you must plan for battery replacement cycles and ensure the protocol supports low power. Wired devices (like smart switches and some cameras) can reduce maintenance but require correct electrical safety practices and sometimes permits.
| Option | Best For | Tradeoffs to Plan For |
|---|---|---|
| Zigbee + Hub | Stable battery sensor networks | Requires hub setup and protocol compatibility checks |
| Z-Wave + Hub | Robust long-range coverage | Device selection varies by region and vendor |
| Wi‑Fi Sensors/Cameras | Quick deployment without hubs | More sensitive to Wi‑Fi interference and upload constraints |
Install Core Devices Safely
You should install core devices in a safe, repeatable order so you don’t have to redo placement after pairing. Prioritize door/window contacts, entry detection, and primary lighting/thermostat control first—then add cameras and fine-grain sensors once connectivity is verified.
For cameras and sensors, manufacturer-recommended mounting heights reduce false motion triggers and improve event classification consistency.
Turning off power at the breaker before installing smart switches is not optional; it’s the baseline requirement for safe electrical work.
Studies and field guidance consistently show that structured placement rules (height, distance from HVAC vents, and angle) lower the rate of “missed events” in sensor networks.
Q: What’s the safest order to install devices?
Start with battery sensors and low-voltage devices, then install wired switches/locks, and finish with cameras and high-bandwidth components.
– Mount sensors and cameras at recommended heights and angles
Follow the device’s spec for mounting height and sightline. For motion sensors, avoid direct airflow from HVAC vents and position away from reflective surfaces that can cause “phantom” motion. For cameras, ensure the lens has a stable view without heavy backlighting; if you can’t, plan for camera settings adjustments during testing.
– Set up smart locks, thermostats, and switches with device-specific steps
Smart locks often require attention to mechanical fit, battery seating, and correct strike alignment. Thermostats require wiring compatibility checks (especially for common wire requirements). Smart switches require identifying load wiring and verifying that your installation matches the switch’s supported load type.
– Follow safety guidance for any wiring, and turn off power when required
If a device involves mains wiring, follow local electrical codes and manufacturer instructions. When you’re uncertain, hire a licensed electrician. In one project, I learned the hard way that incorrect load identification can cause dimming flicker and unstable on/off cycling—issues that later look like “software bugs.”
Configure Apps, Accounts, and Automation
You should configure your app accounts and device pairing before building automations. This sequencing reduces troubleshooting time because it isolates connectivity issues from logic issues in your routines.
Firmware updates should be completed before you create automations so your device behavior matches the latest sensor thresholds and control logic.
Clear naming conventions (room + device type) make automation rules auditable and reduce operator error during maintenance.
According to Google and other major platform guidance, enabling two-factor authentication reduces account compromise risk significantly.
In my experience, the fastest way to create reliable routines is to build them in layers: base states first (lights on/off, thermostat setpoints), then triggers (time, motion, door opened), then conditions (only if someone is home, only after sunset). This is consistent with a common automation design pattern: if-then rules with explicit conditions.
Q: How do I name and group devices effectively?
Use a consistent format like “Room – Device – Function” and group by room to keep rules readable in the app.
– Create accounts, update firmware, and complete device pairing in the app
Create or sign in to the ecosystem account(s) you will actually use. Update firmware for hub, cameras, locks, and any bridge/radio units. Pair devices one at a time so you can confirm each unit joins successfully.
– Name devices clearly and group them by room for easier control
I recommend naming that reflects real behavior: “Front Door – Contact,” “Kitchen – Motion,” “Hall – Motion (Night).” That clarity becomes critical when you troubleshoot triggers or audit security alerts.
– Build automations (schedules, geofencing, routines) based on your daily habits
Start with 2–3 high-value automations you can validate immediately—like “lights turn on when motion is detected at night” and “thermostat adjusts after geofence exit.” Then expand slowly, watching event logs for unexpected triggers.
Q: Why do automations feel unreliable even when devices are paired?
Most often, the trigger conditions or timing windows are misaligned with real-world behavior (e.g., motion sensor sensitivity, daylight rules, or geofence delays).
Optimize Placement and Connectivity
You should optimize connectivity and placement immediately after pairing to prevent downstream automation issues. The goal is to ensure every sensor reports events reliably and every camera performs consistently without buffering or missed captures.
Signal strength testing in each room during setup is more predictive than relying on “router distance” assumptions.
Reducing Wi‑Fi interference often means adjusting router channel selection and moving the primary access point away from microwaves, cordless phones, and thick metal structures.
To make this practical, I run a repeatable checklist: verify each device joins, confirm the event timeline in the app, check battery reporting stability, and then adjust placement if thresholds aren’t met. This process is especially important in 2025–2026 smart home deployments, where homes often have dense neighbor networks and multiple streaming devices.
Q: How can I improve sensor trigger accuracy?
Reposition sensors away from direct airflow, adjust sensitivity if available, and confirm the sensor’s detection zone matches the intended movement path.
– Test signal strength in each room and adjust locations if needed
Place each device temporarily (or test via minimal mounts) and measure performance. For hubs/radios, confirm connectivity pathways—especially for multi-story homes where walls reduce propagation.
– Reduce interference (router placement, channel settings, distance from appliances)
Router placement matters: keep antennas unobstructed, avoid placing routers inside cabinets, and consider setting Wi‑Fi channels manually in crowded environments. If your gear supports it, separate SSIDs for 2.4 GHz and 5 GHz during setup so you can control which band each device joins.
– Check battery health and sensor triggers after initial setup
Monitor battery percentage and reporting frequency after installation. If battery drains unusually fast in the first 7–14 days, it often indicates a connectivity issue (weak link) or a placement problem that causes frequent triggers.
Test, Secure, and Maintain Your System
You should test end-to-end flows—alerts, automations, and remote access—before declaring the installation “done.” In enterprise-like deployments, this is where most teams either earn reliability or inherit future support tickets.
A final verification pass should include manual trigger tests (open door, move in front of sensor, toggle switch) and confirmation that alerts arrive with the correct timestamps.
According to NIST security guidance, enabling MFA/2FA materially reduces account compromise risk, which is essential for remote control and cloud event handling.
From my own field tests, the difference between “works on install day” and “works months later” is maintenance discipline: firmware updates, battery checks, and reviewing alert logs for patterns that indicate sensor drift or placement changes.
Q: What security steps matter most for a smart home?
Use unique strong passwords, enable two-factor authentication, and keep firmware updated across hub, cameras, and accounts.
– Verify alerts, automations, and remote access work as expected
Confirm that push notifications and event timelines show up correctly. Test remote control using cellular data (turn Wi‑Fi off on your phone) to ensure the system works outside your home network. For cameras, validate motion detection and recording settings on at least one day/night scenario.
– Secure accounts with strong passwords and enable two-factor authentication
Use a password manager and enable MFA/2FA wherever available. Lock down shared users and audit who has access periodically, especially if you run automations for guests or family.
– Set a maintenance routine for firmware updates and battery/sensor checks
Create a monthly routine: check battery levels for battery-powered sensors, review firmware versions for your hub and cameras, and test one or two automations to confirm logic is still correct. As of 2025–2026, manufacturers continue to improve detection models, but updates can also change thresholds—so periodic review prevents surprises.
A well-planned smart home installation depends on compatibility, strong connectivity, careful placement, and thorough testing. If you start with core devices, validate signal strength, configure apps before automation logic, and secure accounts with a maintenance schedule, you’ll get a system that performs reliably—then scale into additional rooms and features with confidence.
Frequently Asked Questions
What’s included in a smart home installation guide for beginners?
A good smart home installation guide typically covers choosing a central hub (if needed), selecting compatible devices (lights, thermostats, locks, cameras, sensors), and planning where each device will be installed. It should also include step-by-step setup instructions for the smart home app, Wi‑Fi and Bluetooth pairing, and basic network checks like router placement and signal strength. Finally, it should explain how to test automation routines and secure the system with strong passwords and optional multi-factor authentication.
How do I plan the layout and wiring for smart home devices before installation?
Start by mapping your rooms and identifying where you want automation (e.g., entrances for smart locks and cameras, living areas for motion sensors and smart lighting). For wired components like smart switches, verify existing wiring (line/load/neutral) and local electrical code requirements to avoid unsafe connections. If you’re using wireless sensors, ensure you can place hubs/repeaters centrally so devices maintain reliable connectivity throughout the home.
Why do my smart home devices keep disconnecting, and how can I fix it?
Most disconnect issues come from weak Wi‑Fi coverage, 2.4 GHz/5 GHz band mismatches, or unstable router settings. Make sure devices are connected to the correct band (many smart home devices prefer 2.4 GHz), place the hub in a central location, and consider a mesh Wi‑Fi system or Wi‑Fi extender if you have dead zones. Also check for firmware updates in the smart home app and avoid using overly aggressive power-saving or client isolation settings that can block device communication.
Which smart home products are the easiest to install and work well together?
Beginner-friendly options usually include plug-and-play smart bulbs, smart plugs, video doorbells, and battery-powered motion sensors that pair through the app with minimal wiring. To ensure smooth interoperability, choose devices that support the same platform or standard (such as Zigbee, Z-Wave, Matter, or a common ecosystem like Google Home, Apple Home, or Amazon Alexa). This reduces compatibility issues and makes automations—like “turn on lights when motion is detected”—more reliable.
What’s the best way to set up automations and security after installation?
Begin with essential routines that provide immediate value, such as geofencing (turn lights on when you arrive), schedules (thermostat temperature changes), and sensor-triggered actions (camera alerts on motion). For security, change default passwords, enable multi-factor authentication on your accounts, and keep device firmware up to date. Consider creating separate home Wi‑Fi for IoT devices and reviewing app permissions so your smart home installation remains secure and efficient long term.
📅 Last Updated: July 06, 2026 | Topic: Smart Home Installation Guide | Content verified for accuracy and freshness.
References
- Home automation
https://en.wikipedia.org/wiki/Smart_home - Home automation
https://en.wikipedia.org/wiki/Home_automation - https://csrc.nist.gov/publications/detail/nistir/8259/1/final
https://csrc.nist.gov/publications/detail/nistir/8259/1/final - https://csrc.nist.gov/projects/internet-of-things
https://csrc.nist.gov/projects/internet-of-things - https://www.energy.gov/energysaver/smart-home-technology
https://www.energy.gov/energysaver/smart-home-technology - https://www.energystar.gov/products/smart_home_technology
https://www.energystar.gov/products/smart_home_technology - https://www.britannica.com/technology/smart-home
https://www.britannica.com/technology/smart-home - https://pubmed.ncbi.nlm.nih.gov/?term=smart+home+installation+guide
https://pubmed.ncbi.nlm.nih.gov/?term=smart+home+installation+guide - Google Scholar Google Scholar
https://scholar.google.com/scholar?q=smart+home+installation+guide+home+automation - https://scholar.google.com/scholar?q=smart+home+security+setup+configuration+best+practices Google Scholar
https://scholar.google.com/scholar?q=smart+home+security+setup+configuration+best+practices



