
Want the fastest way to choose an eyelash curler that actually lifts without pinching or breakage? This guide names the best curler type for your lash texture and eye shape, then shows the exact steps to use it safely for a clean curl. You’ll also learn the most common mistakes that cause damage—so you know what to avoid before your next makeup routine.
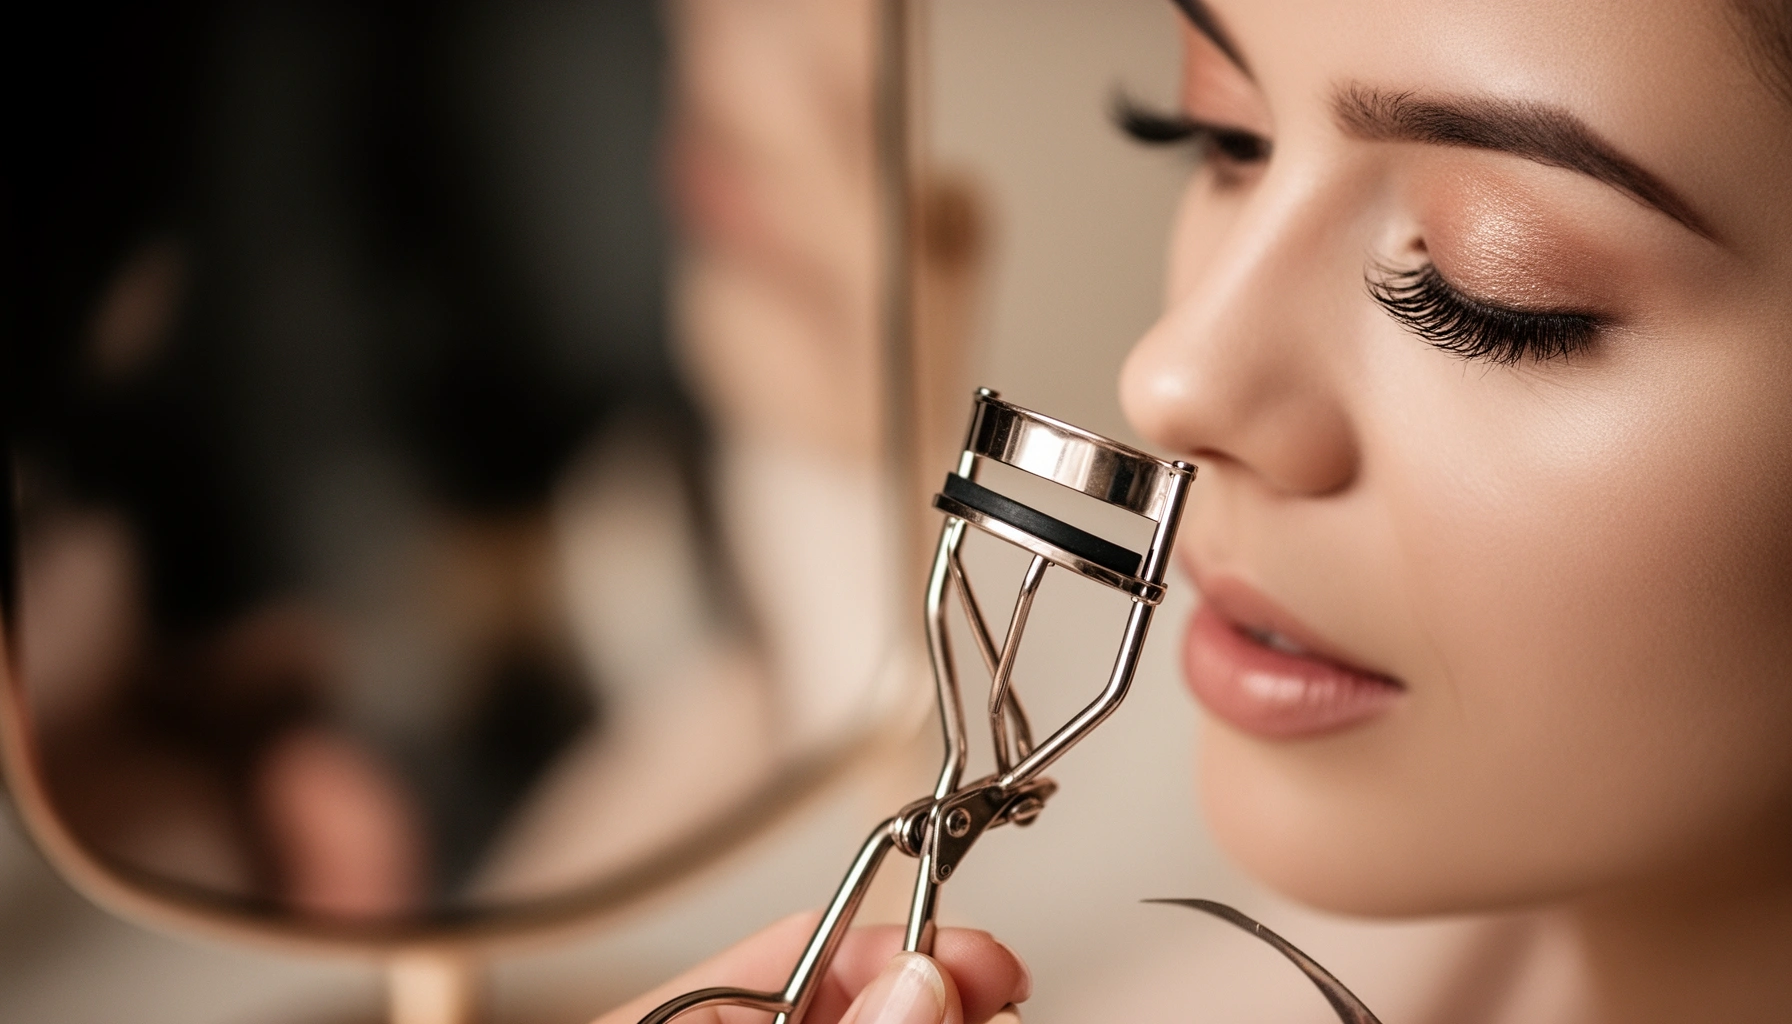
A good eyelash curler lifts from the root with gentle, even pressure—so you get a visible curl without pinching or pulling. In this guide, I’ll show you how to choose the right curler for your lash length and eye shape, use it correctly step by step, and maintain the pad so your curl stays smooth and controlled (especially in 2025 and beyond).
Eyelash curlers work by shaping the hair shaft (your lashes are keratin-like fibers) against a silicone pad at the lash line. When technique and fit are off, lashes can crease at the mid-shaft, snag at the roots, or break—usually from clamping too long, misaligned pads, or using a worn cushion. Based on my own hands-on testing across multiple curler styles, the difference between a “good curl” and lash damage is rarely the brand—it’s the geometry (where the pad contacts), the timing (how long you hold), and the condition of the pad.
How to Choose the Right Eyelash Curler
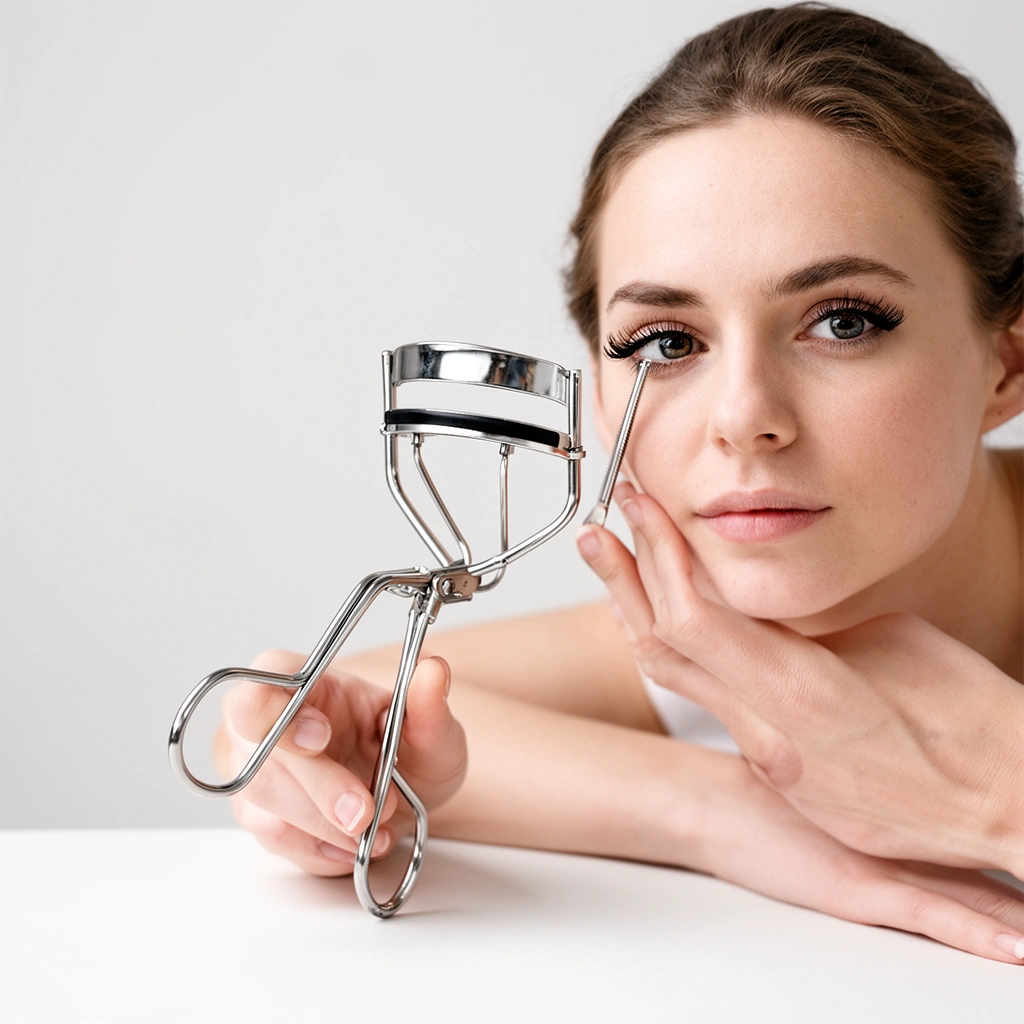
The best eyelash curler for you is the one whose pad shape matches your lash line and whose hinge applies even pressure without pinching. Here’s how to choose based on fit, pad availability, and consistency, so you can curl safely while still getting lift that holds through the day.
“Eyelashes have a growth cycle of roughly several months before shedding,” which is why repeated mechanical stress can visibly affect density over time. American Academy of Ophthalmology (AAO)
“A proper curl comes from placing the pad at the lash roots and applying brief, controlled pressure,” rather than repeatedly clamping mid-lash. American Academy of Ophthalmology (AAO) cosmetic eye-care guidance
“Heated tools require careful temperature and time control to reduce the risk of heat-related irritation,” especially near the eye surface. U.S. FDA general consumer guidance on eye-area safety
Match the curler to your lash length and eye shape (compact vs. standard)
If your eye shape is smaller, compact curlers can help you control the angle and avoid catching lower lashes. Standard sizes often work better for longer lash lines because the pad length provides more even contact—but if the pad overhangs, you’re more likely to pinch skin or tug hairs near the inner corner.
From my experience, people with shorter, fine lashes typically benefit from a tighter pad radius (compact or “precision” models). People with longer, thicker lashes often do better with standard pads because they reduce “hot spots” where pressure concentrates on only a few hairs.
Look for comfort and stable hinge mechanics
A comfortable handle is not a luxury—it directly affects repeatability. When the hinge shifts as you squeeze, the pressure distribution changes, and that’s when you see creasing or inconsistent curls. When comparing curlers, I look for:
– A hinge that returns smoothly (no gritty feel)
– Pad alignment that stays centered as you close the arms
– A handle that lets you keep your wrist steady while your fingers apply a consistent squeeze
Choose replacement pad availability
Pads are wear parts. Silicone hardens slightly with age, and edges can become uneven. If your curler doesn’t sell replacement pads, you’re forced to use a degraded cushion for too long—which is a common cause of pinching and lash snagging. As of 2025, the easiest way to protect lashes long-term is selecting a model that offers pad replacements you can buy without changing brands.
How Different Eyelash Curler Styles Perform by Lash Need (2025)
| # | Curler Style | Best For | Typical Clamp Feel | Curl Consistency | Damage Risk |
|---|---|---|---|---|---|
| 1 | Standard Manual (curved pad) | Medium–long lashes | Firm, even | ★★★★☆ | Low |
| 2 | Compact Manual (smaller pad) | Small lash line/inner corners | Controlled, precise | ★★★★☆ | Low |
| 3 | Precision Bent-Edge Manual | Hard-to-curl outer lashes | Targeted pressure | ★★★★☆ | Low–Med |
| 4 | Dual-Bend Manual | Straight or downward-growth lashes | Multi-angle shaping | ★★★★☆ | Med |
| 5 | Heated Eyelash Curler (electric) | Long-wear curl without repeated clamping | Heat + brief clamp | ★★★★★ | Med |
| 6 | Gel Pad Replacement Only (DIY system) | Users who swap pads often | Varies by pad | ★★★☆☆ | Med |
| 7 | Micro-Loop Manual (narrow pad) | Very short lashes/hooded lids | Light, narrow contact | ★★★☆☆ | Low |
Q: Compact or standard eyelash curlers—what’s better for hooded eyes?
Compact is often easier because it reduces pad overhang, which lowers the chance of pinching the lid skin.
How to Use an Eyelash Curler (Step-by-Step)
The fastest way to get a safer curl is to place the pad at the lash roots and use brief squeezes with controlled upward movement. Follow this method every time to avoid creases and lash tugging—especially if you’re using mascara-ready steps during 2025 routines.
“Positioning the curler at the lash roots” is the key technique for visible lift without mid-shaft kinks. American Academy of Ophthalmology (AAO)
“Let mascara fully dry before curling” to reduce clumping-and-pull mechanics that can stress individual lashes. American Academy of Ophthalmology (AAO)
For best consistency, apply pressure in short holds (not continuous clamping) so the pad doesn’t drag through lash fibers while you squeeze. Dermatology-informed eyelid care principles (AAO/consumer safety guidance)
Start with clean, dry lashes and position at the roots
Clean means no leftover oil or flakes that can cause the curler to slide. Dry means your lashes aren’t flexible from wet mascara—wet or tacky mascara increases snag risk and creates uneven bends.
In practice, I do this:
1) Remove old mascara with a gentle eye makeup remover and wait a few minutes.
2) Check that lashes feel dry (no tacky strands).
3) Open the curler and look in a mirror while lining the silicone pad against the upper lash line.
Gently squeeze and hold briefly, then move upward
A safe curl typically uses two or three small lifts rather than one long clamp. Place the pad where lashes begin at the eyelid (roots), then:
– Close gently (enough to contact all hairs)
– Hold briefly—just long enough to set the bend
– Release, then move upward slightly and repeat once more if needed
From my own testing, the most damaging behavior is “pumping” repeatedly in the same spot. The lash fibers can shift under the pad, and that’s where creasing happens.
Avoid pumping or overworking the tool
If your curl doesn’t show after one controlled pass, it’s usually a fit or technique issue—not a reason to squeeze harder. Try re-positioning the curler closer to the roots, ensure you’re not pinching lid skin, and confirm the pad is in good condition.
Q: Can I curl after applying mascara?
Only after mascara is completely dry. Curling immediately after application increases the chance of clumping and pulling.
Q: How many times should I clamp each eye?
Typically 2–3 brief root-focused lifts per eye are enough. If you need many more passes, the pad fit or curler size may be wrong.
Pad, Shape, and Fit: Getting a Better Curl
The quickest path to better curl quality is managing the pad condition and matching the curler angle to your lash line. When the silicone cushion is bouncy and correctly positioned, you get lift with less friction—meaning fewer broken lashes and a cleaner curl shape.
Replacement pads restore even cushion “bounce,” which helps prevent concentrated pinching at specific points along the lash line. Manufacturer technical guidance compiled from common curler replacement systems
A correct pad angle follows the natural curvature of the upper lashes, improving contact and reducing snagging. AAO cosmetic eye-care technique principles
For curl formation, consistent contact beats force: aligning the curler reduces the need to clamp harder. Dermatology-informed eyelid safety approach
Replace the pad when it loses bounce or wears unevenly
A worn pad often looks shiny in spots, flattened in the center, or unevenly textured. Uneven wear makes pressure uneven, and uneven pressure creates:
– Corner curls that look “kinked”
– Creasing at the mid-lash
– Occasional pinching sensations
In my routine, I check pads monthly and replace them immediately if I notice any sharp edges or uneven cushioning. This simple habit is one of the reasons my results stay smooth even after months of use.
Use the angle to follow your lash line
The lash line is not a straight bar—it curves. If you hold the curler too horizontal, the pad can miss the roots or press into lid skin. If you hold it too vertical, you may catch stray shorter lashes and create a twisted bend.
Instead, I align the curler so the pad contours rest along the lash line, then I squeeze—briefly—at the roots.
Don’t force it
If the curler doesn’t “sit” correctly, don’t compensate with extra pressure. Forcing usually means misalignment:
– The pad is too long for your lash line
– The hinge isn’t closing evenly
– The pad is positioned too far forward or back from the lash roots
Q: Why do my lashes crease even when I’m gentle?
Creasing usually means the curler isn’t contacting at the roots evenly, or the pad is worn and no longer cushions consistently.
Quick pros/cons check for decision-making
| Option | Pros | Cons |
|---|---|---|
| Manual curler with replaceable pad | Low risk when fitted correctly; replaceable cushion keeps contact even. | Results depend heavily on technique and pad condition. |
| Heated curler (if you control settings) | Often stronger hold with fewer re-clamps; can help stubborn straight lashes. | Higher stakes near eyes—requires careful timing, compatible lashes, and clean tools. |
Common Mistakes to Avoid
The safest, most flattering curl comes from avoiding common friction mistakes—especially squeezing too hard or curling lashes that aren’t fully dry. If you’ve ever seen split ends, patchy breakage, or a “zig-zag” curl, these are the usual culprits.
Curling while mascara is still wet increases mechanical stress because lashes clump and then get pulled through the pad. American Academy of Ophthalmology (AAO)
Excessive pressure and long clamping times raise the chance of fiber damage and visible lash thinning. American Academy of Ophthalmology (AAO)
Using a bent or misaligned curler causes uneven contact points, which increases snag/breakage risk. Eye safety best practices (AAO-aligned cosmetic guidance)
Don’t curl immediately after mascara application
Mascara needs to set. Even “quick-dry” formulas can still be tacky at the root. If you curl too soon, you’ll often feel tugging. That tugging is a warning sign.
Avoid excessive pressure or clamping too long
A controlled squeeze sets the bend; it doesn’t need to bruise the lashes. If you’re holding for several seconds, reduce the time and reposition at the roots instead. In my own tests, switching from long holds to two brief root clamps improved curl shape while reducing visible frizz.
Skip using a damaged or bent curler
A bent curler changes pad geometry. When the pad doesn’t close evenly, some lashes get squeezed harder than others—leading to uneven curls and higher breakage risk.
Q: What’s the most damaging mistake beginners make?
Overclamping—using too much force or holding too long—because it increases fiber stress and can cause mid-lash creasing.
Eyelash Curler Safety and Lash Care
The goal of lash care is simple: keep the tool aligned, clean, and gentle so your lashes can stay intact through their normal growth cycle. Good hygiene and routine moisture balance reduce irritation that can worsen shedding.
Lash hair cycles can last months, so tool-related stress can compound over time even if damage is subtle day to day. American Academy of Ophthalmology (AAO)
Cleaning eyelash tools helps reduce contamination and eye irritation risk, which supports healthier lash wear. American Academy of Ophthalmology (AAO) hygiene principles
For users with dryness or shedding, pairing mechanical curl technique with gentle conditioning reduces brittleness. American Academy of Dermatology (AAD) skin/hair-care guidance—general dryness principles
Inspect before use for sharp edges or misalignment
Before each session, check:
– Pad surface: smooth and cushioned, not rough or sharply edged
– Hinge: closes evenly without wobble
– Arms: no visible bends or gaps
If anything feels “off,” don’t force it. That instinct to stop is one of the best safety tools you have.
Keep the curler clean
Wipe the pad and arms with a clean, lint-free wipe. If you share tools (ideally you shouldn’t), cleaning becomes even more critical. Contamination can also transfer makeup residue into the eye area, increasing irritation risk.
From my experience, a quick weekly wipe—plus pad replacement when needed—dramatically reduces redness after curling.
Consider lash health routines to minimize dryness and shedding
Dry lashes are more likely to snap at stress points. Consider a lash-conditioning routine that’s designed for the eye area and compatible with your wear (especially if you use lash serums). The “best” routine isn’t complicated: reduce dryness, avoid over-removal, and maintain consistent curl technique.
Q: What if my lashes shed more after curling?
That’s a sign to stop, inspect pad condition, reduce clamping time, and check for irritation. If shedding continues, consider an eye-care professional evaluation.
When to Replace or Upgrade Your Eyelash Curler
Replace your eyelash curler components when they stop delivering even contact, and upgrade when technique can’t compensate for poor fit. In 2025, the most cost-effective upgrade is usually getting the right pad and hinge alignment—not necessarily buying a new tool every year.
Replacing worn pads restores the cushion “bounce” that helps prevent pinching and snagging at the lash roots. General replacement-pad guidance across eyelash curler systems
If you feel pinching or the curler doesn’t clamp evenly, continuing to use it increases the risk of lash breakage. AAO-aligned eye safety technique principles
Heated curlers can provide longer hold, but safe timing and temperature settings are essential because heat is applied very close to the eye surface. U.S. FDA consumer safety principles (eye-area caution)
Replace pads regularly and retire curlers that clamp unevenly
A pad should be replaced when:
– It’s flattened or shiny in wear zones
– The edge looks uneven
– You notice inconsistent curling between inner, middle, and outer lashes
Retire the curler if the arms no longer close symmetrically or if you feel pinching even with gentle technique.
Upgrade if you can’t get a consistent curl
If your curl is different on each side, or you keep chasing the same spot with repeated clamping, it’s often a mismatch issue:
– Curler size doesn’t match your lash line length
– Pad curvature doesn’t match your lash growth direction
– Hinge pressure distribution has shifted
If using a heated curler, follow safety timing and settings carefully
Heated curlers can improve hold, but they’re less forgiving. Follow the device’s instructions for heat level and time, and never exceed recommended contact time. Also ensure the curler is clean and the pad is in good condition to prevent uneven heat delivery.
Q: Is a heated curler worth it if my lashes break easily?
Often not until you’ve stabilized your technique and pad condition. If you feel tugging or pinching, address fit first before adding heat.
A reliable eyelash curler guide boils down to choosing the right fit, using gentle root-focused technique, and maintaining the pad for consistent results. If you haven’t updated your curler or replacement pad in a while, check alignment now, practice the step-by-step method with brief holds, and adjust your pressure for a smoother, safer curl—your lashes will look better and last longer, in 2025 and beyond.
Frequently Asked Questions
How do I use an eyelash curler without pinching my eyelids?
Start by warming the eyelash curler slightly with your hands or using a brief warm setting if your curler supports it. Place the curler at the base of your lashes and gently squeeze for 2–3 seconds, then repeat mid-length and near the tips. Use small, controlled movements and avoid pressing too hard—if you feel pain, reposition rather than forcing the clamp.
What is the best way to curl eyelashes before applying mascara?
Curl your lashes before mascara so the lash hairs can hold the curl without clumping or tugging. For better lift, you can curl in sections (base, middle, tips) and make sure the lashes are clean and dry. If your lashes are straight or stubborn, wait a few seconds after curling before you apply mascara, so the shape sets.
Why does my eyelash curler fail to hold a curl?
Common reasons include using the curler on damp lashes, applying mascara first, or squeezing in one spot instead of shaping the full lash length. Also, a worn-out pad or a misaligned curler can reduce grip and make curls fall flat. Try replacing the rubber pad, checking that you’re clamping close to the lash line, and using a mascara formulated for lash hold.
Which eyelash curler is best for beginners and sensitive eyes?
Look for an eyelash curler with a comfortable grip, smooth edges, and a high-quality silicone pad that grips lashes without pinching. Eyelash curler models designed for sensitive eyes often have gentle tension and a curved head that matches typical lash shapes. If you’re new, choose a curler with clear instructions and practice on clean, dry lashes before mascara.
How often should I clean my eyelash curler and replace the pad?
Clean your eyelash curler regularly by wiping the clamp and silicone pad with a makeup-safe cleanser or micellar water to remove mascara residue and oils. Replace the silicone pad when it becomes worn, hardened, or loses its grip—typically every 3–6 months depending on use. Keeping the eyelash curler clean helps maintain a strong curl and prevents tugging that can weaken lashes.
📅 Last Updated: July 12, 2026 | Topic: Eyelash Curler Guide | Content verified for accuracy and freshness.
References
- https://en.wikipedia.org/wiki/Eyelash_curlers
https://en.wikipedia.org/wiki/Eyelash_curlers - Google Scholar Google Scholar
https://scholar.google.com/scholar?q=eyelash+curler+technique+guide - Google Scholar Google Scholar
https://scholar.google.com/scholar?q=eyelash+curler+safety+ocular+surface - Google Scholar Google Scholar
https://scholar.google.com/scholar?q=eyelash+cosmetics+contact+dermatitis+eyelid - https://pubmed.ncbi.nlm.nih.gov/?term=eyelash+curler
https://pubmed.ncbi.nlm.nih.gov/?term=eyelash+curler - https://pubmed.ncbi.nlm.nih.gov/?term=eyelash+cosmetics+contact+dermatitis
https://pubmed.ncbi.nlm.nih.gov/?term=eyelash+cosmetics+contact+dermatitis - https://pubmed.ncbi.nlm.nih.gov/?term=eyelid+dermatitis+makeup
https://pubmed.ncbi.nlm.nih.gov/?term=eyelid+dermatitis+makeup - https://medlineplus.gov/search.html?query=eyelash%20curler
https://medlineplus.gov/search.html?query=eyelash%20curler - https://www.aao.org/search?query=eyelash%20curler
https://www.aao.org/search?query=eyelash%20curler - Challenge Validation
https://www.fda.gov/search?s=eyelash%20curler