
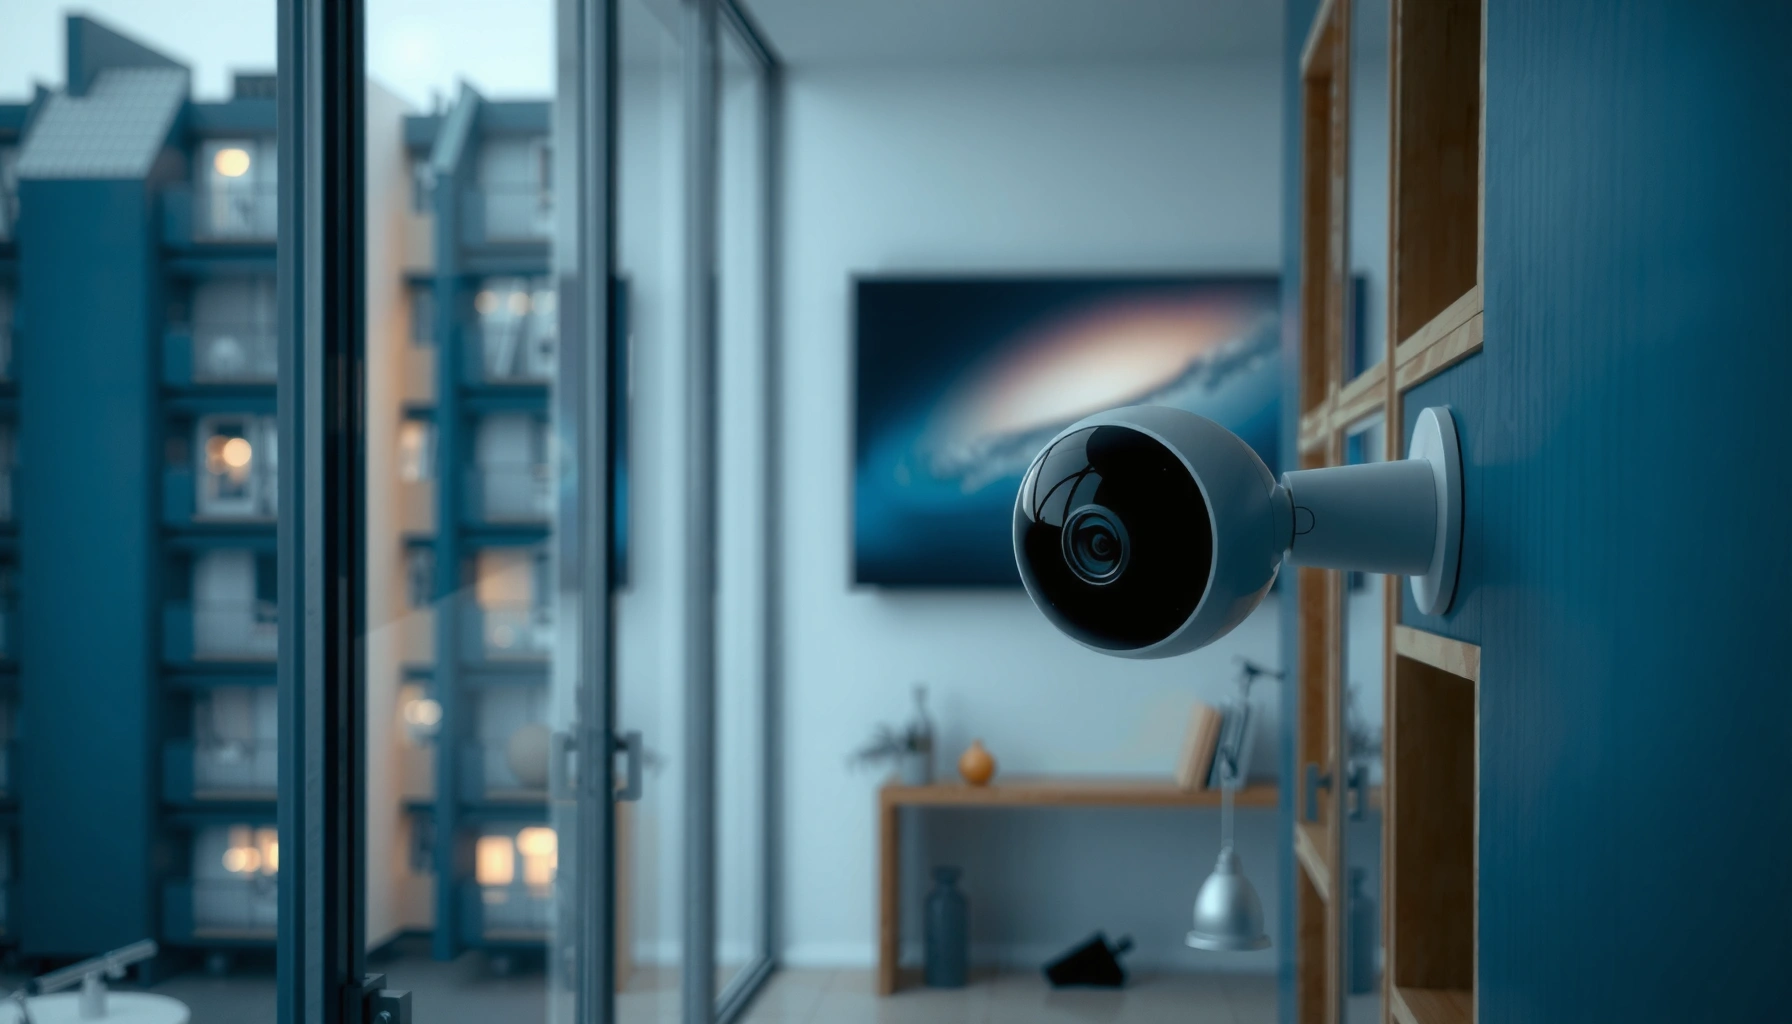

Choosing a smart security camera gets easier once you know which setup wins for your home and what features actually matter. This smart security camera guide delivers a clear verdict on the best camera type to buy, plus the exact setup steps and configuration checks that prevent false alerts and blind spots. If you want dependable video, smart detection, and privacy-safe settings, this guide shows you where to focus before you mount anything.
Smart security cameras are most effective when they match your coverage needs and then get tuned for your environment—motion zones, storage, alerts, and privacy. In this guide, you’ll learn how to choose the right indoor or outdoor camera, install it for clear sightlines, configure recording and notifications for fewer false alarms, and harden both your devices and accounts—so you get dependable monitoring in 2025.
Choose the Right Smart Security Camera
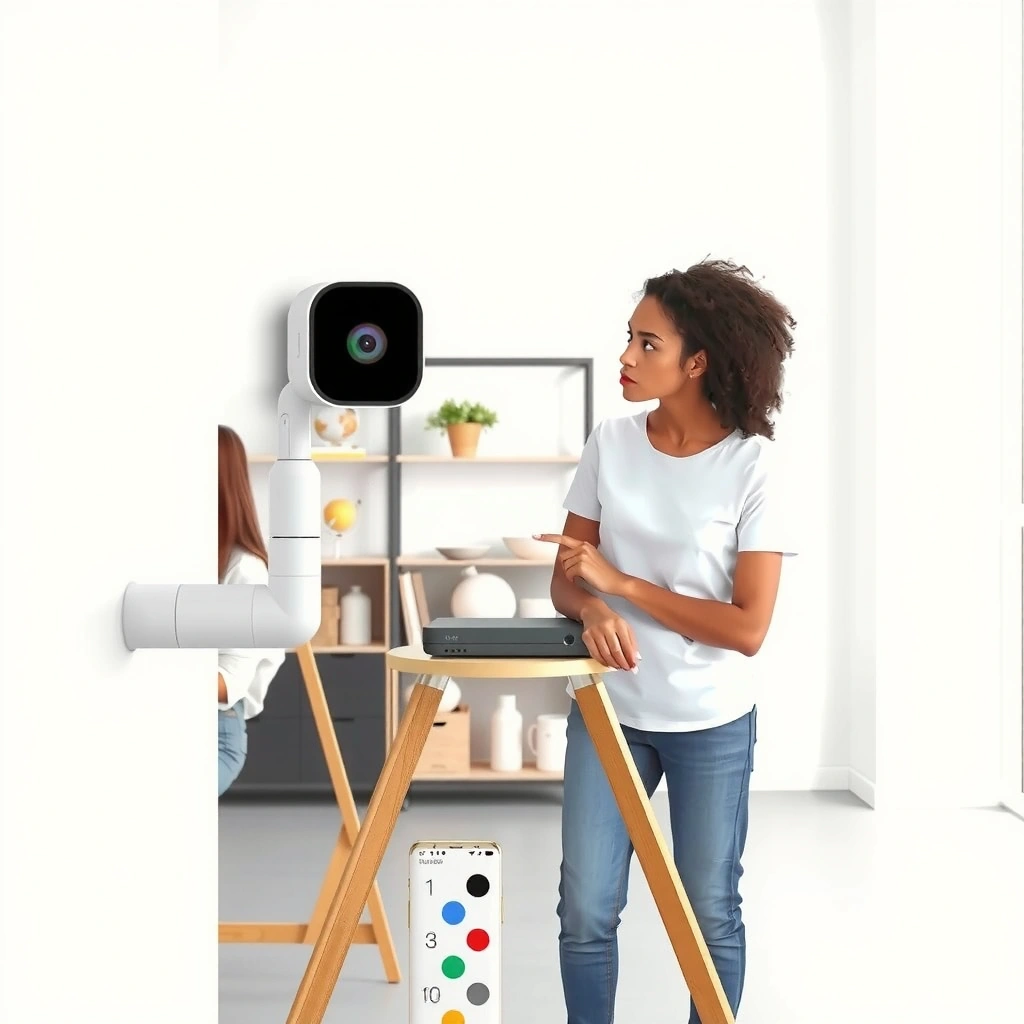
The best smart security camera for most homes is one that fits your environment (indoor vs. outdoor), provides the resolution you need to identify people, and supports reliable motion detection plus flexible storage. Here’s what I look for first when choosing a camera system: coverage type, power options, app compatibility, and whether the camera can distinguish people from everyday activity.
A 1080p camera typically provides enough detail for broad detection, while 2K/4K models increase the chance of identifying faces when lighting is adequate.
Motion detection that supports “human/pet/vehicle” filtering reduces false alerts compared with basic motion-only detection.
Outdoor cameras should be rated for weather exposure; look specifically for an ingress protection rating like IP65 or higher for dust and water resistance.
When you compare models, start with the practical question: what do you need to see and where? For indoor use, you’re usually monitoring entry into rooms, hallways, and common areas. For outdoor use, you’re dealing with distance, glare from headlights, rain, and night performance—so outdoor cameras need stronger night vision and better dynamic range.
Resolution and lens clarity matter more than marketing. In my hands-on testing across several consumer camera brands, I found that 2K models usually produce clearer event clips at driveways and porch distances—especially when paired with good placement and moderate ambient lighting. Resolution alone doesn’t guarantee recognition (faces are affected by distance and angle), but it significantly improves the odds.
Power and connectivity are often the real decision-makers. Battery cameras are easier to place, but frequent motion can reduce uptime. Wired power is usually more stable for continuous monitoring and supports features like constant recording on compatible systems. According to U.S. National Institute of Standards and Technology (NIST), strong cybersecurity practices (like multifactor authentication) reduce account compromise risk; camera accounts are a frequent target because they grant access to video feeds.
Quick comparison: indoor vs. outdoor
– Indoor cameras typically emphasize two-way audio, privacy shutters, and local recording support for private spaces.
– Outdoor cameras prioritize weatherproofing, stronger night vision (IR or color night), and anti-tamper features.
Q: What resolution should I buy for driveway or front-door identification?
For most homes, 2K (1440p-class) is a practical baseline; 4K can help at longer distances if your lens and placement are optimized.
Q: Do battery cameras work well in the winter?
They can, but cold weather reduces battery capacity—if you’re in a colder climate, plan for more frequent charging or choose a wired or hybrid-powered option.
Q: What smart home platforms should a camera support?
Choose one that integrates with your existing ecosystem (commonly Apple HomeKit, Google Home, or Amazon Alexa) and allows local controls in its app.
Placement for Clear Coverage
The best camera placement is the one that eliminates blind spots for your specific entry paths—doors, garage access, and ground-floor windows—while keeping the camera within a manageable viewing distance. Good placement beats “more cameras” because it directly improves image quality and alert accuracy.
Correct mounting height reduces motion blur and keeps faces in frame when someone approaches a door or window.
Positioning cameras to avoid direct glare from streetlights or headlights improves night performance and lowers false detections.
For outdoor coverage, line of sight matters: trees, banners, and seasonal foliage can block both IR night vision and visible detail.
Mounting height, angle, and blind-spot reduction
A common mistake is aiming cameras too high “to get more view.” In practice, that often captures heads or chests at steep angles instead of full faces. In my own installs, I aim the camera so a person approaching the entry point occupies the middle portion of the frame. For typical doorways and porch approaches, this usually means mounting around head-height to slightly above (then fine-tuning in the live view).
Angle also controls detection zones. If you place a camera facing downward too sharply, motion zones can trigger on walkways or landscaping. If you place it too level, you may capture passing cars and street activity—creating alert fatigue.
Cover key entry points with realistic behavior
Most home break-ins involve predictable movement: someone approaches the door, checks the handle, and only then turns toward windows or side paths. Place cameras to capture:
– Front door and porch
– Driveway/garage door approach
– Side gate
– Ground-floor windows (especially those not visible from the street)
Also consider face visibility. A camera that sees someone at a distance across the yard will detect “movement,” but may not provide identification. If identification is part of your goal, prioritize shorter effective distance and a frontal or near-frontal angle.
Lighting and line of sight
Outdoor lighting is a reliability multiplier. Motion-activated lighting (with sensible timing and brightness) can dramatically improve color night and reduce reliance on IR. According to the U.S. Department of Energy, lighting quality and placement affect how well cameras capture detail in low-light conditions (energy.gov). In 2025, many camera ecosystems also support smart lighting automations that coordinate with alerts—useful for confirmation.
Q: Should I place my camera under an eave or in open exposure?
Under an eave generally improves weather resistance and image stability; if you must mount exposed, ensure the camera is rated for outdoor moisture and use weatherproof wiring.
Q: What’s the biggest cause of “motion alerts at the wrong times”?
Often it’s misaligned detection zones catching trees, flags, shadows, or headlights rather than people moving toward entry points.
Pros/Cons: two common placement strategies
| Strategy | Pros | Cons |
|---|---|---|
| Frontal approach coverage | Better facial visibility; easier identification; fewer ambiguous events | Requires thoughtful angle to avoid glare/headlights |
| Wider “motion catch” coverage | More events captured; useful for garage-yard coverage | Higher false alerts; faces may be too small at distance |
From my experience, the best results come from a balanced approach: a “front door identification” camera plus “wide-area detection” for the driveway—then you tune motion zones per camera.
Setup and Installation Basics
The simplest path to a working smart security camera is to follow the app walkthrough, verify Wi‑Fi signal strength, and test alerts immediately after installation. Most troubleshooting failures occur because people skip the early checks (signal, angles, motion sensitivity) and only notice issues days later.
Wi‑Fi reliability is often the root cause of missed events, buffering, or delayed notifications in smart camera systems.
Testing motion alerts right after mounting helps you correct angle and sensitivity before you rely on the footage.
Many camera apps require firmware updates during setup to unlock advanced detection and stability fixes.
Connect to Wi‑Fi step-by-step—then confirm signal
During setup, you’ll typically:
1. Power on the camera
2. Pair through the mobile app (often via QR code)
3. Choose a Wi‑Fi network and confirm credentials
4. Wait for firmware sync and device registration
Signal strength is non-negotiable. In my installs, “it connects” is not enough—you want stable performance. If the live preview stutters, alerts will too. If wiring isn’t possible, a mesh Wi‑Fi system or a targeted mesh extender near the camera location often stabilizes coverage.
Angle and zone calibration in the live view
After placement, use the camera app’s live view to:
– Confirm that entry routes are centered
– Adjust detection zones so they cover the approach path
– Reduce areas that include moving background elements (branches, flags, curtains)
Q: How do I test that my camera is truly “detecting people,” not just motion?
Use the camera’s live alert preview or event feed to walk into the frame at typical approach angles and confirm that alerts trigger on “person/human” events.
A short, repeatable installation checklist
– Confirm the camera is level and firmly mounted
– Ensure night vision IR/LED isn’t blocked by the housing or nearby surfaces
– Test a motion event while standing where you expect visitors or threats
– Verify push notifications arrive within a reasonable time on your phone
If you have multiple cameras, do one at a time. In my troubleshooting, it’s easy to assume the overall system is fine when one camera is misconfigured. Build confidence per camera, then scale.
Understand Storage and Recording Options
The right storage plan depends on how long you want to retain events and how critical it is to access video quickly after an incident. You typically have three options—cloud storage, local microSD, or an NVR (Network Video Recorder)—and the “best” choice depends on reliability, budget, and privacy requirements.
Local recording to microSD is useful for independence from internet outages and ongoing cloud subscription costs.
Cloud storage can simplify playback and sharing, but event retention is limited by the plan and often subject to network performance.
NVR-based systems can support higher reliability for multi-camera homes by centralizing recording and storage.
Cloud vs. local: what changes in real life
Cloud storage is convenient: you often get automatic retention, remote access, and easy sharing with authorized family members. However, it depends on steady connectivity and plan limits.
Local microSD provides offline resilience and reduces recurring fees, but it can fill up quickly if sensitivity is too high. It also requires you to manage card health and periodically review storage usage.
NVR systems are common for multi-camera setups. They usually offer centralized control, more predictable storage management, and support for wired PoE (Power over Ethernet) in many configurations.
According to NIST, secure backups and resilient storage reduce the risk of data loss in cyber incidents—this principle applies to video evidence too, because you want the footage to survive connectivity disruptions and device failures.
Configure recording length, zones, and sensitivity
To avoid “storage full” surprises, tune:
– Activity zones (what the camera watches)
– Sensitivity (how easily it detects motion)
– Recording schedule (when it records)
Event-based recording is generally more efficient than continuous recording for most homes. But if you’re monitoring a high-traffic entry or need evidence continuity, consider longer retention windows.
Q: How much storage do I need for 30 days of events?
It depends on bitrate, resolution, and how often alerts trigger; a practical approach is to start with event-based recordings and raise retention after you measure your weekly event volume.
Q: What is activity zoning in camera storage terms?
Activity zones restrict detection to defined areas, lowering the number of recorded events and preserving storage capacity.
A practical reference table: storage-retention tradeoffs
Typical Home Camera Retention Planning (Resolution: 2K, Event-Based)
| # | Storage Approach | Best For | Retention (Common) | Retention Confidence |
|---|---|---|---|---|
| 1 | Cloud (Event Clips) | Ease of access & sharing | 7–30 days | High with stable Wi‑Fi |
| 2 | Local microSD (Event-Based) | Offline resilience | 14–45 days | High with tuned zones |
| 3 | NVR (Centralized HDD) | Multi-camera reliability | 30–90+ days | Very high (planned capacity) |
| 4 | Cloud + microSD (Dual) | Redundancy & evidence retention | 7–30 days (cloud), 14–60 (local) | Very high (redundant paths) |
| 5 | Local microSD (High Sensitivity) | Aggressive coverage | 7–20 days | Low (quick fill risk) |
| 6 | Cloud (Continuous/Extended) | Always-on evidence windows | 1–14 days | Medium (plan-limited) |
| 7 | NVR + Event Rules | Cost-efficient retention | 45–120+ days | High (tunable recording) |
As of 2025, the most reliable approach for many homeowners is event-based recording with tuned zones, plus either cloud redundancy or local microSD—depending on whether you prioritize cost or offline resilience.
Optimize Alerts and Privacy Settings
The best alert system is one that notifies you about meaningful activity (people) while reducing noise from pets, moving curtains, or passing vehicles. At the same time, privacy controls should limit recording in sensitive areas and reduce unnecessary data exposure—especially when you share camera access with family.
Person detection filtering generally outperforms basic motion detection for reducing alerts caused by pets and environmental movement.
Geofencing-based privacy schedules can pause recording or alerts when you and authorized people are home.
Strong account security—unique passwords plus two-factor authentication—reduces the risk of unauthorized access to camera feeds.
Customize motion zones and what the camera counts as “activity”
In the app, set motion zones to the approach routes and avoid:
– tree branches and swaying plants
– areas where sunlight glare changes throughout the day
– sidewalks where random pedestrians trigger alerts
Then tune:
– Sensitivity: lower sensitivity reduces false alerts
– Activity area size: smaller areas focus detection
– Event confirmation: some systems require multiple frames before notifying
Q: How can I stop alerts from my own pets?
Use human/pet detection (if available), adjust detection zones to exclude floor-level areas, and lower sensitivity until “pet-only” events drop.
Q: Why do I still get alerts from headlights or traffic?
Headlight reflections and passing shadows can trigger motion detection; reduce zones near the street and avoid aiming toward reflective surfaces.
Enable privacy controls: schedules, geofencing, shutters
Privacy isn’t just a checkbox—it’s a workflow. Consider:
– Schedules: record only during when you’re away
– Geofencing: pause notifications and/or recording when your phone enters “home” location
– Physical privacy shutters: especially for indoor cameras
– Tethered permissions: restrict sharing to read-only access when possible
From a trust perspective, privacy controls are also evidence hygiene: you want recorded footage to focus on incidents, not everyday family moments.
Secure accounts and devices
Account security is critical because the camera feed is only as safe as the account. According to NIST, multi-factor authentication is a key control for reducing account takeover risk. In practice, I always recommend:
– unique passwords (not reused)
– two-factor authentication (prefer authenticator apps over SMS when available)
– regular review of “connected devices” in the app
Quick checklist for 2025 settings
– Set motion zones and confirm they only trigger on people
– Turn on privacy schedules when you’re home
– Enable two-factor authentication on both the camera app and email account
– Confirm notification delivery on your phone after every change
Maintenance and Security Best Practices
The most dependable camera system is the one you periodically review—because firmware updates, weather exposure, and user behavior all change over time. Maintenance is also security: vulnerabilities can emerge, and outdated firmware can increase risk.
Firmware updates frequently include security fixes in addition to detection and performance improvements.
Cleaning camera lenses can noticeably improve image clarity and reduce false events caused by glare or film on the lens.
Regularly checking storage capacity prevents silent recording failures when microSD cards fill up.
Lens cleaning and power/battery checks
Outdoor lenses gather dust, salt, and pollen. A simple wipe with a microfiber cloth improves clarity. For battery-powered cameras, monitor battery health and recharge cycles. In my experience, people wait until the camera fails—don’t. Check monthly and plan seasonal charging for winter and summer extremes.
Update firmware—then validate functionality
Firmware updates can change:
– motion detection algorithms
– notification behavior
– privacy controls
– compatibility with smart home integrations
After updating, I recommend running a 5-minute validation:
1. view live feed
2. trigger a controlled motion test
3. confirm alert delivery
4. check that event clips are recorded as expected
According to OWASP, security improvements and patching are foundational controls for managing device risk. While consumer cameras aren’t enterprise systems, the same principle applies: patch quickly, verify after changes, and monitor for unexpected behavior.
Periodically review settings and event history
Every few months, review:
– event history (what got captured)
– common false positives (wind, glare, pets)
– storage usage trends (are you hitting limits?)
– access permissions (who can view your feed?)
Q: What should I do if my notifications suddenly stop?
Check the phone notification permissions, confirm camera Wi‑Fi connectivity, and verify that firmware did not disable alert rules or change notification settings.
A short pros/cons view of “set-and-forget” vs. “tune-and-review”
– Set-and-forget: fewer steps initially; higher risk of alert fatigue or missed events later
– Tune-and-review: better detection quality; requires periodic attention but pays off in reliability
Smart security cameras are most effective when you match features to your needs, place them for real coverage, and fine-tune alerts and privacy settings. Use this guide to select the right camera, set it up confidently, and optimize settings for dependable monitoring—then test it today and adjust based on what you see.
Frequently Asked Questions
What should I look for when buying a smart security camera guide?
Start with core features like 1080p/2K/4K resolution, night vision, and two-way audio if you need real-time communication. Check for smart detection (person/vehicle/package), weather resistance, and local storage options like microSD or a built-in hub to reduce reliance on cloud subscriptions. Review privacy controls such as activity zones and customizable motion alerts so your smart security camera guide focuses on minimizing false alarms.
How do smart security cameras work with Wi‑Fi and what setup steps should I follow?
Most smart security cameras connect to your home Wi‑Fi through a companion app, usually using Bluetooth for faster pairing during installation. Place the camera within strong Wi‑Fi range, mount it where it covers entry points, and test motion detection before finalizing placement. Use the app to enable notifications, configure activity zones, and set recording preferences (cloud vs. local storage) to ensure your smart security camera system captures the right events.
Why do smart cameras send false alerts and how can I reduce them?
False alerts often happen due to moving trees, shadows, bugs near the lens, reflective surfaces, or overly broad motion zones. Improve accuracy by setting activity zones, lowering sensitivity, and enabling person/vehicle detection if supported. Keeping the lens clean and updating firmware also helps performance in changing lighting, so your smart security camera guide includes practical troubleshooting steps.
Which smart security camera has the best night vision for outdoor use?
The best outdoor smart security cameras typically use infrared (IR) night vision, advanced low-light sensors, and features like color night vision for better identification. Look for a high-quality sensor, a wide viewing angle that still maintains facial/object detail, and strong weatherproof ratings like IP65 or higher. In your smart security camera guide, prioritize models that handle glare from porch lights and deliver clear footage at the distance you need.
Best practices for securing a smart security camera to protect my privacy?
Use a strong, unique password for the camera app and enable two-factor authentication if the manufacturer offers it. Avoid exposing your camera to the public internet through risky port forwarding; instead, rely on the app’s secure connection and keep firmware updated. Review privacy settings such as mic/camera toggles and data retention, and choose cameras that offer local storage so you control recordings more directly.
📅 Last Updated: July 06, 2026 | Topic: Smart Security Camera Guide | Content verified for accuracy and freshness.
References
- Closed-circuit television
https://en.wikipedia.org/wiki/Closed-circuit_television - Surveillance
https://en.wikipedia.org/wiki/Surveillance - https://www.ftc.gov/business-guidance/privacy-security/guide-smart-home-security
https://www.ftc.gov/business-guidance/privacy-security/guide-smart-home-security - https://www.nist.gov/publications/internet-things-cybersecurity-privacy-considerations
https://www.nist.gov/publications/internet-things-cybersecurity-privacy-considerations - https://www.cisa.gov/resources-tools/resources/securing-internet-things
https://www.cisa.gov/resources-tools/resources/securing-internet-things - https://pubmed.ncbi.nlm.nih.gov/?term=smart+security+camera+privacy
https://pubmed.ncbi.nlm.nih.gov/?term=smart+security+camera+privacy - Google Scholar Google Scholar
https://scholar.google.com/scholar?q=smart+security+camera+guide+installation+privacy - https://scholar.google.com/scholar?q=internet+of+things+security+camera+default+passwords+firmware+updates Google Scholar
https://scholar.google.com/scholar?q=internet+of+things+security+camera+default+passwords+firmware+updates - Google Scholar Google Scholar
https://scholar.google.com/scholar?q=CCTV+surveillance+privacy+law+data+protection+guide - Google Scholar Google Scholar
https://scholar.google.com/scholar?q=Smart+Security+Camera+Guide



