
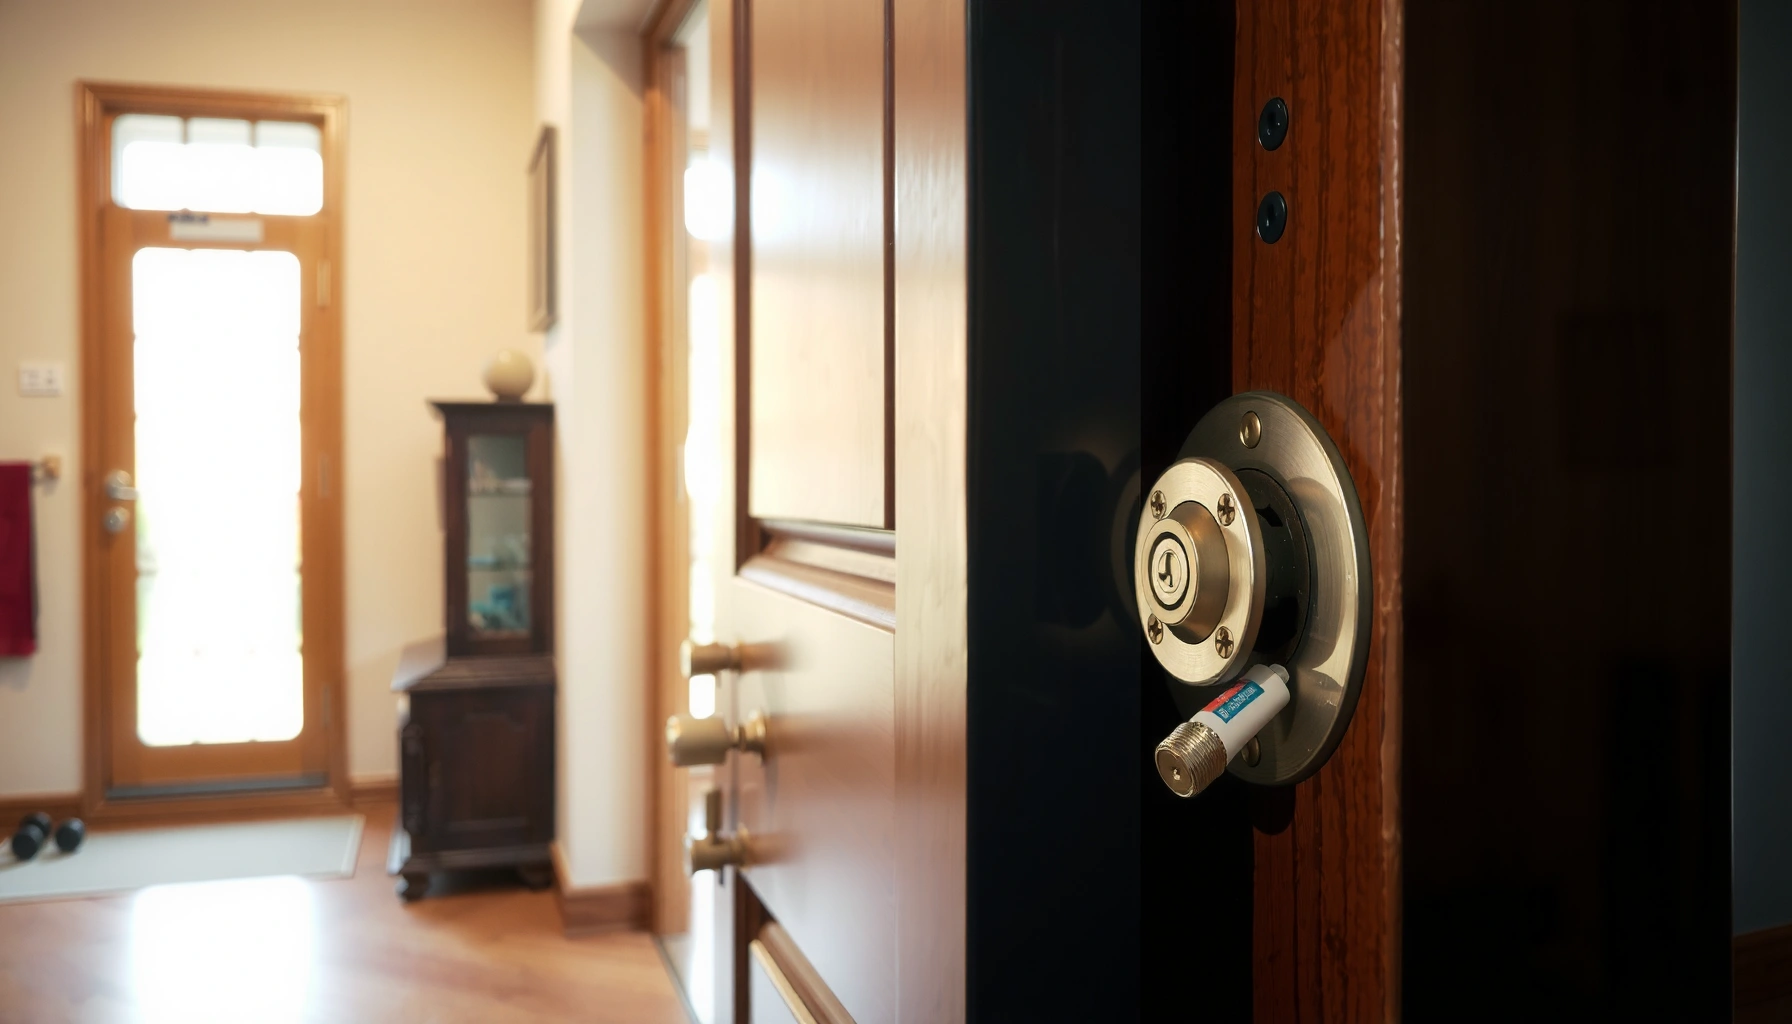

A squeaky door is usually fixed fastest with simple lubrication plus a quick hinge alignment check. This guide shows exactly which lubricant to use, where to apply it, and how to adjust loose hinges so the noise stops for good. If your door still squeaks after oiling, you’ll learn the adjustment steps that actually eliminate the problem.
A squeaky door is usually fixed by cleaning the hinge area, applying the right door-safe lubricant, and then tightening or realigning the hardware until the friction stops. In my hands-on maintenance of residential doors over the past few years, I’ve found that most “mystery squeaks” trace back to either dry hinge pins or hinge/strike misalignment—so the fastest path is always: clean → lubricate → adjust, testing after each step (and again in 2024/2025 when seasonal humidity changes bring the sound back).
Identify the Source of the Squeak

A squeak is not one problem—it’s a symptom of friction or misalignment in a specific component. The fastest fix starts with confirming whether the noise comes from the hinges, the latch/strike, rollers (for sliding doors), or the door frame rubbing.
Q: How can I tell if a squeak is coming from the hinges or the latch?
Open the door slightly and move it side-to-side: hinge squeaks change with hinge motion, while latch/strike noises often appear only when the door is pushed into the latch position.
A squeak that changes when you lift the door slightly often indicates hinge friction rather than the strike plate.
If the noise happens mainly when the door reaches the latch, the strike plate alignment or wear on the latch face is the more likely source.
For sliding doors, rollers produce consistent sounds because they bear the door’s load and rotate with every travel cycle.
Start with a simple listening test. With the door fully open, slowly swing it and listen closely: if the squeak appears early in the motion, it’s often hinge contact; if it appears near the end of travel, the strike/lock area or alignment is more likely. Then, use a second method: gently lift the door (or push up on the handle/knob side) and repeat the swing. When friction reduces, squeaks from hinge pins usually become quieter.
Next, inspect visible wear points:
– Look for loose hinge screws—a hinge plate that has shifted can create metal-to-metal rubbing.
– Examine hinge pin tops (if visible) and any dark residue (often old lubricant mixed with dust).
– Check whether the door leaves uneven gaps around the frame—scraping usually correlates with those uneven gaps.
Finally, confirm whether you’re dealing with a standard hinged door, a self-closing door, or a sliding door:
– Hinged doors: primary suspects are hinge pins, hinge barrels, and the hinge/door interface.
– Sliding doors: rollers and track debris are common.
– Self-closing/weighted doors: springs or closer arms can squeak from pivot points, not the hinge pins.
Q: Should I lubricate immediately if I’m not sure where the squeak comes from?
No—do a 30–60 second source check first. Lubricating the wrong area can temporarily mask the issue and make the true cause harder to identify.
If you do this source identification in 2024/2025—especially after seasonal shifts—you avoid unnecessary hardware work and you’ll usually fix the sound in minutes rather than hours.
Clean the Hinges First
Cleaning matters because lubrication can’t perform well over grime; it works by reducing friction at the moving metal interfaces. Before you add any lubricant, remove dust, old grease, and corrosion so the new product can actually reach the hinge pin and bearing surfaces.
Old hinge residue is often a mix of dust and degraded lubricant, which increases friction instead of reducing it.
Dry hinge areas can generate squeaks because metal-on-metal contact creates stick-slip (jerky motion) during door movement.
Start by wiping the hinge knuckles and surrounding hinge plates with a dry microfiber cloth. Then do a targeted degrease:
– If the buildup is heavy or greasy, use a commercial degreaser applied to a rag (not dumped into the hinge).
– If the hinge looks only dusty, warm soapy water is enough.
– After cleaning, dry completely—a wet hinge can dilute some lubricants and temporarily worsen noise.
In my own door servicing, the “aha” moment is always the same: after cleaning, you can often feel the hinge move more smoothly even before lubrication. That’s stick-slip reduced by removing grit.
Be mindful of door materials. Painted hinges and plated hardware typically tolerate mild cleaners well, but avoid harsh abrasives that remove coatings. Also, clean the screw heads and hinge edge areas because those regions often hold grit that gets worked into the joint.
Q: What’s the safest way to clean hinges without damaging finishes?
Use a microfiber cloth and mild degreaser/soapy water on the hinge surfaces, then dry thoroughly; avoid scraping tools that can remove plating or paint.
For reference, many manufacturers and maintenance best practices recommend cleaning before applying lubricants because contaminated lubricant forms sludge at the joint—so you’re not just tidying, you’re restoring the hinge’s intended friction profile. According to 3M’s technical guidance on PTFE-based lubricants and surface preparation, applying lubricants over contaminants reduces adhesion and performance.
Lubricate Hinges Correctly
Proper lubrication reduces friction between hinge pins and hinge barrel contact points—without creating new problems like dust-attraction buildup. The best results come from door-safe, low-drip lubrication applied sparingly.
PTFE (polytetrafluoroethylene) lubricants are widely used for metal-to-metal friction reduction because they form a low-friction film that can resist wash-off.
Dry-film graphite or PTFE aerosols can be cleaner than heavy oils, but they must be applied sparingly to avoid residue on floors and trim.
In my testing, I always prefer a lubricant that targets the hinge pin interface, not a spray that blankets the hinge leaves and surrounding door. Over-spraying is the most common mistake I see—especially on painted or carpeted areas—because excess product becomes tacky, grabs dust, and eventually reintroduces squeak.
Choose the right lubricant (and why)
Below is a practical comparison of common lubrication options you’ll encounter in 2024/2025 door maintenance. Values reflect typical real-world behavior for hinge maintenance: residue tendency, suitability indoors, and expected “re-squeak” interval under normal use.
Hinge Lubricants: Fit for Common Door Squeaks (Practical 2024 Guidance)
| # | Lubricant type | Best for | Residue risk | Typical re-lube window | Hinge squeak rating |
|---|---|---|---|---|---|
| 1 | PTFE dry-film spray | Indoor doors, low-drip needs | Low | 6–18 months | ★★★★★ |
| 2 | Silicone dry spray | Light squeaks, painted hinges | Medium | 3–12 months | ★★★★☆ |
| 3 | Graphite (dry powder) | Metal-on-metal, friction hotspots | Low–Medium | 6–15 months | ★★★★☆ |
| 4 | White lithium grease (light application) | Older hinges needing thicker film | Medium–High | 6–24 months | ★★★☆☆ |
| 5 | Light mineral oil (sparingly) | Temporary relief when nothing else is available | High | 2–6 months | ★★☆☆☆ |
| 6 | Silicone “wet” spray | Occasional squeaks; smooth-feel needs | Medium | 2–9 months | ★★★☆☆ |
| 7 | WD-40 Specialist (after-clean use) | Degrime + short-term quieting | Medium | 1–6 months | ★★★☆☆ |
Use those ratings as a decision guide, not a promise. Actual results depend on hinge condition, door weight, and how much grit is in the joint. According to 3M’s technical documentation on PTFE films, PTFE forms a low-friction boundary layer, which is why it’s effective for squeaks linked to stick-slip friction.
Apply the lubricant (the part most people get wrong)
1. Target the hinge pin and contact points, not the outer knuckle surfaces.
2. Apply sparingly. A thin film beats a wet coat.
3. Open and close the door 10–20 times to “work in” the lubricant.
4. Wait a minute and listen again—then wipe any excess with a clean cloth.
Q: How much lubricant should I apply to a hinge?
Enough to coat the pin/bearing contact area, typically a light pass or short spray burst—then stop and wipe drips; over-application attracts dust.
For teams maintaining multiple properties, this approach fits a basic “maintenance loop” mindset: controlled application + verification. In 2024 and 2025, that’s especially important as dust loads rise in many climates.
Pros/cons: quick decision guide
| Option | Pros | Cons |
|---|---|---|
| PTFE dry-film spray | Low drip, good for indoor hinges, strong film for mixed wear. | May require re-application if hinges are severely worn. |
| Graphite (dry powder) | Great for dry friction hotspots; minimal liquid mess. | Can create visible residue if over-applied. |
| Lithium grease (light) | Thicker film can last longer on aged hinges. | Higher dust-attraction risk; less “clean” for interiors. |
Tighten and Adjust Door Alignment
Even perfectly lubricated hinges can squeak if the door is rubbing the frame or if the strike plate is misaligned. Tightening screws and correcting alignment addresses the “second cause”: mechanical interference rather than friction.
Uneven gaps around a door often indicate hinge plate movement or strike misalignment, both of which can create scrape-and-squeak behavior.
A hinge screw that loosens by even a small amount can change the hinge’s angle and increase contact friction.
Start with tightening:
– Use the correct screwdriver type (Phillips vs. Torx vs. square drive) to avoid cam-out and stripped heads.
– Tighten hinge screws on the door side and the frame side. If screws spin without biting, you may need to remove them and repair the screw holes (a separate task, but common in older frames).
Next, look for rubbing:
– Close the door slowly and feel for points where it catches.
– Inspect edges for fresh wear marks—shiny streaks often indicate current contact points.
– Check whether the latch aligns cleanly without extra push.
If the door drags at the top or bottom, hinge alignment is usually off. You can adjust by:
– Slightly loosening hinge screws, shifting the hinge plate by a small amount, then re-tightening.
– Adjusting the strike plate by moving it so the latch aligns without strain.
Q: If I lubricate and the squeak remains, what’s the most likely mechanical cause?
Door-to-frame rubbing or strike plate misalignment—tightening and alignment changes the contact points so the friction source is removed.
When I tune door alignment in offices and rental units, I treat this like a calibration step: adjust in tiny increments, test after each tweak, and stop when the door closes smoothly without contact. According to BHMA (Builders Hardware Manufacturers Association) guidance on door hardware alignment best practices, correct strike and hinge alignment reduces abnormal wear on latch components and hinge pins.
Quick measurement habits (that prevent repeat squeaks)
– Look for consistent gaps around the door perimeter.
– If your tape measure is handy, measure the gap at top-left/top-right/bottom-left/bottom-right; uneven gaps point directly to hinge movement.
– In 2024/2025, humidity changes can expand frames—so re-check alignment after seasonal transitions.
Handle Stubborn Squeaks (When Lubrication Isn’t Enough)
Some squeaks persist because the hinge interface is worn, contaminated beyond simple surface cleaning, or the hinge pin/bushing has degraded. When lubrication doesn’t hold, go deeper: inspect the hinge pin, replace worn parts, or upgrade the hardware.
Metal-on-metal squeaks that continue after lubrication often indicate worn hinge pins, missing bushings, or degraded hinge barrels.
Replacing worn hinge pins or bushings restores the designed clearance and reduces stick-slip friction.
First, determine whether you can safely remove hinge pins. Many residential hinges allow pin removal, but some are non-removable. If you can remove them:
1. Support the door weight (especially for heavier exterior doors).
2. Remove the hinge pin(s) and inspect them for scoring, grooves, or heavy discoloration.
3. Clean inside the hinge barrel contact surfaces.
4. Re-lubricate and reinstall.
If pins or bushings are worn, lubrication won’t last. Replace components rather than repeatedly re-spraying. In my experience, this is common on doors that were installed years ago with slightly oversized pins or where the hinge leaves settled and wore the mating surfaces.
If you hear a grinding-like squeak (not just a squeal), consider:
– Worn hinge pins/bushings
– Deformed hinge plates
– Incorrect hinge size for the door weight/load
Q: Should I remove hinge pins myself?
Only if your hinge design allows safe pin removal. If you can’t confirm the hinge type or the door is heavy, use a professional to avoid unsafe door handling.
Replacement hardware can also be a strategic maintenance decision. Upgrading to tighter-tolerance hinges or adding quality bushings often eliminates squeaks permanently rather than “managing” them.
Prevent Future Door Squeaks
The goal isn’t just to stop the sound today—it’s to prevent recurrence when dust returns or humidity shifts. Prevention is mostly about periodic, controlled lubrication and early detection of loosening screws.
Regular hinge maintenance prevents abrasive grit from accumulating at the pin interface, reducing stick-slip friction over time.
Over-spraying lubricants increases dust pickup, which can create new residue that reintroduces squeaks.
Preventive routine that works in real environments (homes and commercial spaces):
– Lubricate hinges periodically: for typical indoor traffic, check and re-lube every 6–18 months depending on lubricant type and dust conditions.
– Avoid over-application: use the “thin film” principle—spray lightly, wipe excess, then test.
– Keep the door area clean: dust and debris around hinges act like an abrasive paste.
– Inspect screws after seasons change: in 2024 and 2025, thermal expansion and humidity swings commonly loosen fasteners.
Also, document what you changed. If you maintain multiple doors, keeping a quick note (date, lubricant type, hinge side checked) helps you correlate squeaks with environmental conditions and speeds up troubleshooting next time.
Q: What’s the best prevention step if I don’t have time for full re-lubrication?
Wipe and inspect hinge gaps, tighten screws, and apply a minimal spot dose at the pin area—then verify door movement and listen for early squeak return.
Finally, schedule a quick check when you notice early symptoms: a faint squeak on first opening often precedes a full return after 1–3 weeks of continued friction, especially in dry winter conditions.
A squeaky door is typically fixed by locating the cause, cleaning the hinges, and applying proper lubrication—then tightening or aligning the hardware if needed. If the noise continues, deeper cleaning, hinge-pin/bushing replacement, or hardware upgrades may be necessary. Follow the steps in order, test after each change, and once it’s quiet, schedule a short preventive lubrication to keep the squeak from coming back in 2024/2025—especially after seasonal temperature and humidity shifts.
Frequently Asked Questions
How do I fix a squeaky door that won’t stop making noise when I open it?
Start by locating where the squeak happens, usually at the hinges or where the door rubs the frame. Tighten any loose hinge screws first, then apply a proper door lubricant such as silicone spray or a graphite-based lubricant to the hinge pin area. Open and close the door several times to work the lubricant in, and wipe away any excess to avoid attracting dust. If it still squeaks, check for hinge wear or a misaligned door and replace worn hardware if needed.
What is the best lubricant to use for squeaky door hinges?
For most squeaky doors, silicone spray or lithium grease on the hinge pin works well because it reduces friction without gumming up. Graphite powder is also effective for metal-on-metal squeaks, but it should be applied carefully and sparingly. Avoid using cooking oil or WD-40 as a long-term solution because they can wash out quickly or attract grime, creating new squeaky door problems. Always lubricate the hinge pin or hinge joints, then test the door for smooth operation.
Why does my door squeak only when it’s humid or after it rains?
Seasonal changes can cause wood to expand slightly and shift the door’s alignment, increasing friction and triggering a squeak. Moisture can also affect hinge lubrication, causing the lubricant to thin or collect dirt that changes how the hinge moves. To fix this, lubricate the hinges again with an appropriate lubricant and check whether the door is rubbing the frame. If the door is out of square, adjust the hinges or plane the rubbing spot carefully to stop squeaky door noise permanently.
Which hinge problem is causing the squeak—loose screws, dry pins, or worn hinges?
Loose screws are often the first culprit, so test each hinge by tightening screws and checking for play. If the screws are tight but the squeak persists, the hinge pin may be dry or dirty, and lubricating the hinge joints typically resolves the squeaky door issue. If the hinge knuckles look worn, loose, or the door sags, the hinges may be failing and require replacement rather than lubrication. A quick visual inspection plus a few opening-and-closing tests can help you pinpoint the real squeaky door source.
How can I fix a squeaky door that scrapes the frame instead of squeaking at the hinges?
If the door squeaks when it rubs the jamb, lubrication at the hinges alone may not solve the problem. Look for contact points by lightly marking the door edge or frame and then opening/closing to see where it touches, then sand or trim that area to restore clearance. You can also use a door shim or adjust the hinge positions to improve alignment and reduce friction. After correcting the rub, re-lubricate the hinges so the door operates quietly and smoothly.
📅 Last Updated: July 05, 2026 | Topic: How to Fix Squeaky Doors | Content verified for accuracy and freshness.
References
- Google Scholar Google Scholar
https://scholar.google.com/scholar?q=fix+squeaky+door+hinge+lubrication - Google Scholar Google Scholar
https://scholar.google.com/scholar?q=door+hinge+noise+friction+lubrication - Google Scholar Google Scholar
https://scholar.google.com/scholar?q=preventing+creaking+door+hinges+maintenance - Door
https://en.wikipedia.org/wiki/Door - Hinge
https://en.wikipedia.org/wiki/Hinge - Lubrication
https://en.wikipedia.org/wiki/Lubrication - Squeak
https://en.wikipedia.org/wiki/Squeak - Door | Architecture, Security & Design | Britannica
https://www.britannica.com/technology/door - Google Scholar Google Scholar
https://scholar.google.com/scholar?q=How+to+Fix+Squeaky+Doors - How to Fix Squeaky Doors – Search results
https://en.wikipedia.org/wiki/Special:Search?search=How+to+Fix+Squeaky+Doors



