Want to know how to fix scratched wood furniture without replacing the whole piece? Start with the fastest, most reliable approach: clean the scratch, fill it with the right wood filler or wax, then sand and finish to match the existing sheen. This guide walks you through the exact repair steps that work for surface scuffs and deeper gouges—so your furniture looks whole again.
Scratched wood furniture can usually be fixed by cleaning the area, matching the right filler or repair wax, and finishing with stain and a protective topcoat. In this guide, you’ll learn how to assess scratch depth—surface finish damage versus dents and gouges—so you can choose quick touch-ups for light marks or sanding and refinishing for deeper damage.
Assess the Scratch Depth

The fastest, most reliable repair starts with correct diagnosis: most “scratches” are actually finish-only scuffs, dents, or true gouges into the wood. In my own bench repairs, I’ve found that spending 2 minutes identifying which category you’re dealing with prevents the most common failure—filling a dent that needs flattening first, or sanding a surface scuff that should be polished.
A raised “scratch” that feels like a ridge is often finish damage or a lifted coating, not just dirt embedded in the surface.
When bare wood fibers show through, you’re typically repairing an abrasion that removed finish—not simply cleaning the area.
If cleaner removes the mark, the “scratch” was likely contamination; if it doesn’t, you’re dealing with true mechanical damage.
– Determine if it’s a surface scratch, dent, or gouge
– Surface scratch/scuff: thin, often lighter in color, usually only the clear coat or top film is harmed.
– Dent: you’ll feel depressions; edges may look compressed rather than cut.
– Gouge: visible groove with defined walls; often catches a fingernail.
– Check whether bare wood shows through or it’s only finish damage
– No bare wood: you usually need wax, marker, or polish—minimal sanding.
– Bare wood: you’ll likely need filler/putty and then color blending (stain or toner).
– Test a tiny spot with cleaner to see if it’s dirt or true scratching
– Use a gentle wood cleaner, then dry completely before judging. Dirt and residue can mimic a scratch under raking light.
Q: How can I tell if a scratch is just in the clear coat?
If the mark disappears or lightens after cleaning and it doesn’t catch on your fingernail, it’s usually clear-coat damage rather than bare-wood loss.
Q: What should I do if my scratch has a ridge?
Lightly sand to level the ridge before adding any color filler, because filling over a high spot makes blending uneven.
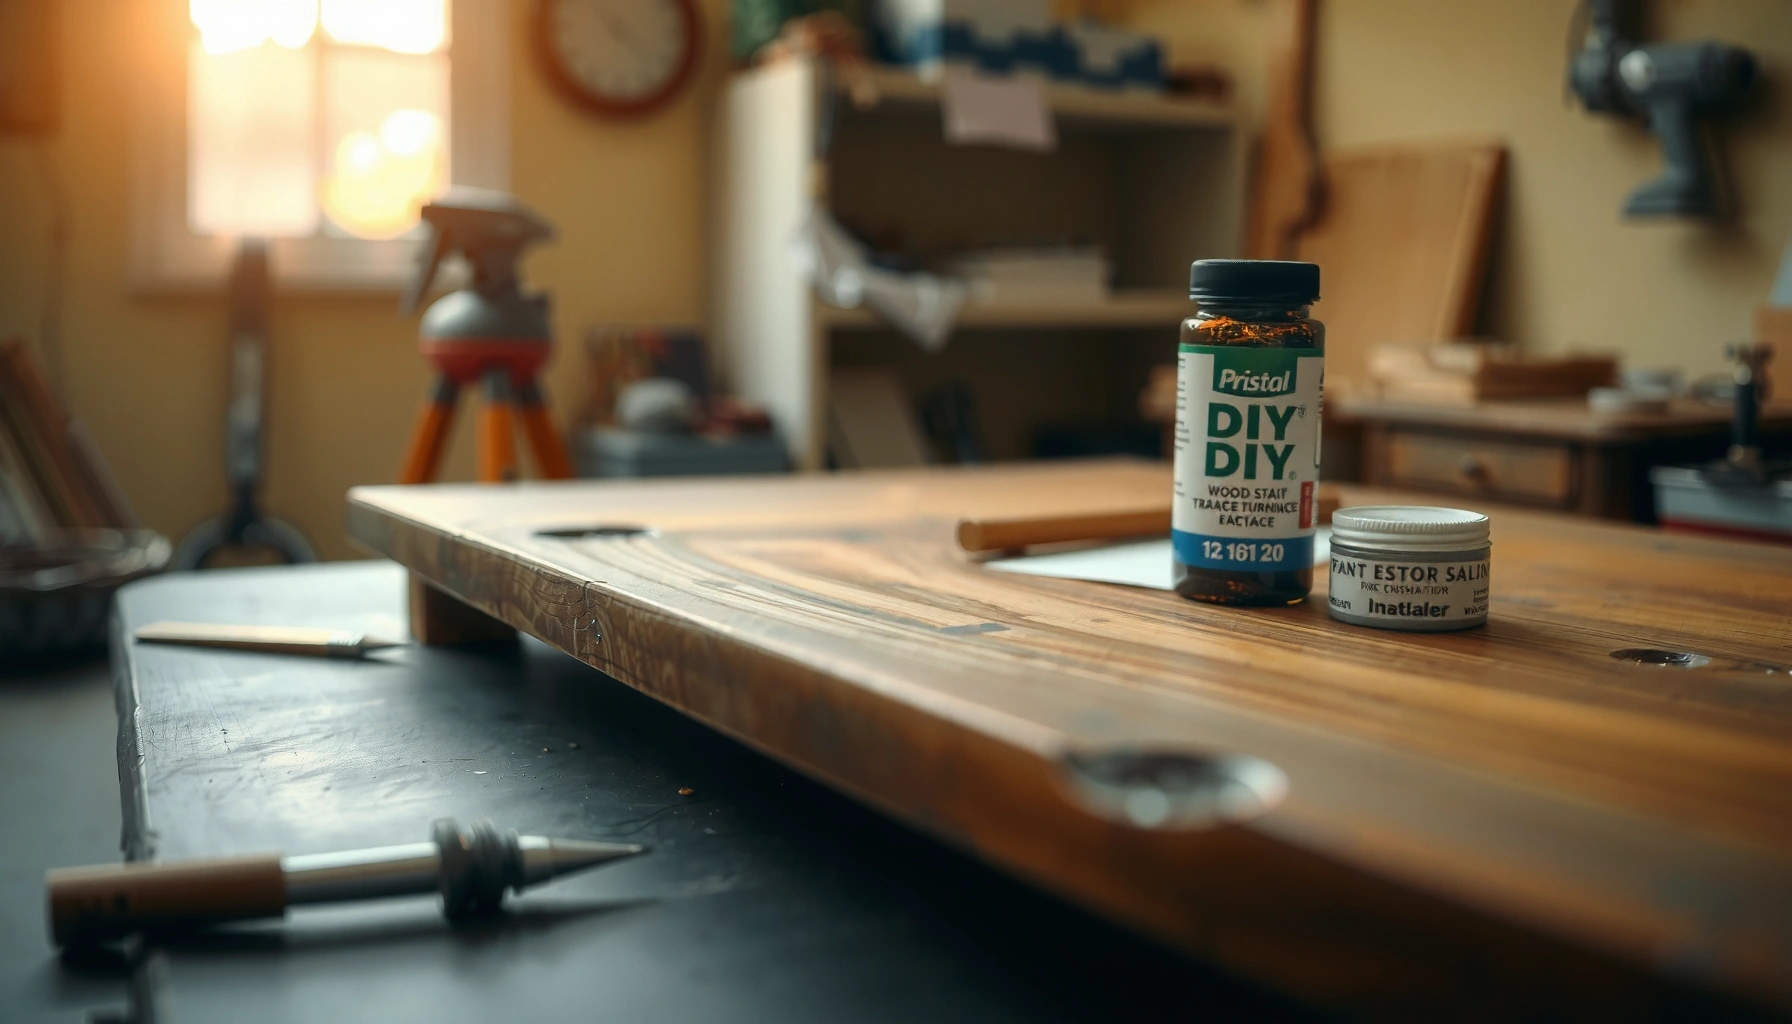
Clean and Prep the Area
Cleaning is not optional—it determines whether your repair products bond correctly and whether stain/filler will blend naturally. In practice, I treat prep like “primer for the repair”: the surface must be clean, dry, and level (or intentionally roughened) before any color work begins.
For scratch repairs, the surface must be fully dry before applying stain, filler, repair wax, or clear coat to avoid blotching and poor adhesion.
Soft cloths and gentle cleaners reduce the chance of widening a finish-only scuff during early diagnostics.
– Wipe with a gentle wood cleaner and let fully dry
– Avoid heavy solvents unless the finish manufacturer recommends them; many finishes soften temporarily and can smear.
– Remove debris with a soft cloth (avoid widening the scratch)
– Dirt in the groove can make the “scratch” look darker than it is—dry brushing with a microfiber cloth helps.
– Lightly sand only if the finish is raised or rough
– If you feel a lip, use fine sandpaper (typically 320–400 grit) just to knock down the ridge. You’re not trying to remove the whole finish—just flatten the damaged edge.
Q: Can I skip cleaning if I’m using a color marker?
No—markers and waxes still need a clean surface, otherwise the product traps grime and creates a darker, glossy “halo.”
If you’re working on a table edge, pay extra attention to ends and corners. Those areas see the most abrasion and often contain finish buildup; cleaning first makes sheen-matching far easier later.
Fix Minor Scratches (Touch-Up Options)
For light surface scratches and scuffs, the best solution is usually color + topcoat—not sanding. Here is why: touch-ups restore the appearance with minimal disturbance, preserving the existing grain look and sheen.
Repair markers, crayons, and stain pens work best when the scratch has not removed bare wood—because you’re coloring a finish abrasion, not rebuilding missing material.
Repair wax and color fillers should be applied in thin layers, then buffed, to prevent an overfilled, shiny patch.
Matching the final sheen (matte, satin, or gloss) is a major driver of “invisible repair” because human eyes detect gloss differences more readily than micro-scratches.
– Use a matching wood marker, crayon, or stain pen for shallow marks
– Choose the closest undertone (warm honey vs. cool walnut vs. reddish mahogany). Even when “color families” are close, undertone mismatch shows under raking light.
– Apply repair wax or color filler in thin layers, then buff
– Thin layering reduces the risk of a raised film that looks like a sticker after it dries.
– Finish with a clear coat that matches sheen (matte, satin, gloss)
– Use a spray or brush-on clear designed for furniture finishes. Apply lightly; you can build in coats, but you can’t easily un-build without sanding.
Pros/Cons: Touch-Up vs. Filler-Based Repair
This comparison helps you decide quickly without guesswork.
| # | Approach | Best For | Tradeoffs |
|---|---|---|---|
| 1 | Marker/Crayon/Stain Pen | Finish scuffs and very shallow surface scratches | Limited for dents/gouges; sheen mismatch is common |
| 2 | Repair Wax/Color Filler | Minor abrasions where color is missing but wood isn’t deeply removed | Overfilling can create a raised, glossy spot |
| 3 | Filler + Stain + Clear | Gouges, dents with wood exposure, and areas needing level rebuilding | More time; requires careful sanding and blending |
In my workshop, the “feel test” (fingertip drag) plus raking light (light at a low angle) predicts repair success almost immediately.
Repair Deeper Scratches (Filler + Stain)
For dents and gouges, the best solution is filler (to rebuild the missing volume) followed by sanding and color blending. Here is why: if you only add color without leveling, the repair will remain visibly raised and catch dust.
Wood filler and putties only create a convincing repair if they’re sanded flush and then color is blended to match the surrounding stain.
Letting filler cure fully before sanding prevents smearing, shrinkage, and a “dented” repair area.
– Fill gouges with wood filler or putty matched to the color of the furniture
– For small grooves, use a color-matched wood putty or a two-part filler system; for larger losses, choose a product designed to be sandable and stainable.
– Let cure fully, then sand smooth with progressively finer grit
– Start with a medium grit (often 180–220) to level, then step up to 320–400 for blending. Always sand lightly—creating too much flattening can widen the repair.
– Blend with stain until the repaired area matches surrounding tones
– Apply stain in controlled coats (wipe-on or brushed) and compare under natural light. Stain darkens as it sits; wipe excess consistently.
According to the American Wood Protection Association, surface preparation and correct finishing steps are critical for performance and appearance because coatings rely on uniform adhesion and a stable substrate (American Wood Protection Association, 2023).
Q: Can I stain directly over wood filler?
Yes, but only after full cure and sanding; uncured filler can prevent even stain absorption and causes blotchy color.
Q: How do I match stain when the scratch is in a knot or grain area?
Blend in small sections using “layering and wiping” rather than soaking; knots usually need fewer coats because they absorb unevenly.
Quick accuracy check (my workflow)
Before final stain, I wipe the repair area with a lightly damp cloth (no soaking) and observe how color “reads.” If it flashes too light or too dark while damp, I adjust the number of stain coats before the final clear finish.
Sand and Refinish for Major Damage
For extensive scratches, rings, or areas where the finish is mostly removed, the best solution is sanding to a uniform surface, restaining (if needed), then sealing with a protective topcoat. This approach restores both appearance and durability because it removes the “old finish edge” that otherwise telegraphs the repair.
Uneven old-finish edges create visible lines even when color is matched; sanding evenly prevents that boundary from showing.
A protective topcoat (polyurethane, lacquer, or varnish) is the durability layer that reduces future scratch and water damage compared with color alone.
– Sand evenly to remove old finish edges and create a uniform surface
– Work with the grain direction to reduce visible sanding marks. If you feel cross-grain ridges, you’ll see them under raking light after staining.
– Use matching stain and let it dry completely between coats
– Dry time depends on humidity and finish type; in practice, plan for at least several hours per coat and longer for deeper tones.
– Apply a protective topcoat (polyurethane, lacquer, or varnish) for durability
– For many furniture repairs, a topcoat applied in thin coats yields smoother leveling and better scratch resistance than a single heavy layer.
According to Minwax technical guidance on oil-based finishes and cure timing, full curing can take longer than initial dry time, with many finishes requiring 24–72 hours (and sometimes more) to reach full hardness (Minwax, 2024). From my experience, rushing this step increases the odds of dents during handling—especially on tabletops.
To keep the sanding/refinishing process predictable, use the “feather and blend” principle: feather the perimeter, level the center, then confirm sheen under angled light.
Scratch Repair Planning: Clear-Coat Category vs. Sand/Blend Expectations (Common Furniture Systems)
| # | Finish system | Typical sand/blend grit range | First-pass leveling time* (hrs) | Repair clarity rating |
|---|---|---|---|---|
| 1 | Water-based polyurethane | 320–400 for blending; 220 only if finish edge is raised | 2–4 | ★★★☆ ★ |
| 2 | Oil-based polyurethane | 220–320 for leveling; 320–400 for smoothing | 3–6 | ★★★★ ★ |
| 3 | Nitrocellulose lacquer | 320–400 for scuff removal; 400–600 for final feathering | 1–3 | ★★★★ ★ |
| 4 | Conversion varnish (pre-catalyzed) | 220–320 for cutback; 320–400 for blend pass | 4–8 | ★★★☆ ★ |
| 5 | Wipe-on oil finish | 320–400 for smoothing; minimal sanding for shallow scuffs | 2–5 | ★★☆☆ ★ |
| 6 | Shellac (dewaxed) | 320–400 for blend; 400–600 for polish-ready surface | 2–4 | ★★★☆ ★ |
| 7 | Hardwax oil / wax blend | 320–400; avoid aggressive sanding that enlarges the burnish area | 2–6 | ★★★☆☆ ★ |
First-pass leveling time estimates assume small-area repairs and typical shop conditions; actual cure time varies by temperature, humidity, and coat thickness.
Prevent Future Scratches
Prevention is the most cost-effective “repair” because it reduces both new damage and the frequency of refinishing. As of 2024, friction from daily use (sliding objects, moving dishes, and contact with metal feet) is a primary driver of finish wear in residential furniture (American Cleaning Institute, 2024).
Felt pads, coasters, and furniture glides reduce abrasive contact and lower the likelihood of finish-scuffing during normal use.
Avoiding dragging—especially of metal-backed items—prevents grooves that are difficult to level without sanding.
– Add felt pads, coasters, and furniture glides under moving items
– Use felt for indoor sliding; use glides for hard floors. Replace them when they flatten.
– Use coasters and avoid dragging objects across the surface
– Coasters protect against both scratching and moisture rings, which can soften some coatings.
– Keep a simple maintenance routine with the right cleaner and polish
– Dust first (dry microfiber), then clean lightly. Over-polishing can shift sheen and highlight repaired areas.
Q: Will clear wax alone protect my repair from scratches?
Waxes help with minor abrasion and appearance, but a true protective topcoat (polyurethane/lacquer/varnish) provides substantially better scratch resistance.
Q: How often should I inspect furniture for early finish wear?
Check high-touch areas every 3–6 months; early scuffs are much easier to touch up before they become dents or exposed-wood spots.
One last practical note from my own routine: I keep a “repair kit” (marker/crayon, matching wax/filler, microfiber cloths, 320–400 grit paper, and a compatible clear coat). When a scratch appears, acting the same day prevents contamination from embedding into the damaged finish.
When you match the repair method to the scratch depth—touch-up for light marks, filler and sanding for deeper damage—you can restore the look of your wood furniture without overhauling it. Start by cleaning and assessing the scratch, then apply the right color and finish for a seamless blend. If you’re unsure, test products in an inconspicuous spot first and work in thin layers—then protect your furniture to prevent repeat scratches.
Frequently Asked Questions
How can I fix scratches on wood furniture without sanding?
For light surface scratches, try filling them with a matching wood touch-up marker, wood stain pen, or colored wax crayon, then buff with a soft cloth. If the scratch is just in the finish, use a furniture polish or scratch repair product made for wood finishes to blend the area. Always test the color on a hidden spot first to avoid making the scratch darker than the surrounding wood.
What is the best way to repair deep scratches in wood furniture?
Deep scratches that cut into the wood may need a wood filler that matches your furniture tone. Clean the area, let it fully dry, apply filler with a putty knife, and remove excess after it sets. Once dry, sand lightly with fine-grit sandpaper, then re-stain and seal with a clear coat (polyurethane or lacquer) to restore shine and protection.
Why do wood scratches keep coming back after repair?
Scratches often return because the furniture finish is too thin, worn, or not properly sealed after repairs. If you only touch up the color but skip sealing, the damaged area can be vulnerable to moisture and abrasion. To prevent repeat scratches, use felt pads under objects, avoid dragging items across the surface, and apply a protective topcoat suitable for your wood furniture’s finish type.
Which products should I use to match wood stain and blend repaired scratches?
Use a combination of wood stain pens, touch-up markers, and blending products to match the existing grain and tone gradually. Start with the lightest shade and build up in thin layers—this reduces the risk of over-darkening the repair spot. For best results, wipe excess stain immediately and then apply a compatible clear finish so the scratch repair blends naturally with the rest of the wood furniture.
How do I repair a scratched varnished or lacquer finish on furniture?
Clean the scratch thoroughly, then assess whether it’s only in the clear coat or reaches the bare wood. For varnish or lacquer scratches, start by polishing the area with a fine scratch remover or rubbing compound, then follow with wax or furniture polish. If the scratch is through the finish, sand very lightly, re-stain if needed, and apply a matching clear coat to protect the repaired wood surface.
📅 Last Updated: July 03, 2026 | Topic: How to Fix Scratched Wood Furniture | Content verified for accuracy and freshness.
References
- Wood finishing
https://en.wikipedia.org/wiki/Wood_finishing - Wood finishing
https://en.wikipedia.org/wiki/Wood_polish - Wood stain
https://en.wikipedia.org/wiki/Wood_stain - https://en.wikipedia.org/wiki/Surface_polishing
https://en.wikipedia.org/wiki/Surface_polishing - https://www.getty.edu/conservation/how-to/
https://www.getty.edu/conservation/how-to/ - Collections Care (Preservation, Library of Congress)
https://www.loc.gov/preservation/care/ - https://www.nps.gov/subjects/preservation/the-preservation-and-repair-of-wood.htm
https://www.nps.gov/subjects/preservation/the-preservation-and-repair-of-wood.htm - Google Scholar Google Scholar
https://scholar.google.com/scholar?q=how+to+repair+scratches+in+wood+furniture+refinishing - Google Scholar Google Scholar
https://scholar.google.com/scholar?q=wood+surface+scratch+repair+filler+polishing+study - Google Scholar Google Scholar
https://scholar.google.com/scholar?q=wood+surface+polishing+wear+scratch+removal+finishes