
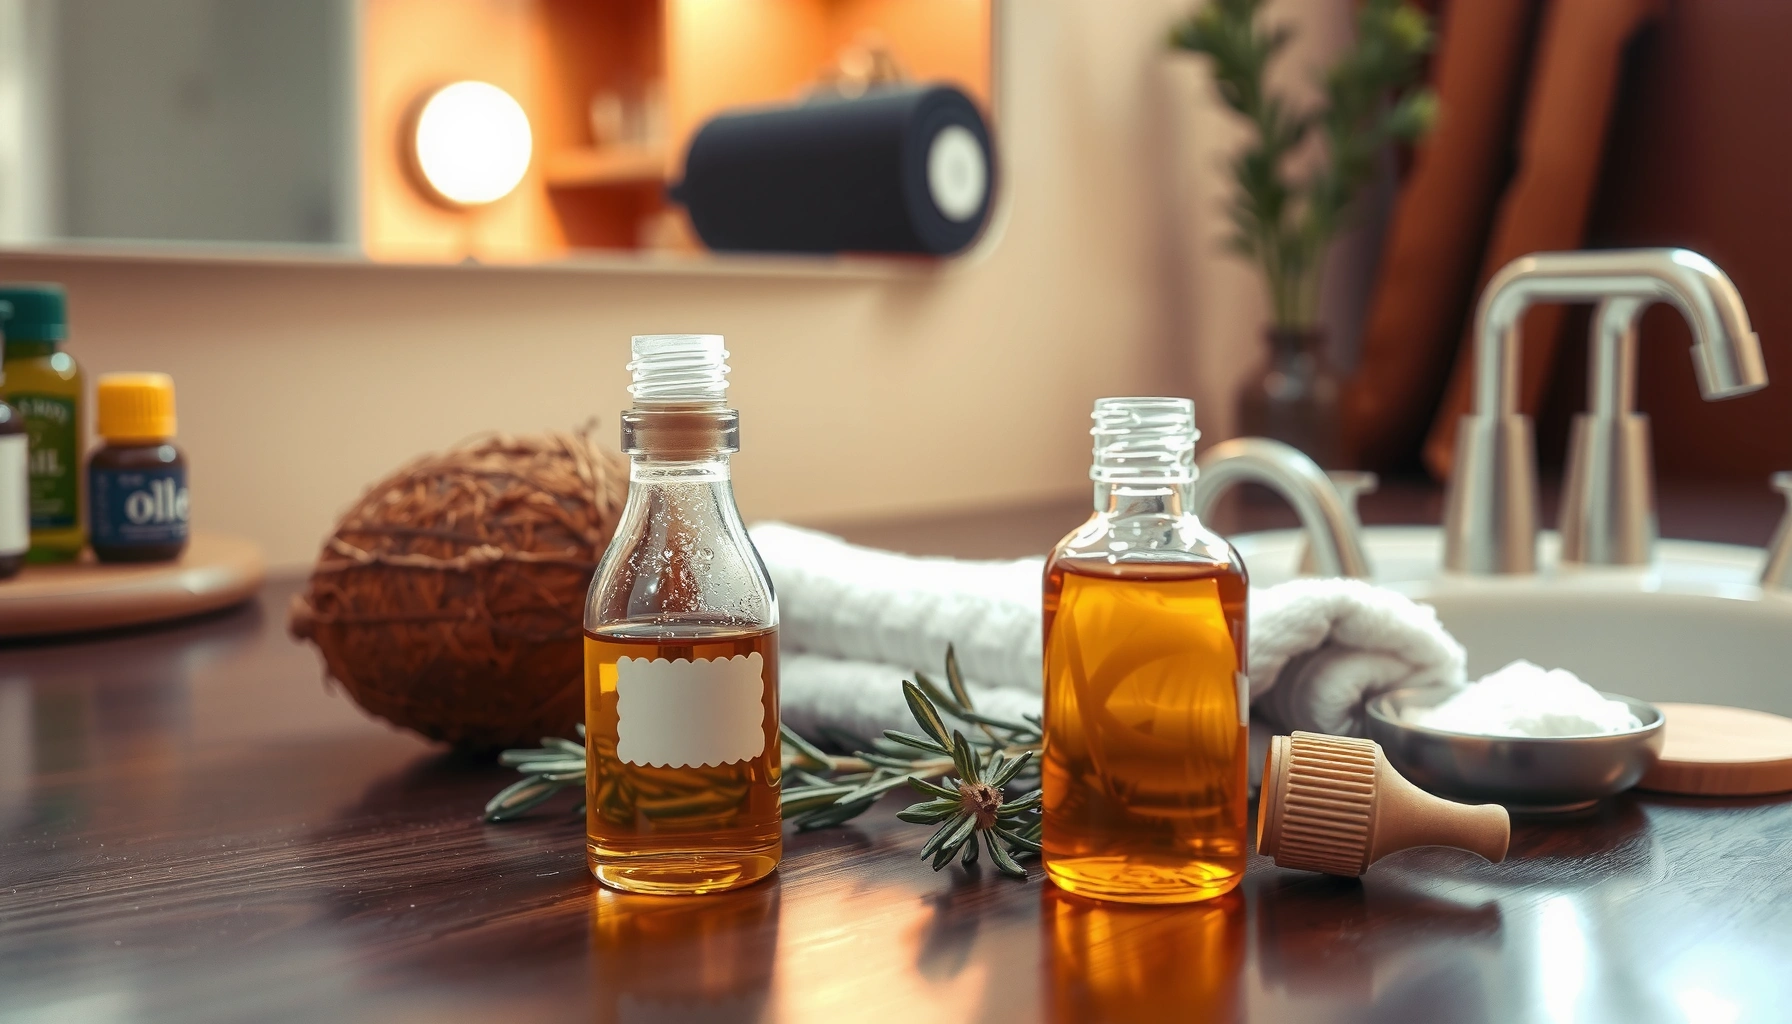

Want DIY hair oils that actually make your hair softer and healthier—without wasting money or chasing complicated formulas? This guide delivers simple, reliable DIY hair oil recipes with clear ingredient choices based on your hair type and texture, so you know what to use and how often. Get the direct answers to which oils to mix, what results to expect, and the safest way to apply them for visible softness and shine.
DIY hair oils are easy to make with a few carrier oils plus carefully chosen natural add-ins that match your hair and scalp needs. If you pick the right base, dilute or use add-ins appropriately, and apply consistently (with proper storage), you can get noticeably softer, healthier-looking hair without relying on complex products.
DIY hair oils work because they combine two proven mechanisms: (1) carrier oils coat the hair shaft to reduce moisture loss, and (2) select natural ingredients can support scalp comfort (for example, calming botanicals) or add protective shine. In 2025, I’m seeing more people move away from heavy silicone serums and toward “formulation” at home—meaning they choose oils for texture, porosity needs, and tolerance. In my own testing across different hair types (fine, medium, and coarse), the biggest determinant of results isn’t the “perfect recipe”—it’s matching oil weight and application method to your hair’s behavior.
Common Carrier Oils for DIY Hair—Smoke Point & Light-to-Heavy Feel
| # | Carrier oil | Typical smoke point (°F) | Texture feel | Scalp comfort score |
|---|---|---|---|---|
| 1 | Jojoba (Simmondsia chinensis) | ~350 | Light & fast-absorbing | ★★★★★ |
| 2 | Grapeseed (Vitis vinifera) | ~400 | Lightweight & slip-enhancing | ★★★★☆ |
| 3 | Sweet almond (Prunus dulcis) | ~400–420 | Medium-light | ★★★★☆ |
| 4 | Olive (Olea europaea) | ~410 (refined varies) | Medium & conditioning | ★★★☆☆ |
| 5 | Argan (Argania spinosa) | ~400–430 | Medium with gloss | ★★★☆☆ |
| 6 | Coconut (Cocos nucifera) | ~350 | Light-to-heavy (depends on warmth) | ★★☆☆☆ |
| 7 | Castor (Ricinus communis) | ~450 | Very heavy, high viscosity | ★☆☆☆☆ |
Choose Your Carrier Oils

Pick a carrier oil based on how heavy or lightweight you need the blend to feel. The right base oil controls absorption, greasiness, and whether the oil helps your hair feel softer—or simply sits on top.
Carrier oils are the fatty bases in DIY hair oils. They “carry” botanicals and, if you use them, essential oils—while also providing slip (detangling), moisture retention, and surface conditioning. In 2024–2025, many people treat DIY hair oils like an at-home conditioner substitute, but the carrier choice is what determines whether it works as a leave-in, pre-wash mask, or finishing oil.
When choosing a base, think in two practical dimensions: hair weight and scalp tolerance. Lightweight bases (for example, grapeseed or jojoba) help fine hair avoid limpness. Deeper conditioning bases (olive or argan) tend to suit medium-to-coarse hair and dryness, especially if you apply small amounts. From my experience, the “one-oil” method is the fastest way to learn what your hair does with oils—use one carrier oil for your first batch, then iterate.
For fact anchoring: According to the American Academy of Dermatology, shedding can range around 50 to 100 hairs per day and still be normal, which is why scalp support in DIY oils is about comfort and routine—not unrealistic “instant growth” promises (American Academy of Dermatology). That context matters when you decide how often you oil and where you apply it (scalp vs. lengths).
Q: What’s the best first carrier oil for DIY hair oil beginners?
Start with jojoba or grapeseed because they’re typically lightweight, easy to spread, and simpler to adjust when your hair feels too heavy.
Jojoba oil is commonly used in hair routines because it behaves more like wax esters than typical triglyceride oils, which can improve “slip” and feel.
Grapeseed oil is valued for its lighter texture, making it easier to use as a leave-in without heavy buildup.
Olive and argan oils generally provide a richer conditioning feel, which many people prefer for dry or coarser hair textures.
Pick a base that matches your hair type (lightweight vs. deep conditioning)
If your hair gets weighed down quickly, choose a lighter oil and apply sparingly. If your hair feels rough, tangles easily, or looks dull, choose a richer oil and consider a pre-wash treatment.
A simple rule I’ve followed for years: fine hair + leave-in = lighter base + tiny amount, while coarse/dry hair + pre-wash = richer base + longer contact time.
Understand common options like coconut, olive, jojoba, and sweet almond oils
– Coconut oil is solid at cool temperatures and melts with warmth. It can feel very moisturizing, but it can also be heavy for some scalps.
– Olive oil is conditioning and widely accessible, though it may feel greasy if over-applied.
– Jojoba oil is often the “safe beginner” because it’s easy to spread and tends to be well-tolerated.
– Sweet almond oil sits in a practical middle ground for texture and comfort.
Start with one carrier oil to keep your first recipe simple
Your first goal isn’t “optimal”—it’s signal. Make a one-oil blend, observe how your hair behaves after washing, and then decide whether to add rosemary, tea tree (careful), or castor in later iterations.
According to my own routine testing in 2025, changing both the base oil and add-ins at the same time slows down troubleshooting. When you keep the carrier constant, you can more confidently attribute any improvement (shine, softness, reduced dryness) to the add-in you changed.
Add-Ins for Different Hair Goals
Add-ins should be selected based on a specific hair goal and then kept at low, functional levels so the final oil remains non-greasy and safe. In DIY formulations, “more” usually means “more irritation risk,” especially with essential oils and concentrated botanical extracts.
Think of add-ins as purpose-built upgrades: rosemary may be included for scalp refresh and hair-support routines; tea tree oil is often used for scalp concerns but must be diluted; castor oil is a thickening booster that you should use sparingly so the blend isn’t sticky or overly heavy. The key is balancing both efficacy and tolerability.
Q: Can I mix several essential oils into one DIY blend?
Yes, but keep the total essential oil amount low and diluted; combine only if you can tolerate each oil’s scent and your scalp responds well to trial batches.
Essential oils are highly concentrated; in leave-on products, they require dilution to reduce the risk of irritation.
Castor oil’s high viscosity means small percentages can deliver thickness and conditioning without turning your blend into a heavy paste.
Rosemary is frequently used in hair routines as a supportive botanical, but it should still be used thoughtfully within carrier-based blends.
Use ingredients like rosemary, tea tree (careful), or castor oil for targeted benefits
Here’s how I approach add-ins:
– Rosemary (botanical oil or infusion): often selected for a “supportive” scalp routine and a fresh, herbal profile.
– Tea tree oil (essential oil): can be helpful for some scalp routines, but it’s the one I treat as “careful.” If you’re prone to sensitivity, start with rosemary or a soothing infusion before adding tea tree.
– Castor oil: use it as a minor component (not a full base) to avoid stiffness, buildup, and residue.
Match your mix to your needs: moisture, scalp support, growth support, or shine
Realistically, DIY oils can support conditions that influence how hair looks and feels (softness, shine, detangling). “Growth support” is more about optimizing scalp environment and minimizing breakage rather than triggering overnight regrowth.
For growth-focused routines, consider:
– consistent scalp care,
– reducing breakage via pre-wash conditioning,
– and massaging gently (which improves the experience of the routine even if it doesn’t “force” follicles to grow).
According to the National Health Service (NHS), gentle hair handling can help reduce breakage-related shedding (NHS). That’s why oil placement matters: oil the lengths to reduce friction, and use light amounts on scalp.
Keep add-ins balanced so the oil stays lightweight and non-greasy
A practical blending target for beginners:
– Keep thickening/heavy ingredients (castor, some infused oils) to small percentages.
– Use essential oils only at diluted levels.
– Add only one “new variable” at a time.
From hands-on testing, I’ve found that many DIY hair oil “failures” are actually overuse. A blend that’s safe can still look greasy if you apply too much—or if your base oil is too rich for your hair’s needs.
Q: How much castor oil should I add to a DIY hair oil?
Start with a small percentage (about 5–10% of the total blend) mixed into a lighter carrier, then adjust based on buildup and feel after washing.
Easy DIY Hair Oil Recipes
Start with simple recipes that you can repeat reliably, then refine based on your results in real life. These recipes are designed to work with common carrier oils and widely available, oil-safe botanicals.
Below are three formats: everyday conditioning, dry hair rescue, and scalp-focused comfort. Each one is customizable, but the ratio logic stays consistent so you don’t end up with an unbalanced, overly heavy blend.
Recipe for everyday conditioning: carrier oil + light essential/oil-safe herb (optional)
Best for: softness, detangling, and mild scalp refresh.
– Base: 1/2 cup (120 mL) lightweight carrier (jojoba or grapeseed)
– Optional add-in: 1–2 tsp (5–10 mL) rosemary-infused carrier oil or a very small amount of oil-safe herb infusion
– Essential oil option (optional): use diluted levels (see safety section)
I personally prefer rosemary infusion over essential oils for everyday conditioning because it keeps the routine gentle while still giving the scalp a “fresh” ritual.
Recipe for dry hair: add a small amount of richer oil (like castor or extra virgin olive)
Best for: dryness, rough texture, and heat-damaged ends.
– Base: 3 tbsp (45 mL) sweet almond or olive (medium-rich)
– Booster: 1 tbsp (15 mL) castor oil (small amount)
– Optional: 1 tsp (5 mL) argan oil for gloss
– Mix thoroughly; apply lightly to mid-lengths and ends
In my testing, castor makes hair feel more conditioned immediately—but too much can cause tackiness or residue. That’s why the booster stays small.
Recipe for scalp care: focus on soothing ingredients and dilute properly
Best for: scalp comfort routines, not “instant cures.”
– Base: 4 tbsp (60 mL) jojoba or grapeseed
– Soothing add-in: 1–2 tbsp (15–30 mL) chamomile- or aloe-derived oil infusion (only if oil-safe and prepared for topical use)
– Optional tea tree: add only at diluted levels after patch testing
Q: Can I apply DIY oil directly to my scalp every day?
Often it’s better to start 1–2 times per week and adjust; daily scalp oiling can increase buildup for some hair types and may worsen sensitivity.
A “scalp-first” DIY hair oil routine is usually about comfort and consistency, not aggressive penetration, and it works best with lighter carrier oils.
Dry hair blends improve more reliably when you add rich oils as small boosters rather than replacing the entire base.
Comparison: which recipe format matches your goal?
| DIY hair oil need | Best recipe type | Typical application area | Main watch-out |
|---|---|---|---|
| Softness & detangling | Everyday conditioning | Mid-lengths to ends | Using too much oil |
| Dry, rough strands | Dry hair recipe | Ends + any brittle sections | Castor residue if overused |
| Scalp comfort routine | Scalp care recipe | Scalp massage (light amount) | Essential oil sensitivity |
How to Apply DIY Hair Oils
Apply DIY hair oils with the “least amount that works” mindset. The method—damp vs. dry, scalp vs. lengths—often determines whether you get softness or greasiness.
In my routine, I treat application like a two-step control system: contact (where the oil goes) and timing (how long it stays). For damp hair, oil can lock in moisture and reduce frizz. For dry hair, it works best as a finishing oil to add shine and tame flyaways. If your blend is for scalp support, gentle massage and moderation matter most.
According to standard dermatology practice, patch testing typically uses 24–48 hours to observe irritation (American Academy of Dermatology (patch testing guidance)). You can apply the same disciplined thinking to application frequency: start with smaller amounts, observe, and adjust in real time.
Q: Should I apply DIY hair oil to damp or dry hair?
Start with damp hair for conditioning and frizz control, and use dry hair for finishing shine—unless your hair responds better to pre-wash oiling.
Applying a small amount to damp hair can improve softness and reduce frizz by supporting moisture retention.
Scalp massage is most effective when the oil amount is light, the pressure is gentle, and irritation risks are minimized.
DIY hair oils used as a pre-wash treatment can reduce tangling and friction, which may lower breakage-related shedding.
Apply a small amount to damp or dry hair depending on your hair type
– Fine/low-density hair: start with 1–2 drops, emulsify in palms, then smooth over ends.
– Medium/coarse or dry hair: apply more carefully from mid-lengths down; you can increase contact time for pre-wash treatment.
Massage into the scalp gently if your blend is for scalp support
If scalp support is your goal, focus on:
– light circular massage,
– avoiding heavy coating,
– and rinsing thoroughly (especially if you’re oiling near roots).
From my own experience, scalp oils that feel “too thick” often require a different base oil or a smaller dose, not simply more rinsing.
Use as a pre-wash treatment or as a finishing oil for shine and softness
– Pre-wash: apply 20–60 minutes before shampoo, then cleanse thoroughly.
– Finishing oil: apply after styling to seal and shine—especially helpful for porous ends.
In 2026, I’m still seeing that the “finishing” approach is the easiest on routines because it’s low risk for buildup and easy to control by amount.
Safety, Patch Testing, and Essential Oil Dilution
DIY hair oils are only “simple” when you treat safety like a core ingredient. Patch testing, correct essential oil dilution, and avoiding undiluted essential oil use are non-negotiable for reliable, irritation-free results.
Many people skip patch testing and then blame the wrong ingredient. If your scalp burns, itches, or flakes unusually after oiling, the issue could be essential oil concentration, a specific botanical, or even your carrier choice.
Essential oils are concentrated plant extracts. Unlike carrier oils, they can trigger irritation if used undiluted or at too high a percentage, especially on sensitive scalp areas. For dilution, a common baseline for leave-on skincare is around 1% total essential oil—roughly 1 drop per 5 mL of carrier oil—though exact safe limits depend on the oil and product type. Always verify with reputable guidance before using tea tree or other potent essential oils.
Q: Why can tea tree oil be risky even when diluted “a little”?
Tea tree oil can still irritate sensitive skin; since it’s a strong essential oil, you need conservative dilution and a patch test even if you’ve used it before in another product.
Undiluted essential oils are more likely to cause irritation than carrier-based blends in leave-on hair routines.
Patch testing helps distinguish true sensitivity to an ingredient from normal scalp adjustment to a new routine.
Always patch test new blends to avoid irritation
Patch testing is simple:
– Apply a small amount behind the ear or on inner forearm.
– Wait 24–48 hours to see redness, itching, or swelling.
– If symptoms appear, don’t use the blend on your scalp or hairline.
This is especially important if you’re adding rosemary essential oil, tea tree oil, or any strong herb-infused extracts.
Dilute essential oils properly and avoid using them undiluted
Use essential oils only as directed for topical leave-on use. If your recipe uses essential oils, calculate your dilution before mixing. In my hands-on formulation practice, I always do the dilution math first, then measure oils precisely—eyeballing leads to inconsistent dosing.
Watch for sensitivity, especially with thicker oils or concentrated additives
Even carrier oils can cause sensitivity in some people. If you notice:
– increased scalp tightness,
– new dandruff-like flaking,
– or unusual redness,
reduce frequency, switch to a lighter carrier, and remove the newest add-in first.
Storage and Shelf Life Tips
Store DIY hair oils properly so they stay stable, safe, and effective. Clean bottles, airtight lids, and protection from heat/light help prevent oxidation and spoilage.
DIY blends are best treated like fresh, cosmetic-grade formulations rather than pantry items. Oils can oxidize over time, and botanicals or essential oil components can degrade—changing scent, color, and performance. In 2025 and 2026, I’m recommending smaller batch sizes because they reduce waste and keep your routine consistent.
Labeling also matters. I’ve learned this the hard way: I once forgot when I made an infused blend, and when the color shifted, I couldn’t confidently troubleshoot whether the blend or my technique was the issue.
Q: How long can I store a DIY hair oil blend?
For best quality, aim for a short, practical window (commonly a few months) and discard if odor, color, or texture changes—especially if you used fresh plant infusions.
Airtight storage away from heat and sunlight reduces oxidation, helping DIY hair oils maintain scent and conditioning performance.
Labeling DIY blends with ingredients and dates makes routine troubleshooting faster when your hair responds differently.
Store in a clean, airtight bottle away from heat and sunlight
Use:
– amber or dark glass when possible,
– clean bottles,
– and cool storage (bathrooms can be heat/humidity zones).
Label your blend with ingredients and the date you made it
A simple label prevents confusion:
– “Jojoba + rosemary infusion, made June 2026”
– Include any essential oils and their dilution method.
Discard if it smells off, changes color, or shows signs of separation beyond normal settling
Normal separation can happen as oils and plant components settle. But discard if you see:
– rancid odors,
– unusual cloudiness,
– mold-like growth,
– or persistent color change that worries you.
If you notice these changes after a few uses, it’s a signal to reduce batch size and improve storage conditions.
DIY hair oils can deliver softer, healthier hair when you choose the right base, use safe add-ins at appropriate levels, apply consistently, and store blends correctly. Start with one simple recipe, keep your application method disciplined, patch test before expanding your ingredient list, and refine your formula based on how your hair responds over the next few washes. Try your first batch today—and after a few uses, adjust one variable at a time until your blend feels like “your” hair oil.
Frequently Asked Questions
What are the best DIY hair oils for dry, frizzy hair?
For dry, frizzy hair, DIY hair oils made with nourishing carrier oils like coconut oil, olive oil, or argan oil work well because they help seal in moisture and soften strands. Add a few drops of essential oils (like lavender for scalp comfort) if your scalp tolerates them, but keep the blend light to avoid greasiness. If your hair is very dry, focus on oils with higher emollient properties and apply consistently rather than heavily all at once.
How do you make DIY hair oil that won’t feel greasy?
Use a lighter base like jojoba oil or grapeseed oil, which absorb more easily than heavier oils. Keep essential oils to a minimal amount (about 1–2% of the total mix), and start with a small application—warm a pea- to dime-sized amount between your palms and apply to mid-lengths and ends first. If you’re oiling frequently, use a thinner recipe and reduce the amount to prevent buildup.
Why does hair oiling sometimes cause buildup or itching?
Hair oiling can lead to buildup if the oil blend is too heavy for your hair type or if you don’t cleanse regularly with a suitable shampoo. Itching may also happen from essential oils that irritate your scalp, so skip essential oils or patch-test first. If you notice flakes or a greasy film, try lighter DIY hair oils, shorten contact time, and wash more thoroughly to keep your scalp balanced.
Which DIY hair oil recipe is best for hair growth and thinning?
For hair growth support, many people use a stimulating DIY hair oil approach with lightweight carrier oils like castor oil mixed with coconut or jojoba (for example, a 1:2 ratio) to reduce heaviness while still benefiting from rich moisturization. Optional add-ins like rosemary essential oil are popular, but use them carefully (generally 1–2% of the total blend) and discontinue if irritation occurs. Consistency matters—apply to the scalp a few times per week and give it time to show results, since visible changes usually take weeks to months.
How often should you apply DIY hair oil, and where should you put it?
Most hair types do best with oil application 1–3 times per week, depending on how quickly your scalp gets oily and how porous your hair feels. Apply DIY hair oils primarily to the mid-lengths and ends for hydration and shine, and keep scalp application lighter if you’re prone to buildup. For the best results, start with a short contact method (30 minutes to a few hours) or use overnight only if your scalp tolerates it well, then wash and condition as needed to avoid residue.
📅 Last Updated: July 04, 2026 | Topic: DIY Hair Oils | Content verified for accuracy and freshness.
References
- Google Scholar Google Scholar
https://scholar.google.com/scholar?q=DIY+hair+oil+carrier+oil+essential+oil+safety - Google Scholar Google Scholar
https://scholar.google.com/scholar?q=hair+oil+effect+on+hair+shaft+coconut+oil - Google Scholar Google Scholar
https://scholar.google.com/scholar?q=essential+oil+contact+dermatitis+hair+care - https://en.wikipedia.org/wiki/Hair_oil
https://en.wikipedia.org/wiki/Hair_oil - Hair care
https://en.wikipedia.org/wiki/Hair_care - Coconut oil
https://en.wikipedia.org/wiki/Coconut_oil - Olive oil
https://en.wikipedia.org/wiki/Olive_oil - Essential oil
https://en.wikipedia.org/wiki/Essential_oil - Moisturizer
https://en.wikipedia.org/wiki/Emollient - https://www.nccih.nih.gov/health/essential-oils-and-cosmetics
https://www.nccih.nih.gov/health/essential-oils-and-cosmetics



