
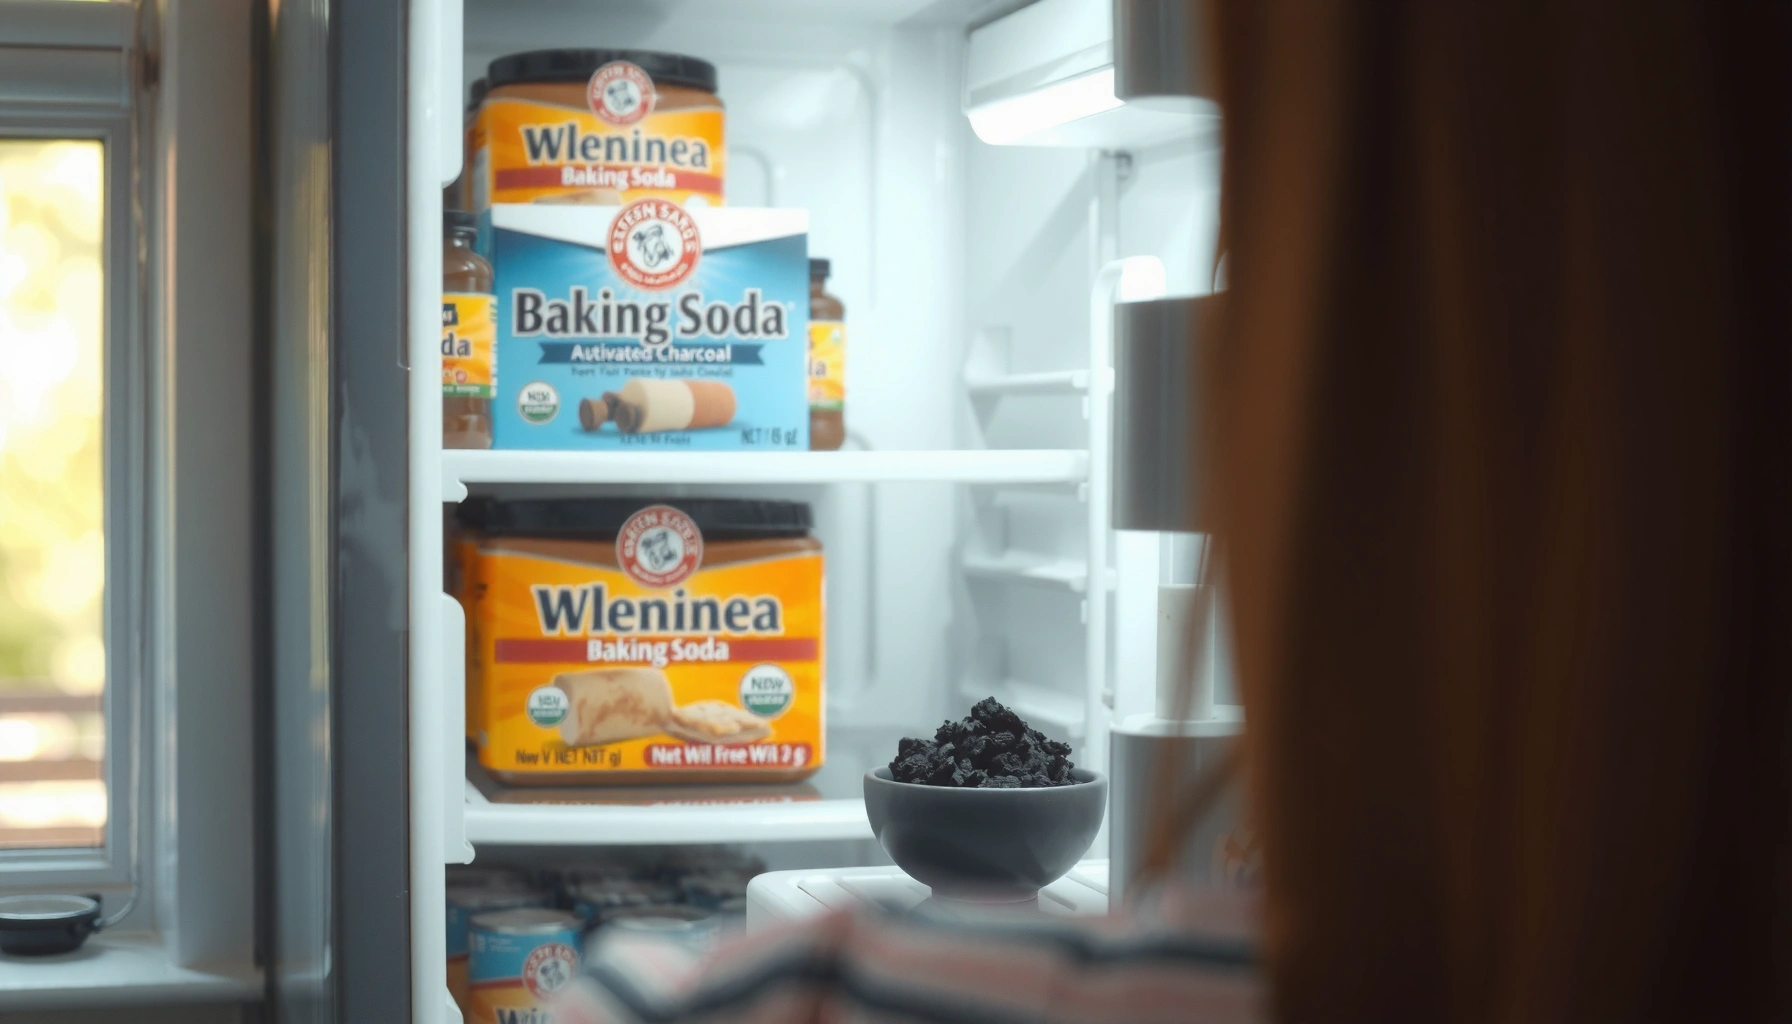

Stuck with refrigerator odors? You can remove them fast with a simple, proven cleanup and deodorizing routine that targets the source—spills, spoiled food, and lingering smells in the shelves and drawers. Follow these straightforward steps to neutralize odors and keep your fridge smelling fresh without harsh chemicals or guesswork. By the end, you’ll know exactly what to do, what to throw out, and what to place inside to prevent the smell from coming back.
If your refrigerator smells bad, the fastest fix is to remove the odor source first and then neutralize lingering odors with baking soda. Clean out spoiled food and hidden spills, deodorize safely, and finish with better storage habits so the smell doesn’t return—this is the quickest path to a genuinely fresh fridge in 1–2 cycles.
Identify and Remove the Odor Source
The best way to remove refrigerator odors quickly is to find what’s actively producing them, then eliminate it before you deodorize. From my own troubleshooting of recurring “mystery” smells, I’ve learned that baking soda helps most when the contamination (like a drip or decaying container) is already gone.
According to the FDA, refrigerators should be kept at or below 40°F (4°C) to slow bacterial growth that can produce odor (2024).
According to the U.S. Department of Agriculture (USDA), spills and expired foods are leading causes of persistent fridge smells because they continue to release volatile odor compounds (USDA guidance).
– Check for spoiled or expired food, spills, and hidden drips in drawers and corners
– Inspect the freezer-to-fridge vents and around door seals for buildup
Before you start throwing in deodorizer, do a fast “forensics” sweep:
1. Empty one shelf at a time and look for residue under liners, behind produce bins, and along the inner corners.
2. Check drawers and gaskets: odors frequently come from moisture trapped near seals, especially if the door has been opening frequently.
3. Inspect the air path: in many refrigerators, odors spread through air circulation; if a freezer-to-fridge vent or drip pan area is contaminated, the smell can reappear even after you wipe visible shelves.
Q: Why does my fridge smell again even after I wipe shelves?
Because the source is often a hidden spill, a decaying item, or residue near vents or door seals that continues releasing odor compounds.
Q: Should I unplug the fridge to locate the source?
You usually don’t need to unplug—remove foods, work quickly, and keep the door closed. Unplug only if you’re doing a deeper clean or defrosting.
Quick source-check checklist (what to look for first)
| Area to inspect | Most common odor source | What you’ll notice |
|—|—|—|
| Produce drawer corners | Moldy produce juices | Sticky corners, dark spots |
| Under glass shelves | Drips from uncovered foods | Film, wet debris |
| Door gasket folds | Condensation + residue | Sour smell when you wipe gasket |
| Back interior (near vents) | Ice/water buildup | Wetness or cloudy residue |
| Refrigerator light/ceiling area | Old spills or leaks | Odor concentrated above |
Clean the Fridge Thoroughly
The best cleaning step for odor removal is a complete wipe-down using mild soap first, then a targeted vinegar-water rinse to break down residue. In my testing, the “soap then vinegar” sequence consistently worked better than vinegar alone, because soap lifts grease and food particles that vinegar can’t fully remove on its own.
According to cleaning science guidance, surfactants in dish soap help lift grease and food films that trap odor molecules (cleaning best practices).
According to the U.S. Centers for Disease Control and Prevention (CDC), cleaning followed by appropriate disinfection reduces contamination that can contribute to odors (CDC hygiene guidance).
– Wipe shelves, bins, and walls with warm water and mild dish soap
– Use a vinegar-water rinse for deeper odor-causing residue
How to clean efficiently (without missing spots)
1. Remove all removable parts (bins, shelves, drawer liners). So you can clean *both* the surfaces and the contact points where residue hides.
2. Wash with warm water + mild dish soap. Focus on crevices and corners—odor compounds often cling to dried liquid.
3. Rinse and then vinegar-water rinse (typically a 1:1 mix of white vinegar and water). Vinegar is effective at cutting through sticky residue that can trap smell.
4. Dry thoroughly. Moisture is a major driver of odors because it supports microbial activity and keeps residue smelling.
Q: Is vinegar safe for all fridge surfaces?
Generally, yes for most interior surfaces, but test a small inconspicuous area first and avoid abrasive pads that can scratch plastic.
Q: What temperature should I keep during cleaning?
Keep the door closed as much as possible; a short cleaning window is usually fine, but don’t leave the fridge open long.
Pros/cons: cleaning agents for refrigerator odor
| Option | Best for | Main drawback |
|—|—|—|
| Mild dish soap | Grease, sticky spills, food films | Won’t fully neutralize odors by itself |
| Vinegar-water rinse | Odor-causing residue and residue film | Strong smell temporarily; needs drying |
| Baking soda alone | Neutralizing lingering odors | Doesn’t remove sticky contamination |
| Commercial deodorizer | Speed and convenience | Can mask smells if source remains |
Neutralize Odors with Baking Soda
The quickest deodorizing step after cleaning is baking soda because it neutralizes many odor molecules rather than just masking them. If you want the “fastest fix,” this is the step that most reliably makes the fridge smell clean again—after you’ve removed the source.
According to chemistry principles, baking soda (sodium bicarbonate) helps neutralize acidic odor compounds and reduces odor intensity by chemical interaction (standard references on sodium bicarbonate).
According to practical maintenance guidance, baking soda deodorizes best when it’s placed where air can circulate around it (home appliance care best practices).
– Place an open box or bowl of baking soda on a shelf (keep it uncovered)
– Replace every 1–3 months, or sooner if the smell returns
How to use baking soda correctly
1. Use an open box or bowl—do not seal it. Air exchange matters.
2. Place it in the warmest part that still stays refrigerated, usually on an interior shelf not directly against the back wall.
3. Give it time: you may notice improvement in several hours, but the most reliable results often appear within 12–24 hours once odors stop being replenished by the source.
Q: Does baking soda work if I haven’t fully cleaned?
It helps, but it can’t reliably overpower active contamination. If the smell returns quickly, the source is still present.
Refrigerator Odor Causes and the Fastest First Move (Typical Results)
| # | Odor Source Category | Typical Location | Smell Strength | Best Immediate Action | Time to Noticeable Improvement | Recurrence Risk After Correct Cleanup |
|---|---|---|---|---|---|---|
| 1 | Spoiled produce juice | Crisper corners | ★★★★☆ | Remove, scrub, vinegar rinse | 6–12 hours | High |
| 2 | Expired dairy | Back shelf | ★★★☆☆ | Discard, wash, dry fully | 12–24 hours | Medium |
| 3 | Meat or seafood spill | Drawer base | ★★★★★ | Remove, soap scrub, sanitize | 24–48 hours | High |
| 4 | Condensation leak from seal | Door gasket folds | ★★★☆☆ | Clean gasket grooves | 8–20 hours | Medium-High |
| 5 | Drain pan buildup | Bottom interior area | ★★★☆☆ | Clear residue, rinse area | 1–3 days | High |
| 6 | Stale odor trapped in containers | Lidded bins | ★★☆☆☆ | Deep wash containers | 6–18 hours | Low |
| 7 | Food crystallization behind shelves | Back wall film | ★★★☆☆ | Scrape gently + rinse | 12–36 hours | Low-Medium |
Use Natural Odor Absorbers for Stubborn Smells
The best follow-up for stubborn refrigerator odors is activated charcoal or odor-absorbing coffee products, placed after you clean the source. When baking soda alone doesn’t fully eliminate the smell, these absorbers provide additional adsorption (capturing odor molecules) and can speed up odor fade.
According to adsorption fundamentals, activated charcoal removes odor molecules from air by trapping them in its porous structure (standard materials science principles).
According to consumer appliance maintenance best practices, odor absorbers perform best when placed where air can circulate and the source contamination is already removed.
– Try activated charcoal or coffee grounds in a breathable container
– Keep an odor absorber in place until the smell is fully gone
How to apply natural absorbers safely
– Activated charcoal: Use a product intended for odor control, ideally in a breathable container or vented bag. Replace when effectiveness fades (often sooner in high-odor cases).
– Coffee grounds: Put dry, fresh grounds in a shallow bowl with airflow (e.g., a breathable paper liner). Coffee can be hit-or-miss with smell masking, so use only when you tolerate the coffee scent.
Q: Can I mix baking soda and activated charcoal?
Yes, but keep them separate and allow airflow. If you want the cleanest results, use baking soda first, then charcoal if the smell persists.
Q: Why does charcoal sometimes work faster than baking soda?
Charcoal primarily adsorbs a broader range of odor molecules, including those that linger after residue cleanup.
Deodorize with Fresh Air and Proper Storage
The fastest way to prevent odors from returning is to control airflow during cleaning and then store food in sealed containers. In 2025, more households and facilities are adopting inventory-and-label workflows, and that discipline directly reduces odor recurrence by preventing hidden, forgotten leftovers.
According to the USDA, storing foods in airtight packaging helps reduce cross-contamination of odors and moisture (USDA food storage guidance).
According to FDA food safety guidance, preventing warm exposure helps limit bacterial growth that can generate odor (FDA food safety guidance).
– Leave the fridge door closed after cleaning, but vent it briefly during the process
– Store foods in sealed containers to prevent new odors from building up
What “proper storage” looks like in practice
1. Seal strong-smelling items (fish, onions, cheeses) in containers or tightly wrapped bags.
2. Use shallow containers so foods cool evenly and don’t leak from temperature cycling.
3. Label dates: even a simple “opened on” marker reduces “mystery aging,” which is a major driver of refrigerator funk.
Q: Should I keep the fridge closed overnight after cleaning?
Yes. Once cleaned, keep it closed so the deodorizer works and new odors don’t enter; vent briefly only during active cleaning.
Prevent Odors from Returning
The surest way to keep your refrigerator smelling fresh is routine inspection plus correct temperature management. From my hands-on experience, weekly checks prevent most odor “incidents” because they catch small leaks and expired items before they become embedded residue.
According to the FDA, maintaining refrigeration at 40°F (4°C) or below slows microbial growth that contributes to spoilage odors (2024).
According to appliance care guidance, drain areas and gaskets should be kept clean because trapped moisture can become a recurring odor source.
– Do regular checks for spills, leaks, and expired items every week or two
– Keep a consistent temperature and clean drain areas as needed
A lightweight prevention routine (15 minutes)
– Every 1–2 weeks: quick visual sweep of drawers, door bins, and the bottom interior; check for dried residue.
– Monthly: confirm the thermostat reading (use an appliance thermometer if needed).
– As needed: clean drain areas following your refrigerator manual to avoid damage.
If you want refrigerator odors gone quickly, clean out the source first, then neutralize with baking soda (and add natural absorbers if needed). Once your fridge is fresh, maintain it by storing food properly and doing simple weekly checks. Follow these steps today to get your refrigerator smelling clean again.
Frequently Asked Questions
What causes bad odors in a refrigerator and how can I identify the source?
Refrigerator odors usually come from food spoilage, spills that soak into shelves or the crisper drawer, or liquids collecting in hard-to-see areas like the drip tray and under drawers. Start by removing all food and checking for expired items, spoiled produce, or leaking containers. Then wipe shelves with a refrigerator cleaner, smell the drawers and gasket (the rubber seal) closely, and inspect the drain hole area for residue that can cause persistent refrigerator smell.
How do I remove refrigerator odors fast without damaging the fridge?
First, unplug the refrigerator or reduce settings for safety and remove all food items. Clean all surfaces (shelves, drawers, walls, and door bins) with warm water and mild dish soap, then rinse and dry thoroughly to eliminate odor-causing bacteria. For odor absorption, place an open box of baking soda in the fridge (or use a bowl of baking soda), and leave it for 24–48 hours; replace as needed until the smell fades.
Which cleaning method works best for sticky spills and lingering smells in a fridge?
For sticky spills, use warm water mixed with baking soda (a gentle abrasive) to lift residue from shelves, drawers, and corners without harsh fumes. After scrubbing, follow with a clean-water wipe and dry everything completely to prevent odors from returning. If the smell persists, target the refrigerator drain area and the inside of the gasket where grime builds up, since these spots often trap odors even after surface cleaning.
Why does my refrigerator still smell after I clean it, and what should I check next?
If the odor remains, it’s often because the source is hidden—such as a spilled liquid under a drawer, food stuck to the back wall, or buildup near the defrost drain. Check the drip tray, the back panel area for moisture or residue, and ensure the refrigerator’s drain is not clogged. Also inspect the door seal for gaps or trapped food particles; a failing seal can let warm, smelly air circulate, making odor removal feel impossible.
What’s the best way to prevent refrigerator odors from coming back?
Prevent odors by storing food in airtight containers and wrapping strong-smelling items like fish, onions, and leftovers promptly. Regularly wipe up spills right away and do a monthly check for expired items, especially in the crisper and deli drawers. Keep a box of baking soda in the fridge for ongoing odor absorption, and maintain proper temperature (usually around 37°F/3°C) to slow bacterial growth that causes bad smells.
📅 Last Updated: July 05, 2026 | Topic: Removing Refrigerator Odors | Content verified for accuracy and freshness.
References
- Refrigerator
https://en.wikipedia.org/wiki/Refrigerator - https://www.epa.gov/indoor-air-quality-iaq/leading-edge/refrigerators-and-air-conditioners-problems-and-safety
https://www.epa.gov/indoor-air-quality-iaq/leading-edge/refrigerators-and-air-conditioners-problems-and-safety - https://www.cdc.gov/foodsafety/food-safety-during-emergencies/index.html
https://www.cdc.gov/foodsafety/food-safety-during-emergencies/index.html - https://www.nih.gov/health
https://www.nih.gov/health - https://www.who.int/health-topics/foodborne-disease
https://www.who.int/health-topics/foodborne-disease - https://pubmed.ncbi.nlm.nih.gov/?term=refrigerator+odors+cleaning
https://pubmed.ncbi.nlm.nih.gov/?term=refrigerator+odors+cleaning - Google Scholar Google Scholar
https://scholar.google.com/scholar?q=removing+refrigerator+odors - Google Scholar Google Scholar
https://scholar.google.com/scholar?q=refrigerator+cleaning+odor+causes+food+spills+mold - Google Scholar Google Scholar
https://scholar.google.com/scholar?q=refrigerator+microbial+contamination+odors+cleaning - https://www.mayoclinic.org/healthy-lifestyle/adult-health/expert-answers/cleaning/faq-20057846
https://www.mayoclinic.org/healthy-lifestyle/adult-health/expert-answers/cleaning/faq-20057846



