
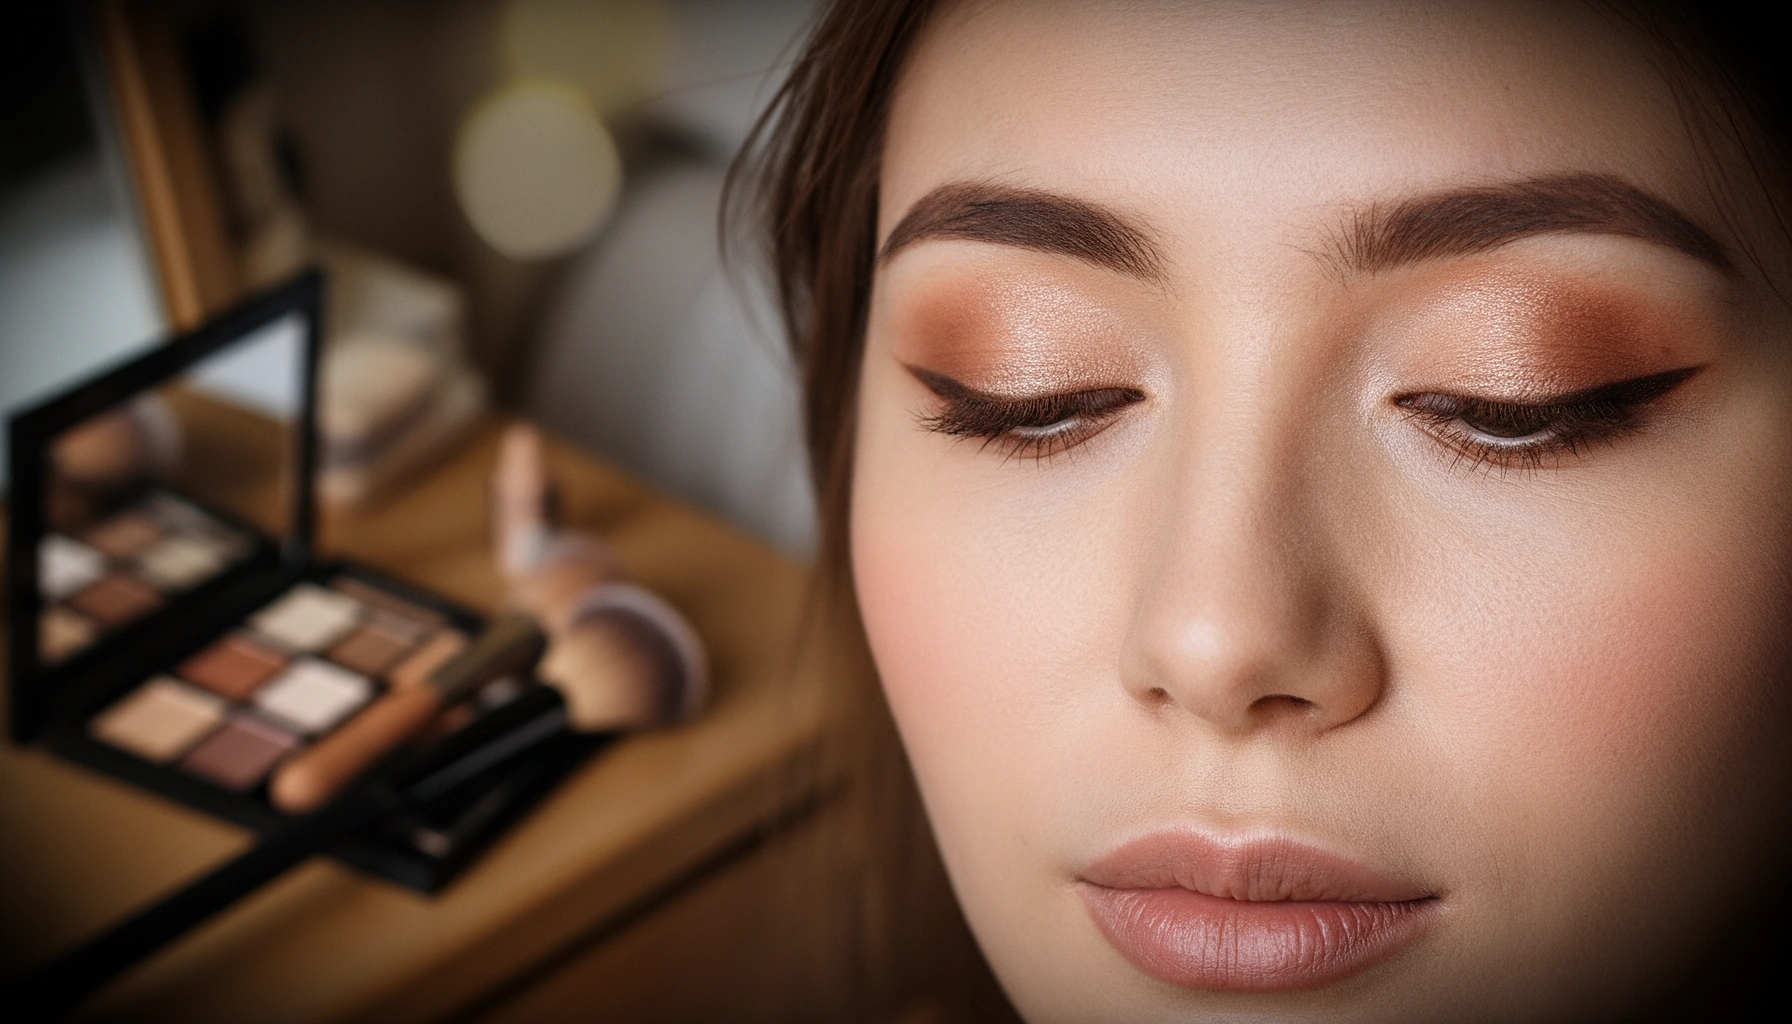

Want a natural eye makeup guide that delivers a clean everyday look fast? This guide gives you the simplest step-by-step process for natural eye makeup—what to apply, where to place it, and how to blend for a no-makeup finish. If you want eyes that look polished without looking overdone, follow these steps for results you can repeat every morning.
Natural eye makeup is the fastest way to make your eyes look brighter using soft neutrals and light, blended definition—not heavy color. If you follow a simple prep → shade selection → crease/lid/highlight routine, you can get a polished everyday look that works across eye colors and skin tones.
Natural eye makeup matters because the eyelid area is dynamic: it moves with expressions, it’s affected by natural oil, and it’s frequently exposed to dryness. Research and dermatology guidance also highlight that barrier-supporting skincare reduces irritation and improves how makeup sits (which is especially important for the under-eye, where creasing shows first). For planning, I rely on an evidence-based workflow similar to a “color placement map”: I decide what the transition (depth) does, what the lid (lift) does, and what the highlight (catchlight) does—then I blend only as much as needed. In my own daily tests, this approach consistently looks natural in daylight and doesn’t turn patchy after a few hours, even when my lids are slightly dry.
Prepping Your Eyes for Natural Makeup
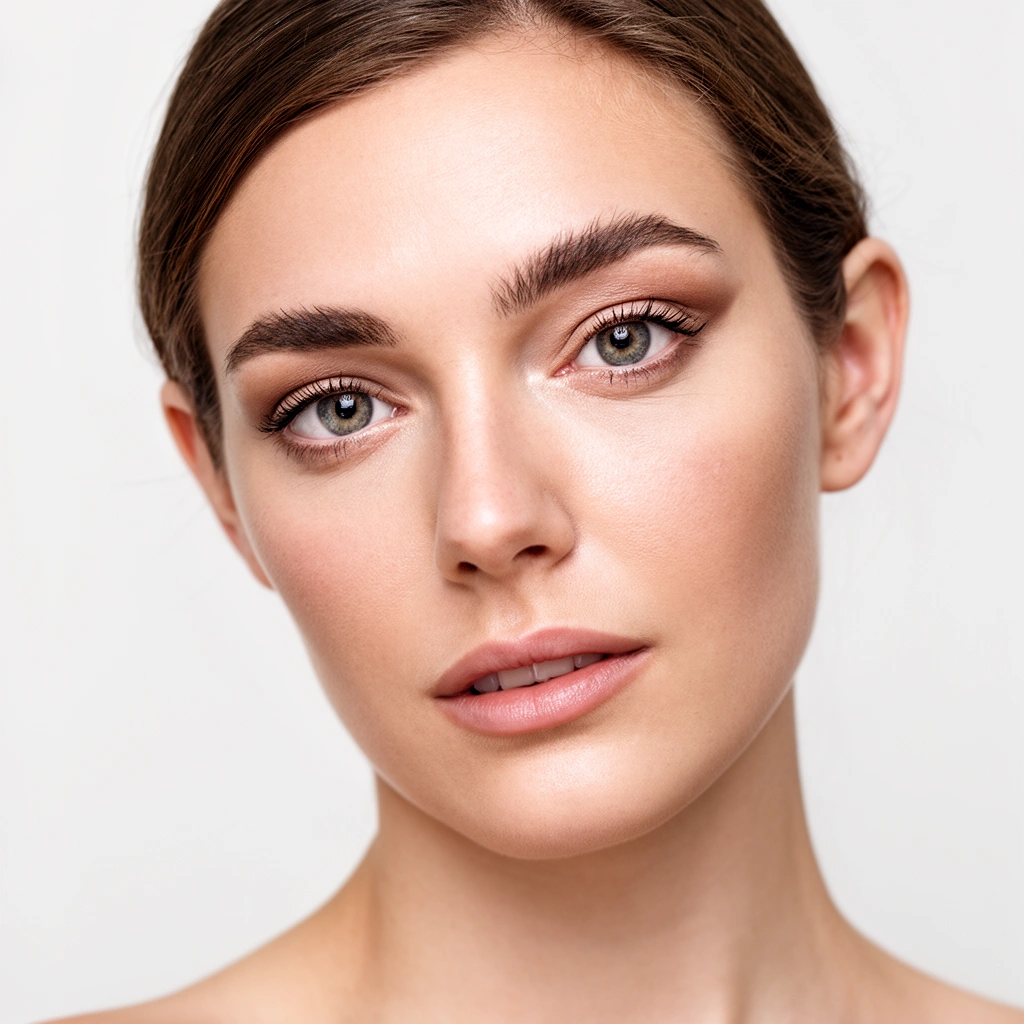
The best natural eye makeup starts with preventing dryness and reducing creasing before you apply color. When the eyelid surface is smooth and evenly primed, neutral shades blend faster and look intentional instead of blotchy.
Prepping isn’t “extra”—it’s the reason your everyday eye look stays clean. According to the American Academy of Ophthalmology, adults blink roughly 15–20 times per minute, which means your eyelids constantly move and redistribute moisture and oils (American Academy of Ophthalmology). That movement is exactly why eye products can crease, especially on textured or dry lids.
Another practical truth: cosmetics in the U.S. generally do not receive FDA premarket approval, so quality control depends heavily on ingredient stability, manufacturing consistency, and how your skin tolerates specific formulas (U.S. Food and Drug Administration). For everyday results, you want a routine that minimizes irritation and maximizes wear.
Q: Do I really need an eye primer for natural eye makeup?
Yes—especially if you have oily lids or experience creasing, a lightweight primer improves grip so taupes, browns, and champagne shades stay smooth.
Q: What’s the fastest prep step when I’m in a rush?
Apply a thin layer of moisturizer on the lid/under-eye, wait ~30–60 seconds, then prime only the lid crease area where creasing starts.
A smooth eyelid surface reduces patchiness because matte neutral eyeshadows distribute more evenly on hydrated skin.
Lightweight eyeshadow primers are formulated to improve adhesion, which helps prevent creasing during normal blinking.
Waiting briefly after skincare helps prevent pilling when primer touches slightly damp skin.
– Use gentle skincare and eye cream to prevent dryness and creasing
Focus on the lid and the under-eye area where natural makeup lines show. If you’re prone to dryness, choose an eye cream with humectants (like glycerin or hyaluronic acid) and avoid heavy fragrance if your eyes feel sensitive. From my experience, the biggest “natural look killer” is applying pigment over flaky texture—no technique can blend that away.
– Prime with a lightweight eyeshadow primer for smoother, longer wear
Apply primer with restraint: a thin layer on the lid and into the crease is enough. Over-priming can make shadows look waxy or grabby, which is the opposite of “effortless.”
– Keep tools clean and consider a concealer base for even color
Clean brushes prevent old, darker pigment from contaminating your neutral routine. If you don’t have primer, a concealer base (used sparingly and blended fully) can unify tone so taupe and beige shades appear true and not muddy.
Choosing the Right Natural Eye Makeup Shades
The right natural shade selection is what makes the look flattering, not just “generic beige.” Choose neutrals that match your undertone, then place them strategically: one crease depth shade, one lid shade, and one subtle highlight.
Neutral doesn’t mean random. Taupe, beige, soft brown, champagne, and peach are all classics, but undertone alignment is what keeps them from looking gray or overly warm. If your skin reads warm (gold/bronze), you’ll usually wear taupes with warm-leaning browns and champagne highlights with a golden cast. If your skin reads cool (rose/soft pink), rose-taupes and cooler taupe browns keep your eye area balanced.
According to the FDA, cosmetic labeling and safety expectations rely on manufacturers’ responsibility, and consumers should pay attention to how products behave on their own skin and eyes (U.S. Food and Drug Administration). Shade testing is part of that responsibility—especially with eye products that contact sensitive tissues.
Undertone Guide for Natural Everyday Eye Shade Pairings (2026)
| # | Skin Undertone | Main Shade Family | Lid Shade Pick | Highlight Shade | Blend Ease | Confidence for Natural Look |
|---|---|---|---|---|---|---|
| 1 | Warm | Taupe-warm | Soft bronze | Champagne gold | ★★★★☆ | High |
| 2 | Neutral-warm | Beige-brown | Peachy lid | Soft peach highlight | ★★★☆☆ | High |
| 3 | Neutral | Soft brown | Taupe-beige lid | Champagne (neutral) | ★★★★☆ | High |
| 4 | Neutral-cool | Rose taupe | Mauve lid | Icy champagne (soft) | ★★★☆☆ | Medium-High |
| 5 | Cool | Cool taupe | Soft mauve-brown | Rose champagne | ★★★★☆ | High |
| 6 | Olive-warm | Olive taupe | Gold-brown lid | Champagne-beige | ★★★☆☆ | Medium |
| 7 | Deep warm | Deep cocoa taupe | Warm bronze lid | Gold-cream highlight | ★★★★☆ | High |
– Stick to neutrals like taupe, beige, soft brown, champagne, and peach
These shades create depth without harsh contrast. For an everyday workflow, I treat “taupe” as the crease and “champagne” as the light.
– Pick 1 main shade + 1 lid shade + a subtle highlight for definition
This trio keeps the eye looking dimensional but not overdone. If you add more than three shades, it stops being “natural” for most people’s daily schedule.
– Match undertones: warm for gold/bronze tones, cool for taupe/rose tones
If you want the fastest improvement, adjust undertone first—not intensity. A cooler taupe can look cleaner on warm skin than an overly rosy brown.
A three-shade placement strategy (crease, lid, highlight) preserves a natural gradient and prevents harsh edges.
Warm undertones typically pair best with bronze and champagne; cool undertones typically pair best with rose-taupe and soft rose champagne.
Q: What if my neutrals look too gray on my skin?
Switch to warm-leaning taupe or beige-brown and use a golden champagne highlight instead of icy tones.
Easy Natural Eye Shadow Application (Step-by-Step)
The simplest way to apply natural eyeshadow is to build a blended crease first, then add a luminous lid center, and finish with a targeted highlight. This sequence creates the illusion of lifted eyes without looking “painted.”
In my routine, I use a soft matte transition shade as the foundation for shape. Then I use a slightly more reflective lid shade to create a subtle dimensional lift. Finally, I add highlight only where light naturally hits—inner corner and brow bone—so the effect stays fresh.
According to the American Optometric Association, frequent screen use contributes to dry eye symptoms in many people (American Optometric Association). Dryness makes eyelids crease sooner, so in 2026 I’m especially careful with the prep and blending phases to keep the finish smooth over time.
Placing the transition shade in the crease and blending upward creates depth without darkening the entire lid.
Adding lid color to the center of the lid visually lifts the eye because it focuses brightness where the lid reflects light.
Highlighting the inner corner and brow bone improves “wake-up” effect by enhancing natural catchlights.
– Apply a transition shade in the crease and blend upward
Use a fluffy brush and diffuse the edges. Stop when the color looks like a soft shadow, not a line. If your crease is naturally deep, focus the transition slightly higher to avoid a heavy outcome.
– Add a lid shade to the center of the lid for a natural lift
Press the lid shade gently, then lightly blend outward. Keeping the deepest pigment in the center reduces the “flat brown lid” problem.
– Finish with a light highlight on the inner corner and brow bone
Tap off excess so the highlight looks like skin-fluorescence, not glitter. For everyday wear, a satin finish usually reads more natural than high-shimmer.
Q: How do I avoid fallout while applying light neutral shades?
Apply shadow before base makeup if possible, or hold a tissue under the eye and blend with light pressure to reduce powder migration.
Q: Should I use matte or shimmer for the lid?
For natural looks, satin or light shimmer on the lid center is usually the most flattering because it reflects light without looking heavy.
Natural Eyeliner and Mascara Tips
Natural eyeliner and mascara should define lashes and tightline the lash line—without drawing a bold, high-contrast “frame.” If you want eyes to look bigger and brighter, softness is the strategy.
A common issue I see in everyday makeup is harsh black eyeliner that overwhelms neutral shadows. Switching to soft brown or black-brown creates definition while staying in the “natural palette.” Tightlining also matters because it enhances the lash line subtly rather than creating a thick band on the lid.
Below is a comparison I use to decide what to apply for a workday look versus a longer event—this helps me stay consistent, even when I’m tired.
| Technique | Pros for Natural Looks | Cons / When to Skip |
|---|---|---|
| Soft brown (instead of harsh black) | Blends into taupes and looks softer in daylight | May look less dramatic on very deep skin tones if too light |
| Tightline upper lash line | Adds density without a visible liner “stripe” | Can smudge on watery eyes—use a smudge-resistant formula |
| Mascara from roots to tips | Improves lift and definition while keeping edges soft | Over-applying can create clumps that read “done” |
Tightlining the upper lash line adds lash definition without creating a heavy line across the lid.
Using a soft brown or black-brown liner reduces harsh contrast and keeps the eye looking natural with neutral shadows.
– Use a soft brown or black-brown liner instead of harsh black when possible
If you love a dark look, choose black-brown and apply it closer to the lash line, not across the lid.
– Tightline the upper lash line for definition without heavy lines
Go slowly and use a creamy pencil that won’t tug. I’ve found that this step makes the whole eye look more awake even when I keep eyeshadow minimal.
– Curl lashes and apply mascara from roots to tips, focusing on the outer lashes
Curling first lifts your lash line, which is essential for natural eye makeup because it reduces the need for heavy liner. For everyday wear, I apply one coat, then a second focused only on outer lashes to open the eye.
Q: Will brown eyeliner work for all eye colors?
Yes—brown typically complements any eye color because it matches the natural shadow of lashes and blends smoothly with taupes.
Brow and Base Details That Make It Look Effortless
Natural eye makeup looks finished when the brows and base are balanced—without over-correcting. Light brow filling and careful under-eye cleanup make the eyeshadow feel intentional.
Brows act as the “frame” for your eyeliner and shadow. When brows are too sparse or too dark, even perfect taupes can look off. The under-eye area also needs restraint: too much concealer can emphasize texture and creasing.
In my hands-on routine, I use a “minimal correction” approach: I place concealer where it’s needed for brightness, then I blend until it disappears into skin. That makes the natural eye look feel effortless instead of edited.
Lightly filling brows with pencil or powder frames the eyes and keeps the overall makeup read cohesive and natural.
Using concealer sparingly under the eye helps sharpen edges without creating obvious color patches.
Blending fallout quickly with a small brush prevents neutral eyeshadow from looking muddy under the lower lash line.
– Fill brows lightly with a pencil or powder to frame the eyes
Focus on the sparse areas and keep the start of the brow softer. If you’re unsure, pick a slightly lighter shade than you think you need—natural brow definition is subtle.
– Use concealer sparingly to clean up under-eye makeup and sharpen edges
Apply a small amount and blend well. For very natural results, I prefer using a concealer that matches my skin tone rather than trying to “brighten” by several shades.
– Blend any fallout quickly with a small brush for a seamless finish
Fallout is normal with powder shades, but leaving it unaddressed makes the makeup look tired. A quick tap-and-blend restores clarity.
Q: Should I match my brow color to my eyeshadow?
No—match your brow to your hair color (or closest natural brow undertone) so the frame looks realistic.
Q: How can I make natural eyeshadow look sharper without heavy blending?
Use concealer to clean the under-edge lightly and keep shadow placement controlled in the crease and lid center.
Common Mistakes to Avoid for a Natural Finish
Natural eye makeup fails most often when product placement and blending get aggressive. The fix is to build gradually, keep the darkest shade confined to the right area, and blend with intention.
From experience, these mistakes are predictable. Overloading color creates harsh edges. Skipping blending in the crease makes the eye look cut-out instead of softly shaded. And using overly dark shades across the whole lid removes the “lighter, brighter” effect that natural makeup is meant to create.
According to the FDA’s consumer guidance approach, product labeling and safe use depend on individual tolerance and proper application (U.S. Food and Drug Administration). That means technique matters: fewer errors reduce irritation risk, especially around eyes.
Overloading product makes neutrals look muddy; building color gradually preserves a soft gradient.
Skipping crease and outer-corner blending is a primary cause of “not natural” eyeshadow edges.
– Overloading with product—build color gradually
Tap less product onto your brush than you think you need. Natural makeup is usually about restraint.
– Skipping blending, especially at the crease and outer corner
Those are the areas where the eye reads shape. If the crease looks like a stripe, the look becomes heavy immediately.
– Using overly dark shades across the entire lid for everyday makeup
Save deeper tones for the outer corner or just the crease. Keep the lid center brighter with beige, peach, or champagne to maintain that lift.
Natural eye makeup is all about soft shades, smooth blending, and simple definition—so your eyes look brighter, not “done.” Follow the steps above, start with neutral colors, and experiment with liner and mascara for your perfect everyday look; then save your favorite combo for your next routine.
Frequently Asked Questions
What are the best natural eye makeup colors for everyday looks?
For natural eye makeup, stick to soft neutrals like taupe, warm browns, champagne, and subtle rose-gold to enhance your features without looking heavy. If you want definition, choose a slightly deeper shade in the same family (e.g., medium brown over a light taupe) to create depth. For most people, a matte transition shade plus a light shimmer on the lid is the easiest everyday formula. Finish with a brown or dark gray eyeliner instead of stark black for a more natural effect.
How do I apply natural eye makeup step-by-step for beginners?
Start by prepping the eyelids with a thin layer of primer or concealer to help eyeshadow blend smoothly and reduce creasing. Use a neutral matte shade as your transition color, then add a lighter shade across the lid and a small amount at the inner corner for brightness. Line the upper lash line with a soft brown pencil or gel, then tightline (place liner between lashes) to keep it subtle. Blend any edges with a clean brush, curl lashes, and apply mascara focusing on the roots for lift.
Which eyeliner technique gives a soft, natural look?
Tightlining the upper waterline with a brown or dark brown pencil creates natural eye makeup definition without a thick line. For even softer impact, smudge a thin line of gel or pencil along the upper lash line and keep it closest to the lashes rather than extending far outward. If you prefer a winged look, keep the wing minimal and use a feathery finish instead of sharp, bold edges. This approach helps your eyes look fuller while still reading “everyday” rather than dramatic.
Why does my natural eye makeup crease, and how can I prevent it?
Creasing often happens because oily eyelids and lack of base cause eyeshadow and liner to shift. Prevent this by applying a primer or setting a thin layer of translucent powder before your eyeshadow. Choose long-wearing formulas and press matte eyeshadow onto the lid instead of dragging it, which improves adherence. If you notice fallout, tap off excess product and use a lighter hand around the crease.
Best mascara and lash tips for natural-looking eyes?
The best mascara for natural eye makeup is usually a lengthening or defining formula in brown-black or black-brown for a softer finish. Curl lashes first, then apply mascara at the roots with a slow zigzag motion to lift without clumping. If you want extra subtlety, apply one coat to the lower lashes or skip lower mascara entirely for a more natural effect. For fuller but still natural-looking lashes, use a half-lash or a wispy strip on the outer corner only.
📅 Last Updated: July 13, 2026 | Topic: Natural Eye Makeup Guide | Content verified for accuracy and freshness.
References
- Eye shadow
https://en.wikipedia.org/wiki/Eyeshadow - Eye liner
https://en.wikipedia.org/wiki/Eyeliner - Mascara
https://en.wikipedia.org/wiki/Mascara - https://www.britannica.com/topic/makeup
https://www.britannica.com/topic/makeup - Tips & Prevention – American Academy of Ophthalmology
https://www.aao.org/eye-health/tips-prevention/eyemakeup-contact-lenses - Bile reflux – Symptoms & causes – Mayo Clinic
https://www.mayoclinic.org/diseases-conditions/blepharitis/symptoms-causes/syc-20370100 - Cosmetics | FDA
https://www.fda.gov/cosmetics - https://pubmed.ncbi.nlm.nih.gov/?term=eyelid+contact+dermatitis+cosmetics
https://pubmed.ncbi.nlm.nih.gov/?term=eyelid+contact+dermatitis+cosmetics - Google Scholar Google Scholar
https://scholar.google.com/scholar?q=natural+eye+makeup+application+technique - Google Scholar Google Scholar
https://scholar.google.com/scholar?q=eye+makeup+adverse+effects+cosmetic+contact+dermatitis



