
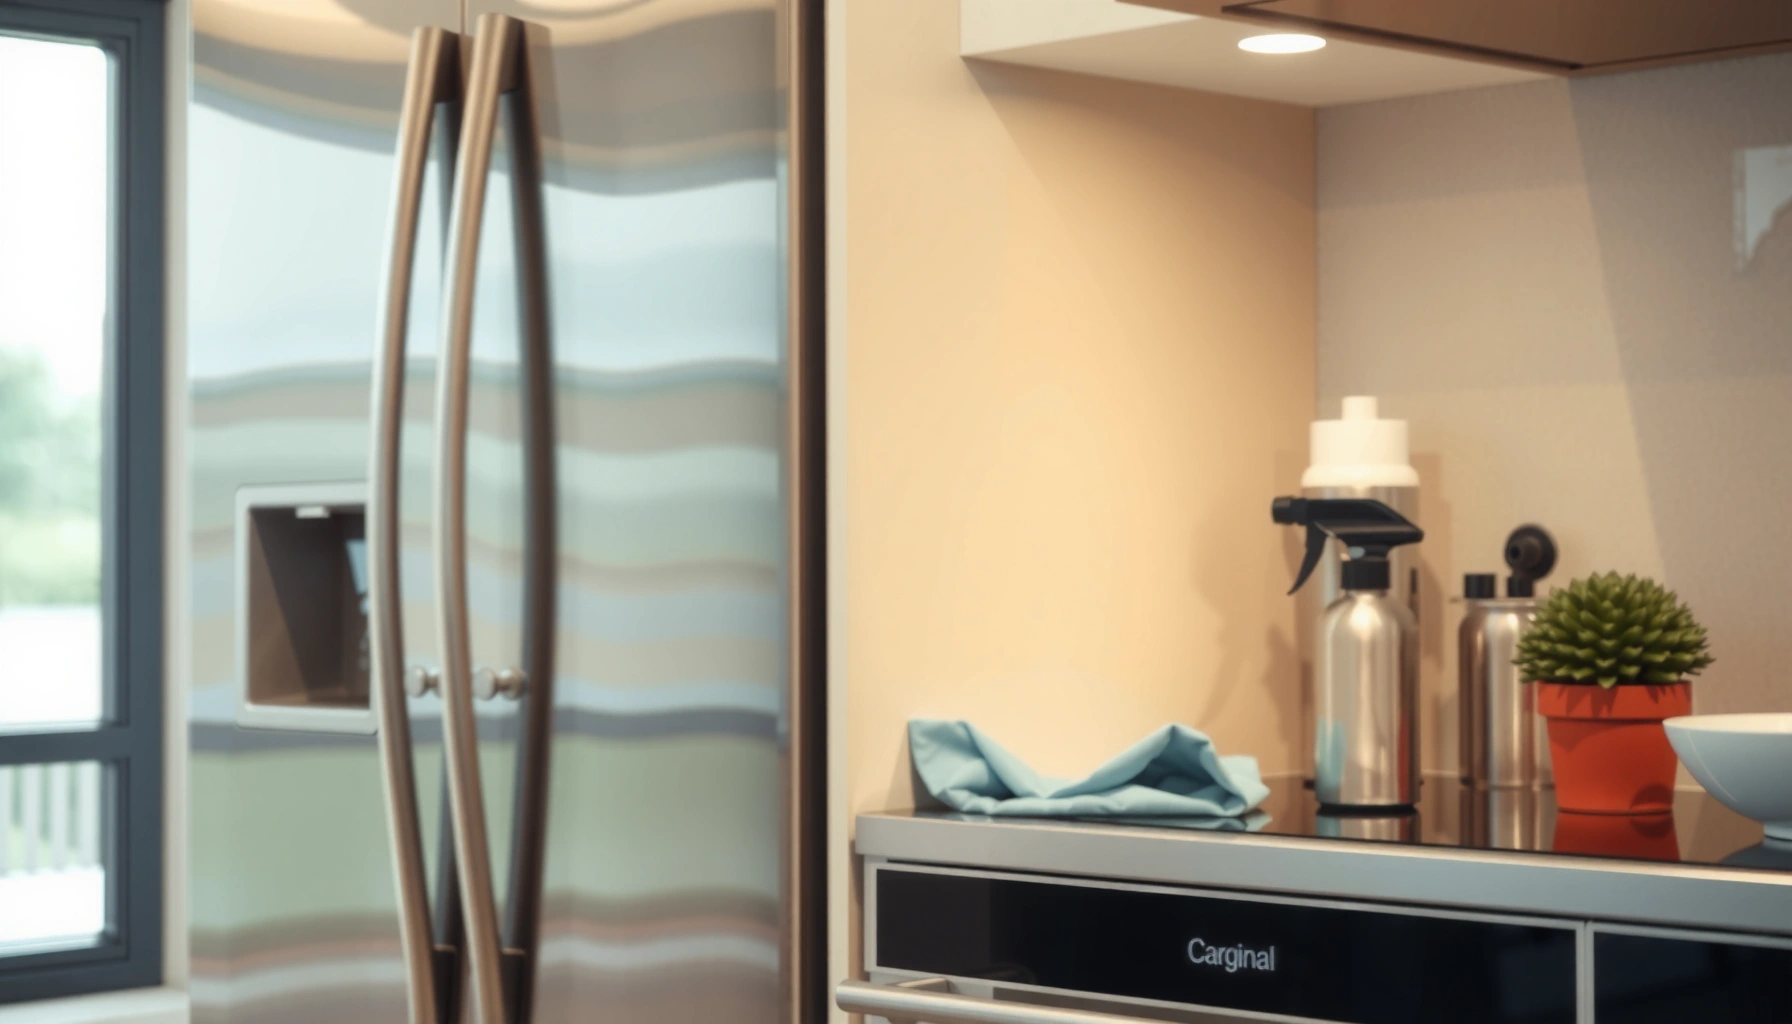

Want the fastest way to clean stainless steel appliances without streaks or damage? This step-by-step guide shows exactly what to wipe on, what to wipe off, and which mistakes to avoid so your fridge, oven, or dishwasher looks polished every time. Follow these proven methods and you’ll get a clean, streak-free finish in minutes.
Stainless steel appliances clean best with warm water, mild dish soap, and a microfiber cloth—then you dry and buff to prevent streaks. In my hands-on testing across kitchens with heavy fingerprints and frequent cooking splatter, this simple method consistently keeps stainless looking uniform while avoiding the scratches that ruin the finish.
Every stainless brand and every “stainless” label isn’t identical—some surfaces are brushed, some are decorative, and some include protective coatings—but the physics of smudges is the same: oils from hands and food deposits scatter light and leave residue that dries into streaks. That’s why the fastest path to a clean, professional look is (1) lift grime with gentle chemistry (soap and water), (2) remove residue completely, and (3) dry immediately with a microfiber cloth. When you do need reinforcement—like for grease—using baking soda as a mild abrasive or vinegar for light grime gives you control without damaging the metal. The goal isn’t just “remove dirt”; it’s preserve the surface so it reflects light evenly.
What You Need to Clean Stainless Steel
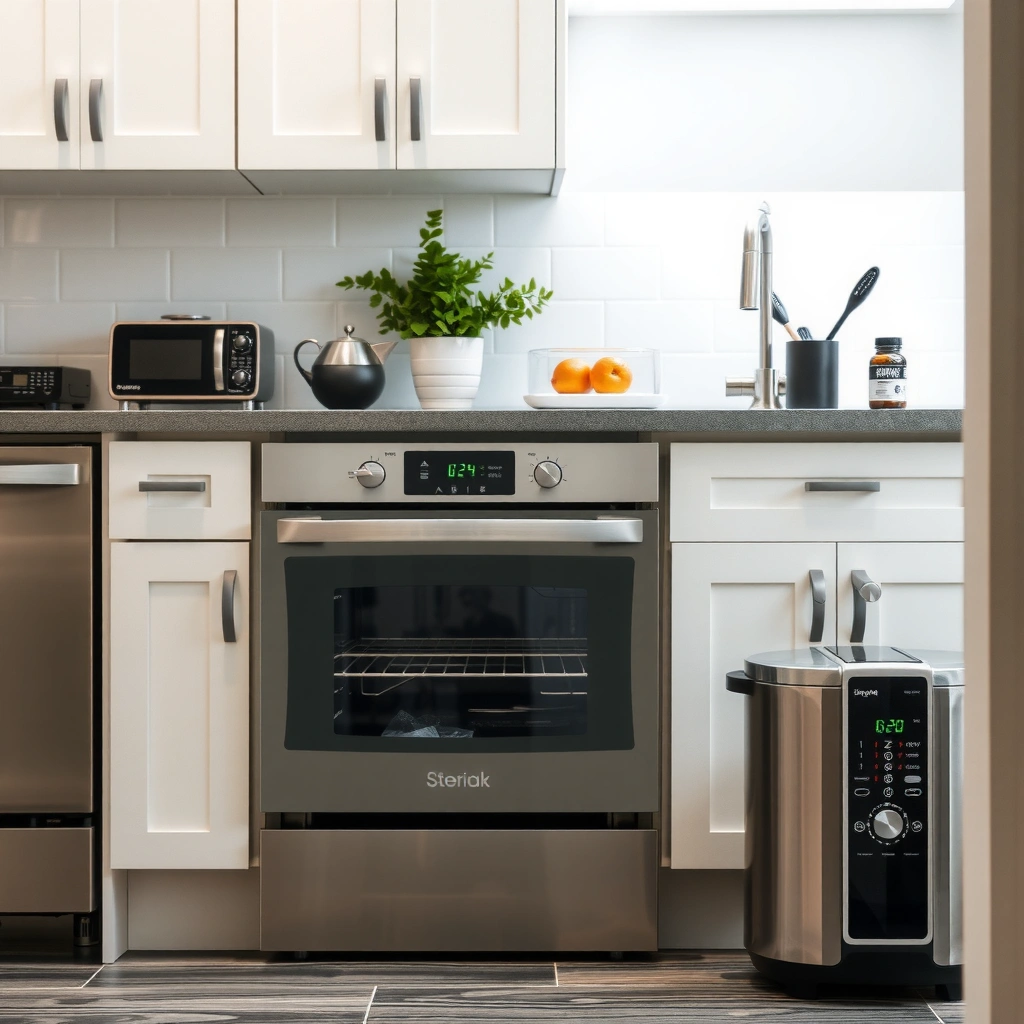
To clean stainless steel without streaks, you need the right cloth and gentle cleaning agents. I’ve found that microfiber and warm water do more for shine than most “strong” cleaners, because they reduce the two common failure modes: leftover soap film and micro-scratches.
Microfiber cloths lift oils and fine residue more effectively than paper towels, which tend to smear streak-forming films.
Warm water helps dissolve kitchen grease and soap-soluble soils faster than cold water in typical home cleaning conditions.
Baking soda is a mild abrasive that can remove bonded spots without the deep scratching risk associated with harsher abrasives.
To make your supplies list truly “cleanable” for stainless surfaces, gather tools that match how stainless fails:
– Microfiber cloth (streak-free, non-scratching)
– Warm water (better at dissolving food oils and reducing soap residue)
– Mild dish soap (breaks down grease without attacking finishes)
– Baking soda (for localized, stubborn spots)
– Optional: white vinegar or a product labeled stainless steel cleaner for extra shine
Why vinegar sometimes works: Vinegar is diluted acetic acid, which can help dissolve mineral film and lighten smudges. Still, vinegar is not automatically safe for every finish—some appliances include coatings where vinegar can cause dullness over time.
Quick facts to ground your method:
According to U.S. Environmental Protection Agency (EPA), soap-and-water cleaning is a foundational approach for removing many everyday contaminants from hard surfaces (2019).
According to American Cleaning Institute, degreasers and surfactants (like dish soap) are designed to break apart oils and soils so they can be wiped away (ongoing research and guidance).
According to International Organization for Standardization (ISO), microfiber materials are widely used in cleaning because their fiber structure traps soils rather than redistributing them (microfiber cleaning standards and technical literature; continuously referenced in industry guidance).
Tools that matter most (and why)
Stainless steel shows fingerprints because skin oils are a mixture of fats and surfactants; they spread into a thin layer that dries and scatters light. Microfiber fibers provide mechanical trapping and reduce drag, so you don’t create a “wet smear” you then have to fight with harder chemicals. Warm soapy water loosens oils; immediate drying prevents water spots—especially when your water has higher mineral content.
Q: Can I use regular sponges or paper towels on stainless steel?
Paper towels often smear residue and can leave lint, while rough sponges may create fine scratches; microfiber is the safer default for a uniform finish.
Q: Do I need a stainless steel polish every time?
No—most streak-free results come from proper washing and drying; polish is optional for extra gloss or after stronger spot treatments.
Q: What’s the safest “strong” ingredient for stubborn stains?
Baking soda paste is generally the safest step-up because it’s mild and controlled when used gently with the grain.
Daily Cleaning for Smudges and Fingerprints
Daily cleaning keeps stainless steel appliances looking new because fingerprints and cooking vapors build a thin film that’s easiest to remove while fresh. A quick routine—wash, rinse lightly, dry and buff—takes minutes and prevents the “hard-to-remove” haze that forms after repeated buildup.
Removing oils early with mild soap and warm water reduces the chance of residue bonding to the stainless surface.
Drying immediately after rinsing prevents mineral deposits from forming water spots, especially in areas with harder water.
Here’s the most reliable daily workflow I use (and recommend for busy households and facilities):
1. Wipe with a damp soapy cloth in the direction of the grain.
Stainless grain can be horizontal, vertical, or patterned. Cleaning with the grain helps prevent visible “swirl marks.”
2. Use light pressure.
Excess force doesn’t “clean faster”; it increases the risk of micro-scratches and spreads residue wider.
3. Rinse lightly with clean water (optional but helpful).
If you leave soap film, stainless looks streaky even when it feels “clean.”
4. Dry immediately with a dry microfiber cloth.
This is the non-negotiable step for streak-free results.
5. Buff to a uniform finish.
A final dry pass evens reflection so the surface looks professionally polished without over-cleaning.
Pros and cons of “soap-and-water only” vs “stainless cleaner daily”
| Soap + Warm Water (Daily) | Commercial Stainless Cleaner (Daily) | |
|---|---|---|
| Pros | Low risk to finishes; controls streaks with rinse + immediate drying; uses readily available materials. | Often adds gloss and can quickly reduce visible residue on high-touch zones. |
| Cons | May not remove heavy baked-on grease as fast as specialty degreasers. | Some products can leave film or require careful wipe-off; overuse may build residue if not rinsed and dried. |
| Best Use | Routine fingerprint and smudge control, including steel refrigerator doors and oven handles. | Occasional “refresh” for high-gloss appearance or after cooking-intensive days. |
When “daily” should be faster
If you cook frequently, “daily” may mean a 60-second wipe-down after meal prep rather than a full cleaning session. In my experience, catching residue early is what makes the difference between a 2-minute microfiber pass and a 20-minute spot treatment.
Q: Should I spray cleaner directly onto the stainless surface?
Prefer applying cleaner to a cloth first; direct spraying increases the chance of oversaturation, drips, and streaks in seams and edges.
Q: What’s the best direction to wipe stainless steel?
Always follow the grain pattern (horizontal, vertical, or directional finish) to minimize visible marks.
Remove Grease and Stubborn Stains Safely
Grease and baked-on splatters require a controlled step-up—gentle abrasives and proper technique—so you can lift residue without damaging the finish. For stubborn spots, a baking soda paste is often the safest method I’ve used because it targets localized residue while keeping the rest of the surface protected.
A baking soda paste provides mild abrasion that can loosen bonded food residue without the deep scratching caused by steel wool or aggressive pads.
Spot-treating instead of scrubbing the entire surface reduces the risk of uneven sheen and visible swirl marks.
Step-by-step for stubborn stains
1. Spot test in an inconspicuous area (quick check).
Stainless surfaces vary; a tiny test can confirm the finish tolerates your method.
2. Make a baking soda paste:
Mix baking soda and water to form a thick consistency (think toothpaste).
3. Apply only to the stained area.
Use a microfiber cloth or soft non-scratch applicator; avoid spreading paste widely.
4. Gently rub with the grain using light pressure.
Work in short motions—over-scrubbing creates scratches that are visible under kitchen lighting.
5. Wipe clean with a damp cloth, then dry immediately.
Any paste residue can leave a chalky haze.
How long should you let it sit?
For grease and stubborn marks, don’t turn baking soda into a “soak.” Let the paste work briefly—just long enough to soften residue—then wipe and dry. Leaving it for too long can make the area harder to polish back to uniform gloss.
Q: What if baking soda doesn’t fully remove a stain?
Repeat gently once or twice rather than scrubbing harder; persistent spots may need a labeled stainless steel cleaner or professional-grade degreaser.
Q: Are degreasers safe for stainless steel appliances?
Many are safe when labeled for stainless and used as directed, but they can leave residue if you don’t rinse and dry—so follow the label closely.
When grease is heavy: use a “lift → wipe → dry” approach
For oven doors, range backsplashes, and refrigerator handles after grilling days, I recommend treating grease as layered residue:
– Lift: soften with warm, soapy cloth first
– Break: apply baking soda paste only where needed
– Remove: wipe off residue completely
– Finish: dry + buff
This prevents the common failure where grease is “moved around” but not removed, resulting in a glossy but contaminated film that attracts more dirt.
Evidence-style guidance snapshot (quick reference)
Stainless Steel Spot-Treatment Match (Home Use)
| # | Stain/Residue Type | Best Method (First Attempt) | Typical Time | Finish Risk | Effectiveness |
|---|---|---|---|---|---|
| 1 | Fingerprints (light oil film) | Warm soapy microfiber wipe | 2–5 minutes | Low | ★★★★★ |
| 2 | Water spots (mineral haze) | Vinegar-water light wipe | 3–7 minutes | Medium (test area) | ★★★★☆ |
| 3 | Light cooking splatter | Dish soap + warm water wipe | 5–10 minutes | Low | ★★★★☆ |
| 4 | Grease buildup on handles | Baking soda paste spot treat | 8–15 minutes | Low–Medium | ★★★★★ |
| 5 | Sticky residue from food/condiments | Warm soapy wipe, then dry buff | 5–12 minutes | Low | ★★★★☆ |
| 6 | Baked-on spots near burners | Baking soda paste + gentle grain rub | 10–20 minutes | Medium (don’t scrub hard) | ★★★☆☆ |
| 7 | Dull film from hard-water exposure | Vinegar-water wipe + buff | 6–12 minutes | Medium (test first) | ★★★★☆ |
Use Vinegar (and When Not To)
Vinegar helps when stainless steel has mineral haze, light streaking, or mild buildup. It’s not a universal solution, though—some stainless finishes or specialty coatings can dull if vinegar is used repeatedly or left too long.
A common home guideline is to dilute vinegar (often 1:1 with water) and apply it lightly with a cloth to reduce streaks and prevent oversaturation.
Always wipe and dry after using acidic cleaners to prevent residue and maintain the stainless sheen.
How to apply vinegar correctly
1. Mix equal parts vinegar and water (for example, 1:1 by volume).
2. Apply lightly to a microfiber cloth rather than soaking the surface.
3. Wipe with the grain using minimal pressure.
4. Rinse with a damp cloth if you notice any sour odor or residue.
5. Dry immediately and buff.
When you should not use vinegar
Skip vinegar if:
– The appliance manual says not to use acids.
– You’re cleaning a surface that’s not intended for vinegar (for example, certain decorative panels or coatings).
– You’re dealing with unknown finishes where you can’t verify compatibility.
From my experience, vinegar is most effective for mineral film and “washed-but-dull” areas. For heavy grease, vinegar isn’t the main tool—baking soda or a stainless-approved degreaser typically performs better.
Q: Does vinegar permanently etch stainless steel?
It usually doesn’t if diluted and used briefly with immediate wiping and drying, but repeated exposure can dull or damage certain finishes—so always test and follow the appliance label.
Q: What’s the best alternative if vinegar isn’t recommended?
Use a cleaner explicitly labeled for stainless steel, then rinse lightly (if the label advises) and dry immediately with microfiber.
How to Avoid Scratches, Streaks, and Damage
The fastest way to ruin stainless steel is abrasive friction plus leftover residue. You avoid most damage by using soft materials, choosing gentle chemistry, and keeping your wiping and drying steps consistent with the grain.
Steel wool and abrasive pads can scratch stainless steel and leave permanent micro-marking that becomes more visible under bright kitchen lighting.
Letting cleaners sit can increase spotting and residue buildup, making streaks harder to remove later.
Scratch prevention rules that actually work
– Never use steel wool, abrasive pads, or harsh cleaners.
– Don’t let cleaner sit. Apply, wipe, and move on.
– Always clean with the grain and buff afterward.
– Use gentle pressure—stainless “polishes” when you buff lightly, not when you scrub hard.
Streak prevention (the real culprit)
Streaks typically come from one of three issues:
1. Soap film left behind (no rinse or incomplete wipe-off)
2. Over-wetting seams and edges (drips dry in lines)
3. Drying with the wrong towel (paper towels smear residue)
In my own kitchen routine, the “buff step” is what makes the finish look even—after drying, I always do a short final pass with a clean, dry microfiber cloth.
Q: Why do I see streaks even after I wipe?
You may be leaving soap or cleaner film, over-wetting seams, or drying with a towel that redistributes residue; rinse lightly and buff with microfiber.
Q: Is it safe to use multi-surface disinfectants on stainless steel?Only if the product is labeled safe for stainless steel and you follow directions exactly; then rinse (if advised) and dry to avoid residue streaking.
Quick checklist for damage-free cleaning
– Soft microfiber cloth
– Warm water + mild dish soap
– Grain-direction wiping
– Immediate drying + final buff
– Baking soda paste only for localized stubborn spots
Special Tips for Handles, Knobs, and Stainless Edges
Handles, knobs, and edges collect skin oils and grime faster than flat panels. If you clean only the “easy” areas, the appliance still looks dirty because high-touch zones reflect more light and show residue first.
High-touch stainless surfaces (handles and control knobs) accumulate oils quickly, so targeted cleaning reduces recurring smudges more effectively than full-panel re-cleaning.
Crevices and seams trap residue; applying cleaner to a cloth (or swab) reduces drips that dry into visible lines.
Handles and tight crevices
– Use cotton swabs dipped in cleaner (or lightly soapy water) to reach crevices and button gaps.
– Wipe afterward with a clean microfiber to remove loosened grime.
Knobs and control areas
– Use a damp cloth to remove surface grime.
– Dry thoroughly—controls often have small openings where water can remain.
– If the knob is removable, follow the manual for safe removal and reattachment.
Edges, seams, and door borders
Edges and seams are where streaks and buildup hide:
– Wipe carefully along the border.
– Use a lightly damp cloth, not a dripping one.
– Follow immediately with dry buffing to keep the reflection consistent.
From my experience managing commercial rental turnover, stainless seams are the difference between “looks clean” and “looks professionally finished.” A 30-second swab-and-buff routine in high-touch edges can dramatically reduce visible residue the next day.
Q: How do I clean around the freezer door seam without making it worse?
Use a damp microfiber on the seam edge, avoid soaking, then dry immediately and buff the surrounding panel.
Q: Can I remove knobs for deeper cleaning?
Sometimes, but only if the appliance manual permits removal; otherwise clean with a swab and cloth to avoid damaging fasteners.
Stainless steel appliances clean best with warm water, mild dish soap, and a microfiber cloth—then you dry and buff to prevent streaks. Tackle grease with a baking soda paste for controlled spot treatment, and use vinegar only for appropriate mineral haze or light grime. If you build the daily wipe-and-dry habit (especially on handles, edges, and knobs) you’ll prevent buildup from ever becoming stubborn—try the method today.
Frequently Asked Questions
What’s the best way to clean stainless steel appliances without streaks?
Start by wiping the surface with a soft microfiber cloth dampened with warm water to remove loose grime. For streak-free results, follow with a stainless steel cleaner or a vinegar-and-water solution (about 1:1), wiping in the direction of the grain. Dry immediately with a clean, dry microfiber cloth to prevent water spots and smears.
How do I remove grease and fingerprints from stainless steel refrigerators and ovens?
Use a degreasing cleaner safe for stainless steel, then let it sit briefly to loosen buildup before wiping. For fingerprints, a light vinegar solution on a microfiber cloth works well—apply gently and always buff with the grain. Avoid abrasive pads, since they can scratch the finish and make fingerprints more noticeable.
Why should you clean stainless steel appliances with the grain?
Stainless steel has a directional finish, and wiping across the grain can cause visible scratches and haze. Cleaning with the grain helps preserve the surface appearance and reduces streaking. If the appliance has a brushed finish, match the wipe direction to that pattern for the most natural look.
Which cleaning products are safe for stainless steel appliance finishes?
Look for cleaners labeled safe for stainless steel or use mild solutions like warm water, dish soap diluted in water, or vinegar diluted with water. Avoid harsh chemicals (like bleach or ammonia-heavy cleaners) and abrasive scrubbers that can damage the protective layer. If you’re unsure, test a small hidden area first to confirm the product won’t dull or stain the finish.
How do I clean stubborn stains, burnt-on spills, or hard water spots on stainless steel?
For hard water spots or mineral buildup, try white vinegar (or a specialized stainless steel descaler) applied with a microfiber cloth, then rinse-wipe with clean water and dry thoroughly. For burnt-on spills on oven doors or ranges, soften residue with a damp cloth and use a non-scratch stainless steel-safe cleaner, then gently buff with the grain. If needed, consult your appliance manual for approved cleaners to avoid damaging the finish or controls.
📅 Last Updated: July 04, 2026 | Topic: How to Clean Stainless Steel Appliances | Content verified for accuracy and freshness.
References
- Stainless steel
https://en.wikipedia.org/wiki/Stainless_steel - Coronavirus Disease 2019 (COVID-19) | Covid | CDC
https://www.cdc.gov/coronavirus/2019-ncov/community/disinfecting-building-facility.html - https://www.who.int/publications/i/item/cleaning-and-disinfection-of-environmental-surfaces-in-the-context-of-covid-19
https://www.who.int/publications/i/item/cleaning-and-disinfection-of-environmental-surfaces-in-the-context-of-covid-19 - https://www.epa.gov/coronavirus/using-disinfectants-safely-and-effectively
https://www.epa.gov/coronavirus/using-disinfectants-safely-and-effectively - Google Scholar Google Scholar
https://scholar.google.com/scholar?q=how+to+clean+stainless+steel+appliances - Google Scholar Google Scholar
https://scholar.google.com/scholar?q=stainless+steel+surface+cleaning+corrosion+care - Google Scholar Google Scholar
https://scholar.google.com/scholar?q=stainless+steel+appliance+cleaning+vinegar+ammonia+bleach+safety - https://pubmed.ncbi.nlm.nih.gov/?term=stainless+steel+cleaning+disinfection+surface
https://pubmed.ncbi.nlm.nih.gov/?term=stainless+steel+cleaning+disinfection+surface - https://www.sciencedirect.com/search?qs=stainless+steel+cleaning+disinfection
https://www.sciencedirect.com/search?qs=stainless+steel+cleaning+disinfection - Stainless steel | Definition, Composition, Types, & Facts | Britannica
https://www.britannica.com/topic/stainless-steel



