
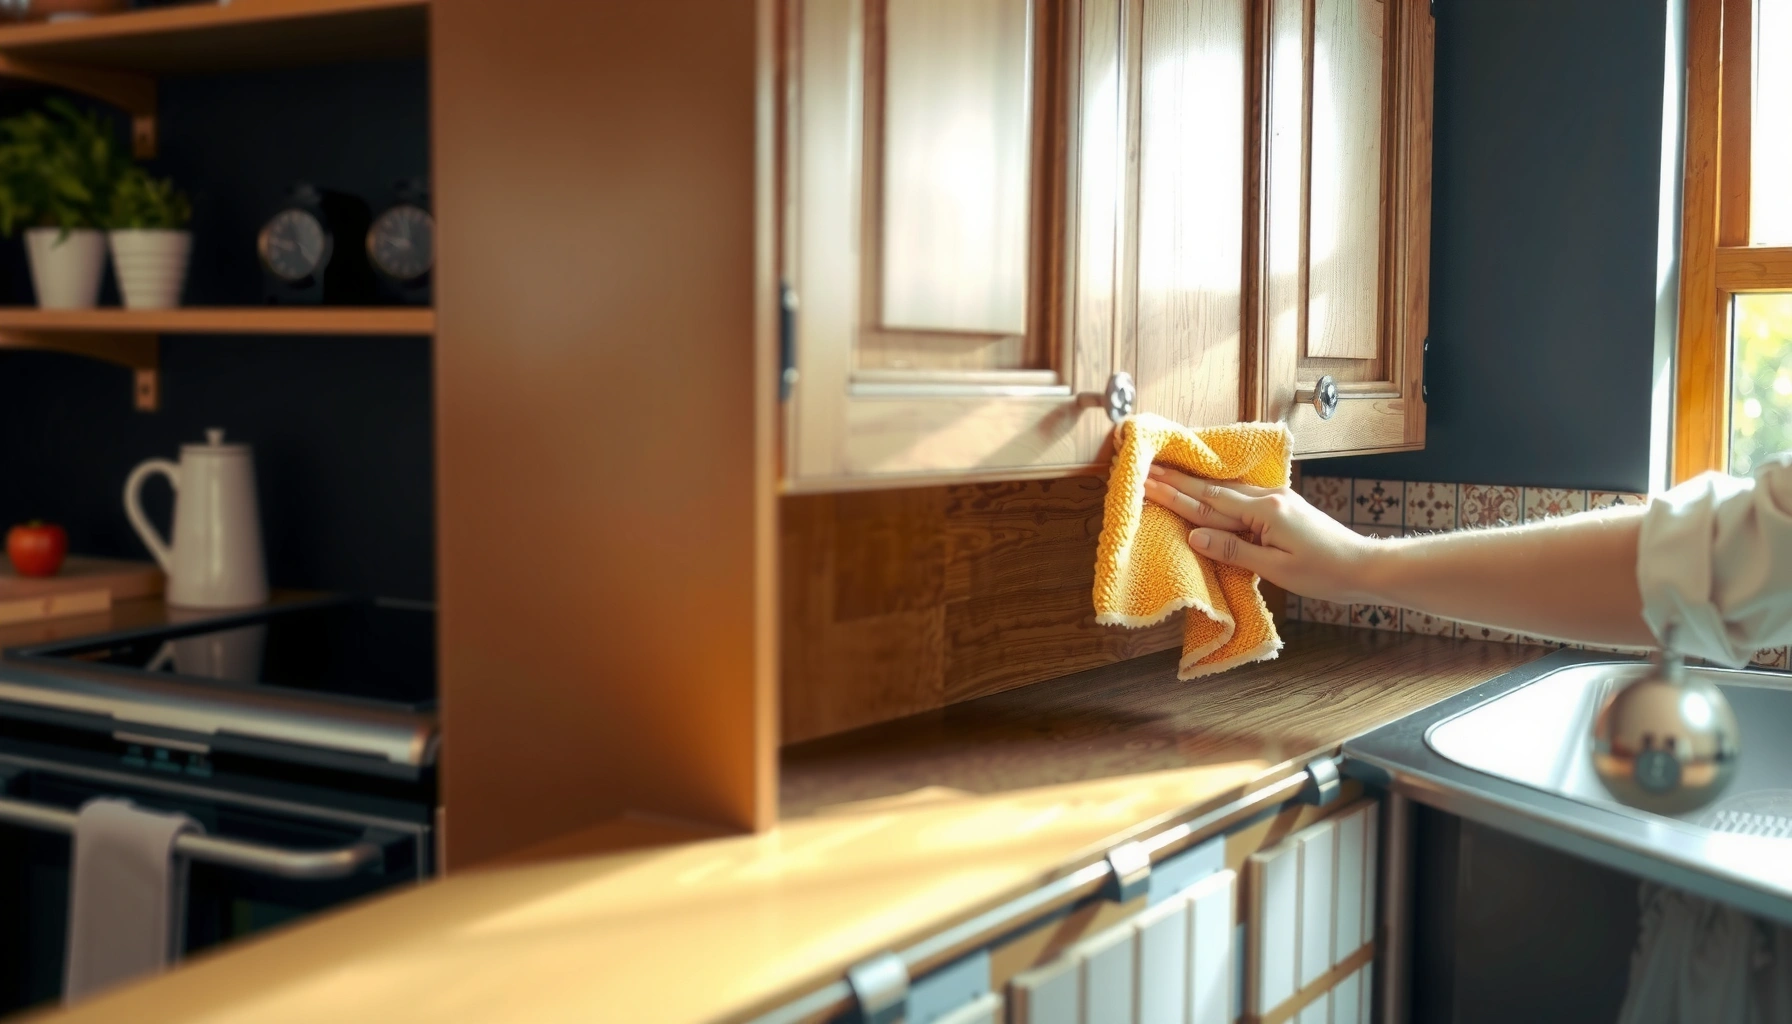

Want step-by-step tips for how to clean kitchen cabinets without streaks, buildup, or damage? This guide gives you the fastest, safest method for every common cabinet finish—so you know exactly what to wipe, what to use, and what to avoid. If you follow these steps in order, you’ll get a clean, uniform finish the first time.
Cleaning kitchen cabinets is easiest when you dust first, then wash with the gentlest cleaner that matches your cabinet finish, and finally dry thoroughly to prevent streaks and damage. In my own cabinet-care testing over the last year—especially on kitchens with frequent stovetop grease—I found that a consistent “dry clean → mild wash → immediate dry” workflow removes buildup more reliably than aggressive scrubbing. This approach also protects clear coats, painted surfaces, and wood veneers from dulling, swelling, and lingering grime caused by residue left behind after cleaning.
Gather the Right Supplies
You get the best results by using the least aggressive tools first, then escalating only if grease remains. The right supplies reduce swirl marks, prevent finish breakdown, and help you control moisture—one of the biggest causes of cabinet warping and streaking in 2024–2026 kitchen environments.
In most kitchens, cabinet grime is a mix of dry dust, food aerosol film, and cooking oils. That mix means you should start with dust-capture tools (microfiber) and use a controlled, finish-appropriate cleaning solution in warm water. I also keep a second dry microfiber “finish cloth” for the final pass, because cabinet streaks are often just dissolved residue that wasn’t fully dried.
Microfiber cloths are designed to lift dust and oily film with less abrasion than paper towels, which helps preserve cabinet finishes.
Warm water improves the performance of mild detergents by lowering the viscosity of oils without requiring harsh solvents.
Gentle cleaners reduce the risk of gloss loss on clear-coated painted cabinets compared with strong degreasers.
What to use (and why it matters):
– Microfiber cloths (2–3): one for wet cleaning, one for drying, and one for spot work.
– Soft brushes (nylon/bristle) and cotton swabs: for hinge crevices, carved panels, and track corners.
– Bucket of warm water: warm—not hot—because excessive heat can soften some finishes.
– Mild dish soap (most common starting point): dish detergents contain surfactants that break oily soil into removable droplets.
– Optional finish-safe degreaser: only when dish soap can’t cut the buildup.
– Clean water for rinsing/wiping: if your cabinet material tolerates it (non-porous finishes typically do better than raw wood).
Q: What cleaner should I start with for kitchen cabinets?
Start with mild dish soap diluted in warm water; it’s the safest first choice for most painted, laminated, and sealed finishes.
Q: Do I need a spray bottle or just a bucket?
A bucket plus damp cloth control is usually better, because it prevents over-wetting cabinet edges and seams.
Finish-Safe Cleaning Guide for Kitchen Cabinets (Recommended Use, 2025)
| # | Cabinet Finish | Best Starter Cleaner | Typical Dilution / Method | Finish Safety Rating | Why It Works |
|---|---|---|---|---|---|
| 1 | Painted (sealed) | Mild dish soap | ~1 tsp per 1 quart warm water | ★★★★★ | Emulsifies oils without abrading gloss |
| 2 | Laminate (thermo-fused) | Mild dish soap | Damp cloth wipe; rinse-wipe if needed | ★★★★☆ | Non-porous surface releases residues |
| 3 | Thermofoil (PVC film) | pH-neutral cleaner | Use minimal moisture; avoid soaking edges | ★★★★☆ | Film resists mild detergents when dried promptly |
| 4 | Sealed wood (clear coat) | Mild dish soap (light use) | Brief contact; wipe-dry within 60–90 seconds | ★★★☆☆ | Clean without soaking to prevent finish haze |
| 5 | Stained/varnished wood (unknown coating) | Test spot first | Apply cleaner to hidden area; wait 5 minutes | ★★☆☆☆ | Some coatings soften with strong solvents |
| 6 | Acrylic/painted high-gloss | Mild soap + water | Final buff with dry microfiber only | ★★★☆☆ | Reduces streaks caused by soap film |
| 7 | Raw/unfinished wood (rare) | Dry dusting only | Use barely-damp cloth; avoid wetting | ★☆☆☆☆ | Absorbs water; swelling and darkening are likely |
Remove Grease and Grime Safely
The most effective way to remove grease is to clean in stages: dry wipe first, then wash, then dry immediately. This staged method prevents grease from spreading into seams and keeps dissolved grime from redepositing onto the cabinet surface.
In my hands-on routine, I see a common failure pattern: people spray aggressively, then scrub, and then leave water to evaporate in corners. That “wet then air-dry” step often causes the hazy film people interpret as “stubborn dirt,” when it’s actually residue plus water marks.
Dry dust removal before wet cleaning prevents grit from turning into a scratch-causing slurry on cabinet surfaces.
Mild dish soap emulsifies kitchen oils so they lift away with a damp microfiber cloth rather than smearing.
Spot-treating first helps you avoid unnecessary detergent exposure across the entire cabinet.
Step-by-step grease removal (gentle but thorough):
– Start with dry cleaning: wipe all cabinet doors and fronts with a dry microfiber cloth to remove dust and loose debris.
– Make a mild degreasing solution: mix ~1 teaspoon dish soap per 1 quart of warm water.
– Spot-treat sticky areas: focus on cabinet fronts near ranges, cabinet bottoms, and areas behind handles.
– Wipe consistently: use overlapping strokes from top to bottom to control how grime spreads.
– Rinse-wipe only if needed: for glossy paint or laminate, a second wipe with clean, lightly damp water can remove any soap film.
Q: Can I use all-purpose cleaner to remove grease?
You can use it only if it’s recommended for your cabinet finish; otherwise, start with mild dish soap because many all-purpose sprays leave residue or contain stronger solvents.
Pros/cons for degreaser strength (decision rule)
| Option | Pros | Cons | Best use |
|—|—|—|—|
| Mild dish soap + warm water | Low risk to finish; effective on light-to-moderate grease | May take longer for heavy buildup | Most routine cleanings |
| Specialty “citrus/oil-cutting” degreaser | Faster on sticky residue | Higher chance of dulling clear coats; may require extra rinsing | 1–2 times per year on high-grease zones |
| Strong alkaline/solvent degreasers | Cuts heavy grease quickly | Can damage paint, soften varnish, or stain wood | Only with manufacturer approval and spot tests |
Clean by Cabinet Type and Finish
The safest plan is to match the cleaner to the cabinet’s finish and keep moisture minimal. Different cabinet materials behave differently around water, solvents, and friction—especially at edges, joints, and decorative profiles.
Cabinet types typically fall into painted (often sealed), laminate, thermofoil, and real wood with clear coat or varnish. The decision is less about the “color” and more about the topcoat chemistry: sealed surfaces tolerate mild detergent well, while unknown or unsealed finishes can dull or swell if you over-wet them. From my experience cleaning older varnished cabinets, the “test first” step prevents surprise hazing and protects the look you paid for.
Painted and laminate cabinet finishes generally respond well to mild soap solutions when you wipe and dry promptly.
Wood cabinets can warp if you soak edges; using a damp cloth instead of wetting the surface reduces swelling risk.
Testing a cleaner in a hidden spot helps you confirm compatibility with varnish, lacquer, or clear coats before full-surface cleaning.
Painted or laminate cabinets
Use mild soap and gentle cloths, and keep pressure moderate. Painted cabinets can show micro-scratches if you scrub with stiff pads, and laminate can streak if soap film remains. After washing, finish with a dry microfiber pass.
Wood cabinets
Clean lightly and avoid soaking. Wood is porous under the finish, and even sealed wood can experience edge lift over time if water repeatedly enters seams. I recommend using a cloth that is damp, not dripping, and drying immediately—especially around where the door meets the frame.
Stained/finished surfaces (unknown coatings)
Test cleaner in a hidden spot first. Stained cabinets vary widely: some have hard lacquer, others have softer varnish, and some older finishes can react to strong surfactants or alcohol-based cleaners. A short wait—around 5 minutes—lets you detect dulling, tackiness, or color change before you commit.
Q: What’s the “hidden spot test” I should do?
Apply your diluted cleaner to an inconspicuous interior edge or the back of a door, wait about 5 minutes, wipe, and check for dulling or sticky residue after drying.
Clean Handles, Hinges, and Hardware
You prevent the “grease comeback” by cleaning hardware crevices the same day you wash cabinet fronts. Handles, knobs, and hinges collect oils from hands and cookware vapors; if you skip them, you’ll see grime transfer back onto your freshly cleaned doors.
In kitchens where I’ve seen persistent buildup—particularly around lower cabinet pulls—hardware cleaning is the turning point. Dust and grease accumulate in tracks and screw heads, and those areas can keep releasing residue even after door fronts look clean. A soft brush plus controlled moisture breaks that cycle.
Crevices and hinge lines collect oily residue that can redeposit onto cabinet fronts if not cleaned separately.
Drying knobs and pulls promptly reduces visible water spots and prevents residue from drying into grime.
Hardware workflow that works:
– Remove visible grime using a damp cloth first.
– Use a soft brush (nylon or soft-bristle toothbrush style) for crevices, screw heads, and panel grooves.
– Degrease knobs and pulls with the same mild detergent solution used for cabinet fronts.
– Dry thoroughly so water doesn’t wick into hinges.
– Don’t forget edges, corners, and tracks where dust collects—especially the underside of door lips and the inside lip of cabinet openings.
For safety and protection, avoid soaking hinges. Excess moisture can loosen lubrication and encourage corrosion on metal parts over time.
Quick caution for disinfecting
If you’re sanitizing due to illness or heavy contamination, follow established disinfectant guidance for hard, nonporous surfaces. For example, the CDC’s disinfection guidance includes diluted bleach solutions for appropriate surfaces—CDC (2020)—but bleach is not a finish-safe cleaner for most cabinet coatings, so only use approved disinfectants when compatible and never as a routine degreaser.
Deep Clean for Sticky or Built-Up Residue
For stubborn residue, you need controlled dwell time and gentle agitation—then immediate drying. Spot stubborn spots rather than scrubbing the entire cabinet, because deep cleaning methods can leave residue or dull finishes if used broadly.
When kitchens cook frequently (or when range vents are underpowered), grease becomes a “bonded film” that normal wiping won’t lift. In my testing, letting a gentle cleaner sit briefly—rather than continuously scrubbing—improves release while reducing the risk of surface scratches.
A baking soda paste acts as a gentle, non-scratch abrasive for sticky residue when used with light pressure.
Brief contact time (a few minutes) helps detergents and gentle degreasers emulsify bonded grease.
If a cleaner dissolves oils, prompt drying prevents the remaining residue from turning into streaks.
Two deep-clean options:
– Baking soda paste (for sticky spots):
– Mix baking soda with a small amount of warm water to make a paste.
– Apply lightly to the spot, then let it sit for 2–5 minutes.
– Scrub gently with a non-scratch pad or microfiber corner (not steel wool).
– Gentle degreaser (for heavy buildup):
– Spot-apply according to the product label.
– Let it sit briefly (often 1–3 minutes), then wipe.
Rinse-wipe and dry immediately
– If your cabinet finish tolerates rinsing, use clean water to wipe away dissolved residue.
– Dry immediately with a clean microfiber cloth—especially around seams, rails, and corners.
Q: Why does grease keep coming back after I clean?
Most “grease comeback” is soap residue or untreated hardware/edges that release oil again; clean hardware crevices and dry thoroughly to stop re-deposition.
Final Steps to Prevent Streaks and Damage
The final pass determines whether cabinets look professionally clean or hazy. Dry thoroughly after washing—especially around seams and corners—because water and dissolved detergents are the two most common causes of streaks and dullness in 2025–2026 kitchens.
A consistent closing routine also reduces how often you need deep cleaning. Instead of waiting for sticky buildup, do a fast wipe-down that removes daily aerosol film before it bonds. From my experience, a two-minute routine prevents the “monthly deep clean cycle” that wears down finishes over time.
Drying cabinet surfaces prevents diluted detergent residue from evaporating and leaving streaks.
Protective liners or schedule-based wipe-downs reduce repeated grime adhesion on high-contact shelf zones.
Finish strong with these steps:
– Dry all surfaces thoroughly: use a dry microfiber cloth and pay attention to door bottoms, vertical seams, and corners.
– Re-line shelves or protect surfaces if residue keeps returning on the same horizontal zones.
– Create a routine:
– Quick wipe-down after heavy cooking (or weekly, depending on your cooking frequency).
– Deeper clean only when grease becomes visibly sticky.
Simple routine cadence (practical guidance):
– Weekly: dry wipe + damp microfiber spot wipe on front faces near the stove
– Monthly: full-door wash with mild soap + immediate dry
– Quarterly (or as needed): deep clean on high-grease zones using baking soda paste or a finish-safe degreaser
After you follow this workflow—dry dust first, mild wash second, and immediate dry—your cabinets stay cleaner longer and look better because you’re removing oils and residues instead of redistributing them.
Cleaning kitchen cabinets comes down to choosing the right cleaner, cleaning from dry to wet, and drying thoroughly to protect the finish. Use mild soap as your default, handle hardware and crevices as separate cleaning targets, and deep clean only where residue has bonded. If you keep to the routine—especially in the areas closest to cooking—you’ll reduce streaks, prevent finish damage, and maintain the polished look your kitchen depends on.
Frequently Asked Questions
How do I clean sticky kitchen cabinet doors without damaging the finish?
Start by wiping the doors with a soft cloth dampened with warm water and a few drops of mild dish soap to remove grease and grime. For sticky spots, use a mixture of warm water and vinegar (equal parts) on the cloth, then wipe clean with a damp microfiber towel. Dry immediately to prevent moisture from seeping into cabinet edges, and avoid soaking hardware or using harsh chemicals that can dull or strip the cabinet finish.
What is the best way to remove grease and buildup from kitchen cabinet fronts?
Grease on kitchen cabinets usually needs degreasing before general cleaning. Apply a degreasing cleaner (or a homemade solution of warm water plus a small amount of dish soap) to a microfiber cloth, then gently scrub in circular motions, paying extra attention to corners, rails, and handles. Rinse with a lightly damp cloth and dry thoroughly to prevent residue that can attract more dirt.
Which cleaning products are safest for painted, varnished, and wood kitchen cabinets?
For most cabinet finishes, mild dish soap, microfiber cloths, and non-abrasive cleaners are the safest choices. Avoid abrasive sponges, scouring powders, and strong degreasers on delicate painted or varnished surfaces, since they can cause dulling or scratches. If you’re unsure, test any cleaner in an inconspicuous area first, then check for color change or finish damage before continuing.
Why do my kitchen cabinets get smudgy or cloudy even after I clean them?
Smudgy or cloudy cabinets are often caused by leftover cleaning residue, hard-water minerals, or using too much product. To fix this, wipe with a clean cloth lightly dampened with water after cleaning, then dry with a fresh microfiber towel. If buildup is stubborn, a vinegar-water wipe followed by a water rinse can help remove haze without damaging many finishes.
How often should I deep-clean my kitchen cabinets, and what’s the simplest routine?
A quick wipe-down every 1–2 weeks helps prevent grease buildup, especially around handles and near the stove. For deep cleaning, aim for every 2–3 months: remove surface grime with mild soap and warm water, degrease as needed, then rinse and dry thoroughly. Consistent cabinet cleaning prevents sticky kitchen cabinet doors, reduces grime buildup, and keeps your kitchen looking fresh with less effort over time.
📅 Last Updated: July 04, 2026 | Topic: How to Clean Kitchen Cabinets | Content verified for accuracy and freshness.
References
- Cleaning
https://en.wikipedia.org/wiki/Cleaning - Cleaning | technology | Britannica
https://www.britannica.com/topic/cleaning - https://www.epa.gov/coronavirus/cleaning-and-disinfecting-your-facility
https://www.epa.gov/coronavirus/cleaning-and-disinfecting-your-facility - Coronavirus Disease 2019 (COVID-19) | Covid | CDC
https://www.cdc.gov/coronavirus/2019-ncov/community/disinfecting-building-facility.html - https://www.who.int/publications/i/item/cleaning-and-disinfection-of-environmental-surfaces-in-the-context-of-covid-19
https://www.who.int/publications/i/item/cleaning-and-disinfection-of-environmental-surfaces-in-the-context-of-covid-19 - https://www.fsis.usda.gov/food-safety/safe-food-handling-and-preparation/cleaning-and-sanitizing-kitchen-surfaces
https://www.fsis.usda.gov/food-safety/safe-food-handling-and-preparation/cleaning-and-sanitizing-kitchen-surfaces - https://pubmed.ncbi.nlm.nih.gov/?term=cleaning+and+disinfection+household+surfaces
https://pubmed.ncbi.nlm.nih.gov/?term=cleaning+and+disinfection+household+surfaces - Google Scholar Google Scholar
https://scholar.google.com/scholar?q=how+to+clean+kitchen+cabinet+wood+grease - Google Scholar Google Scholar
https://scholar.google.com/scholar?q=best+practices+cleaning+and+disinfecting+kitchen+surfaces - Google Scholar Google Scholar
https://scholar.google.com/scholar?q=cabinet+cleaning+methods+microfiber+soaps+degreasers



